Rebuilding a NuTone 2500 Stereo Music Intercom Master Station
 Wednesday, October 10, 2012 at 8:56AM
 This is Musicom. . . World's First Built-In Stereo System with Separate Intercom Option. . NuTone's Deluxe Solid State Stereo Entertainment Center 2500 Series.
In a modular group of truly magnificent built-in units you can enjoy high-fidelity stereo throughout your home. . .
The Model 2500 Stereo Music Intercom System was the panicle of design in the early 1970's. With it's optional choices of cassette or 8-track tape player and fold-down record changer it was something to behold.
When the master station was mounted along with the matching center cabinet and the 2- Deluxe Stereo 3-way speakers you would have a entire wall of Stereo NuTone goodness.
The Model 2500 has a maximum capacity of 20 pairs of stereo speakers along with the model 2510 Intercom Control Master. There was a selection of several different wall and ceiling mounted stereo speakers along with 3 choices of patio stations and even wall mounted alarm-clock station with intercom controls built-in.
The Model 2500 also included radio station "Pushbutton Tuning" which worked from any remote speaker station. This feature allowed the user to select from 6 FM preset stations and a single AM preset station.
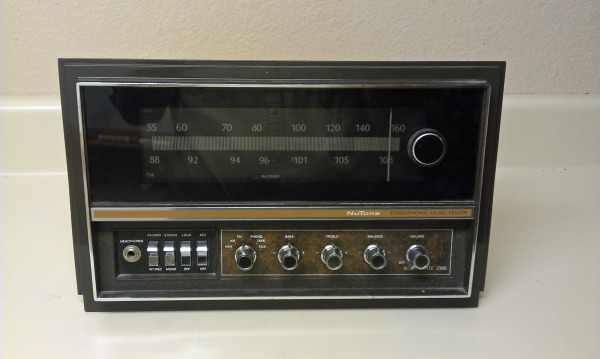
The Modle 2500 is a very rare system, I have only seen six installations in the past 30 years.
Repairing a 40 year old Classic:
Working a 40 year old classic 2500 Master Station can be intimidating.
First off it requires a special bench power supply kit that used to be available from NuTone. The kit included a genuine 2500 power transformer (it weights 20 pounds) along with the correct plug connectors and a stripped down power supply board. Without this kit you would have to remove the power transformer from the customers wall housing, no small task.
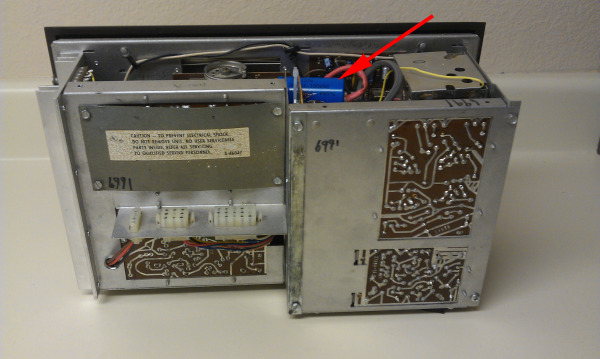
Once you get the 2500 on the bench, you can see quality everywhere you look. A steel chassis made up from 8 different plates that bolt together. An aluminum heat sink with 4 output transistors mounted to it.
Buried down inside the steel chassis are 7 circuit boards and a lot of interconnecting wires. To work on a 2500, you have to bolt the chassis and open the unit up to gain access to the component side of the boards. Care must be taken to not break off any of the interconnecting wires.
This 2500 came in with a loud and pronounced hum that could be heard throughout the system. It would need a complete power supply board rebuild and the rest of the boards should be gone through as well.
Since the 2500 is a stereo system, there are almost 2 of everything inside the master.
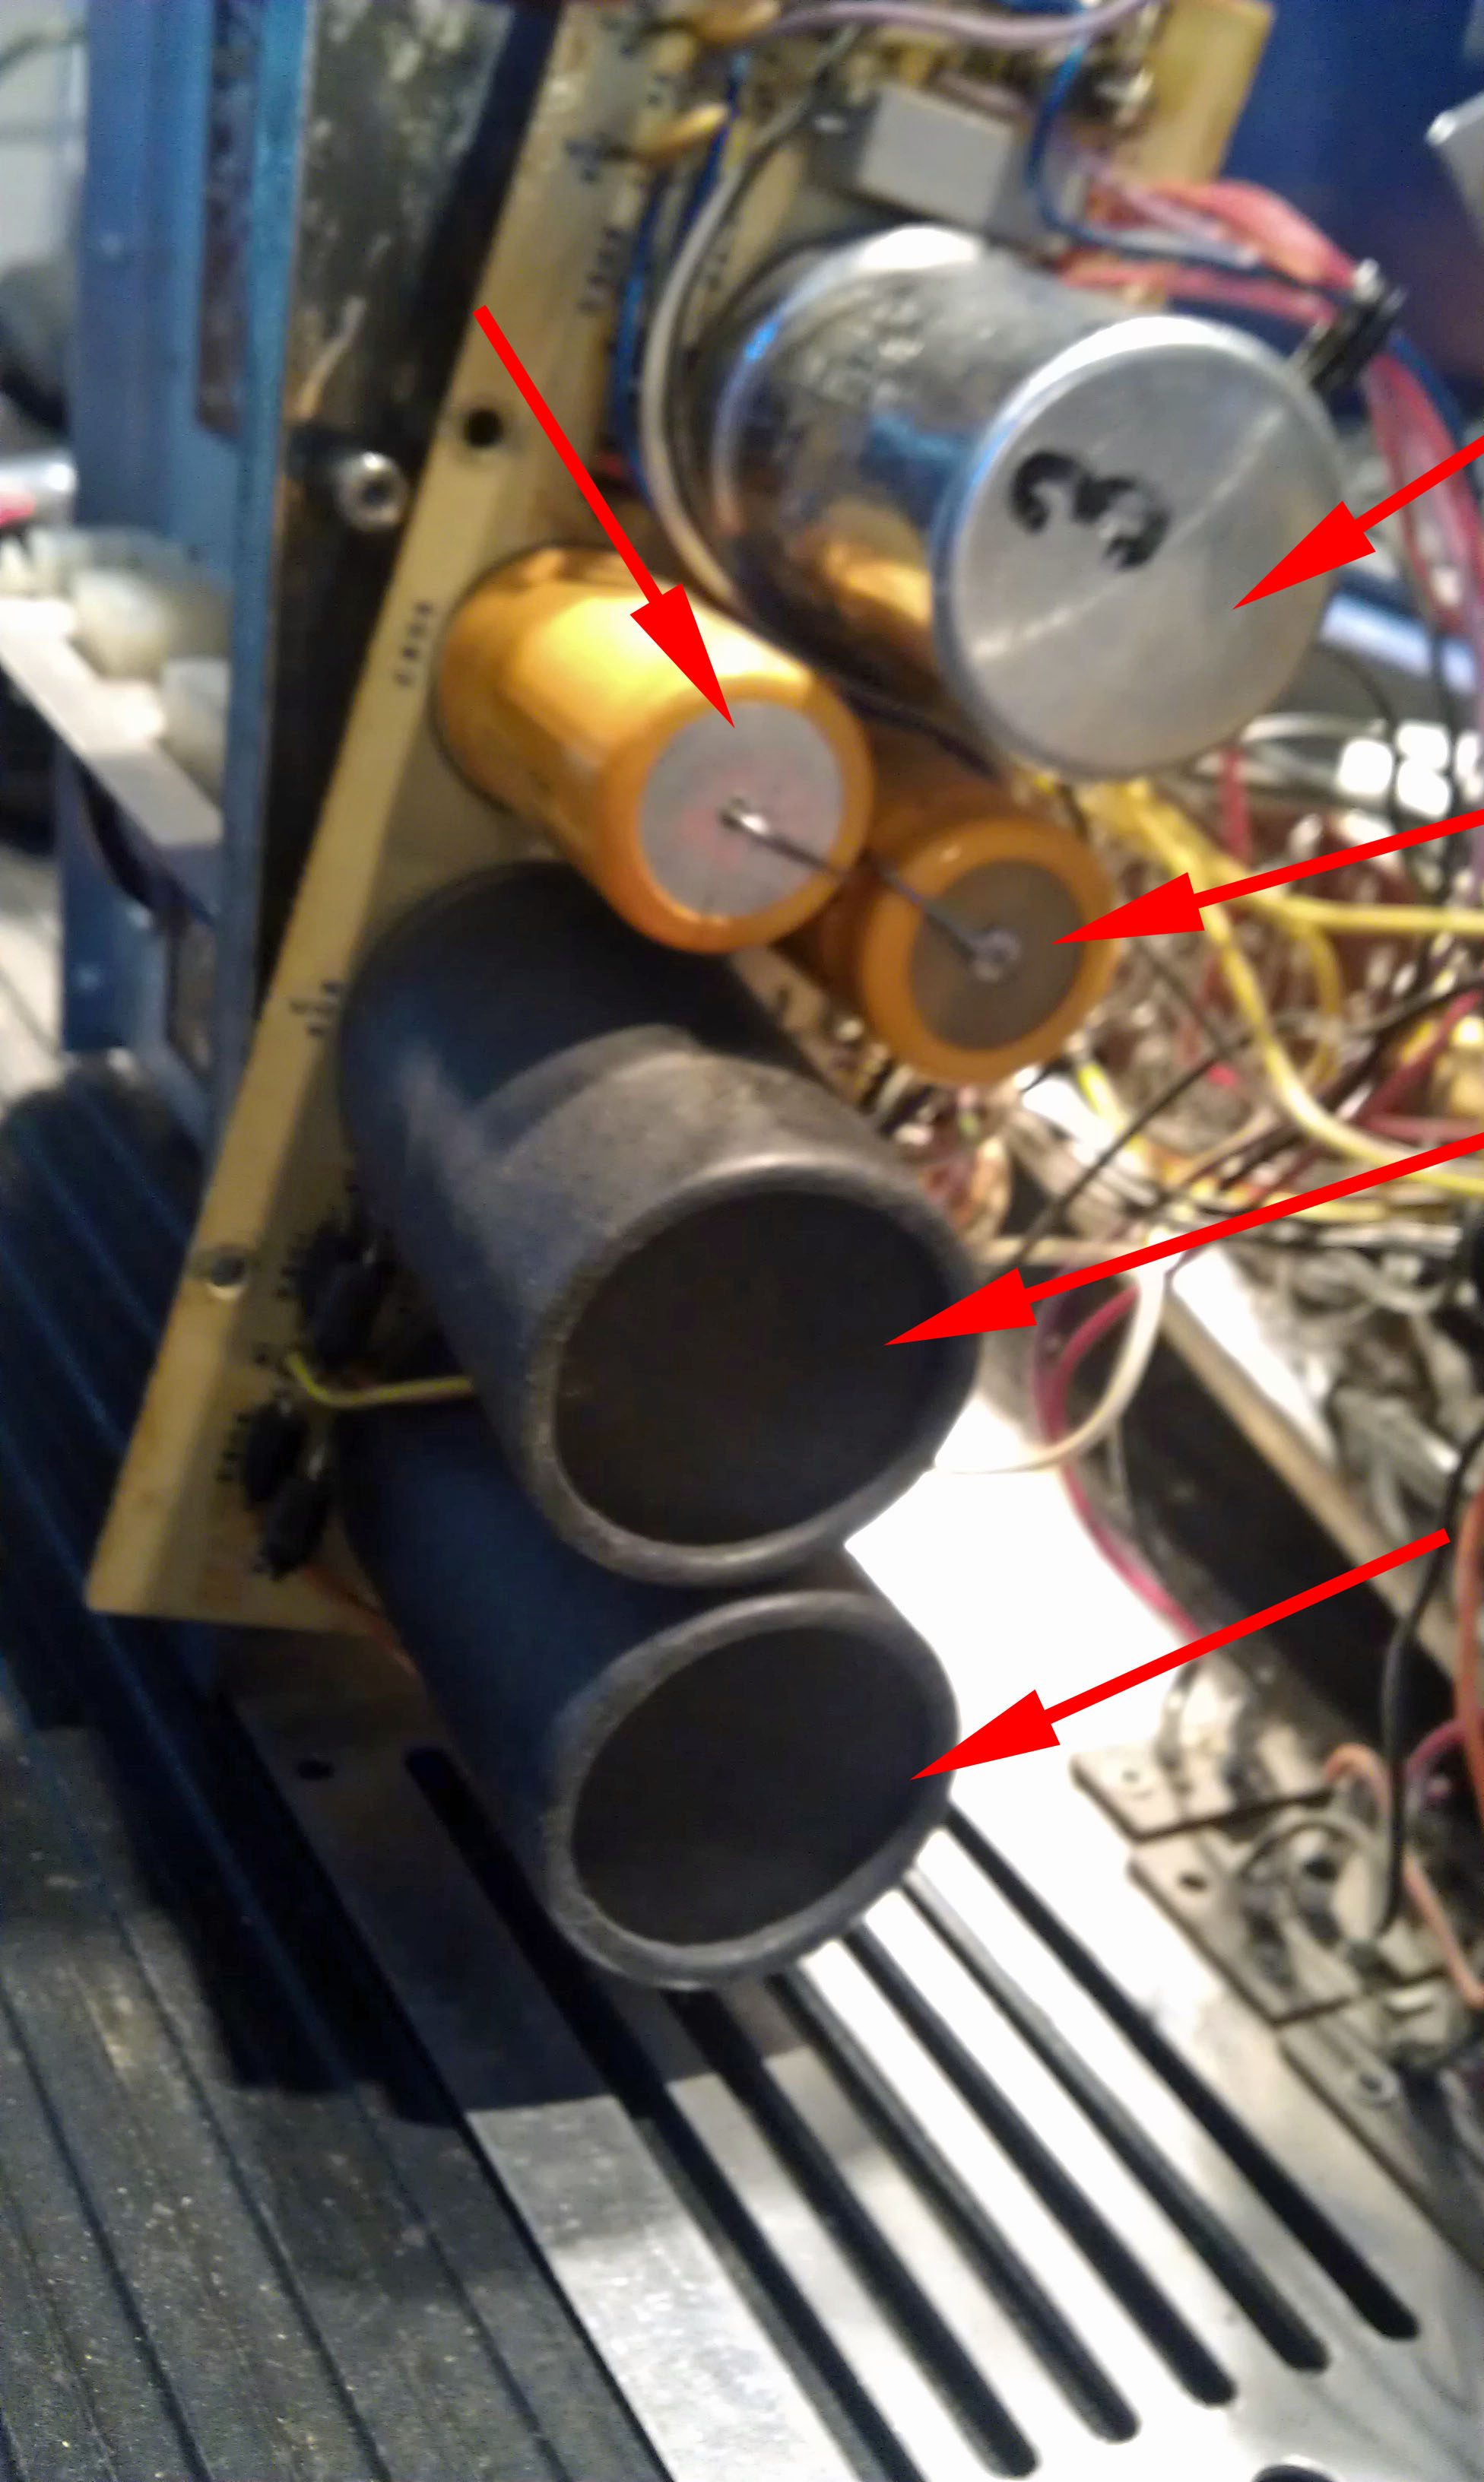
The power supply board has 4 single capacitors and 1 multi-section can capacitor along with 16 diodes.
Replacing the 4 single capacitors is easy, the multi-section can capacitor is a challenge because this is a obsolete type of part and nothing that is available will fit correctly.
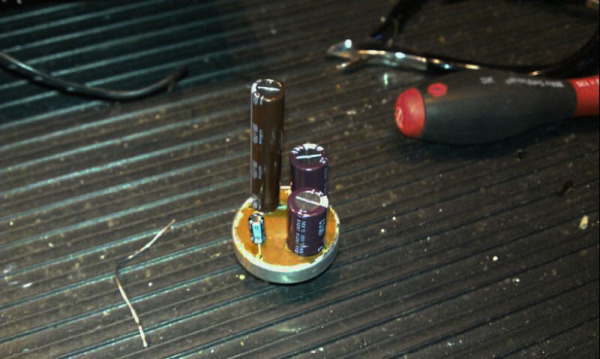
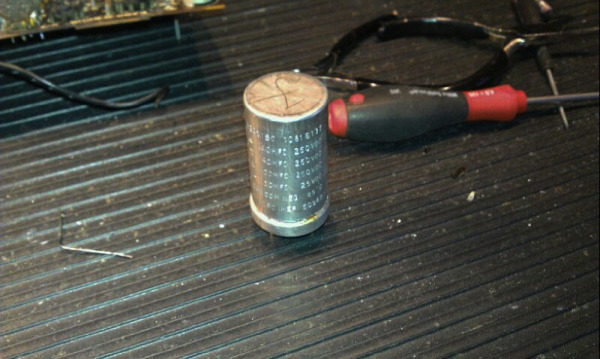
The only choice is to "restuff" the original can. This done by opening up the original can capacitor, removing the contents and then affixing new capacitors inside the can. Once the can is sealed up it is refitted to its place on the board.
The diodes should be replaced as a matter of course since the 2500 is already apart on the bench.
Upon inspection I found that this 2500 has been worked on before and some of the workmanship left a lot to be desired.
Some of the original capacitors had been replaced (the ones that were easy to get to) and they were replaced with Radial Capacitors instead of the correct Axial Capacitors.
Using radial capacitors on boards that were designed for axial parts makes for a messy board and the actual capacitor is not held in place properly.
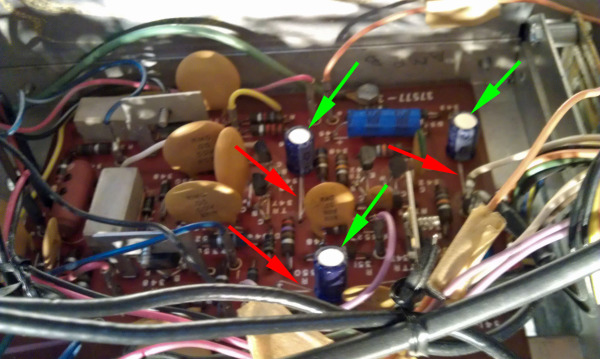
You can see the how the capacitors (red arrows) sit up on the board and its leads run off to each side (green arrows), with much of the bare lead exposed. In some cases, in some circuits, having the bare lead exposed on top of the board will act like an antenna and it will pickup stray electrical noise from the surrounding circuits. This is not something you want to have inside an amplifier.
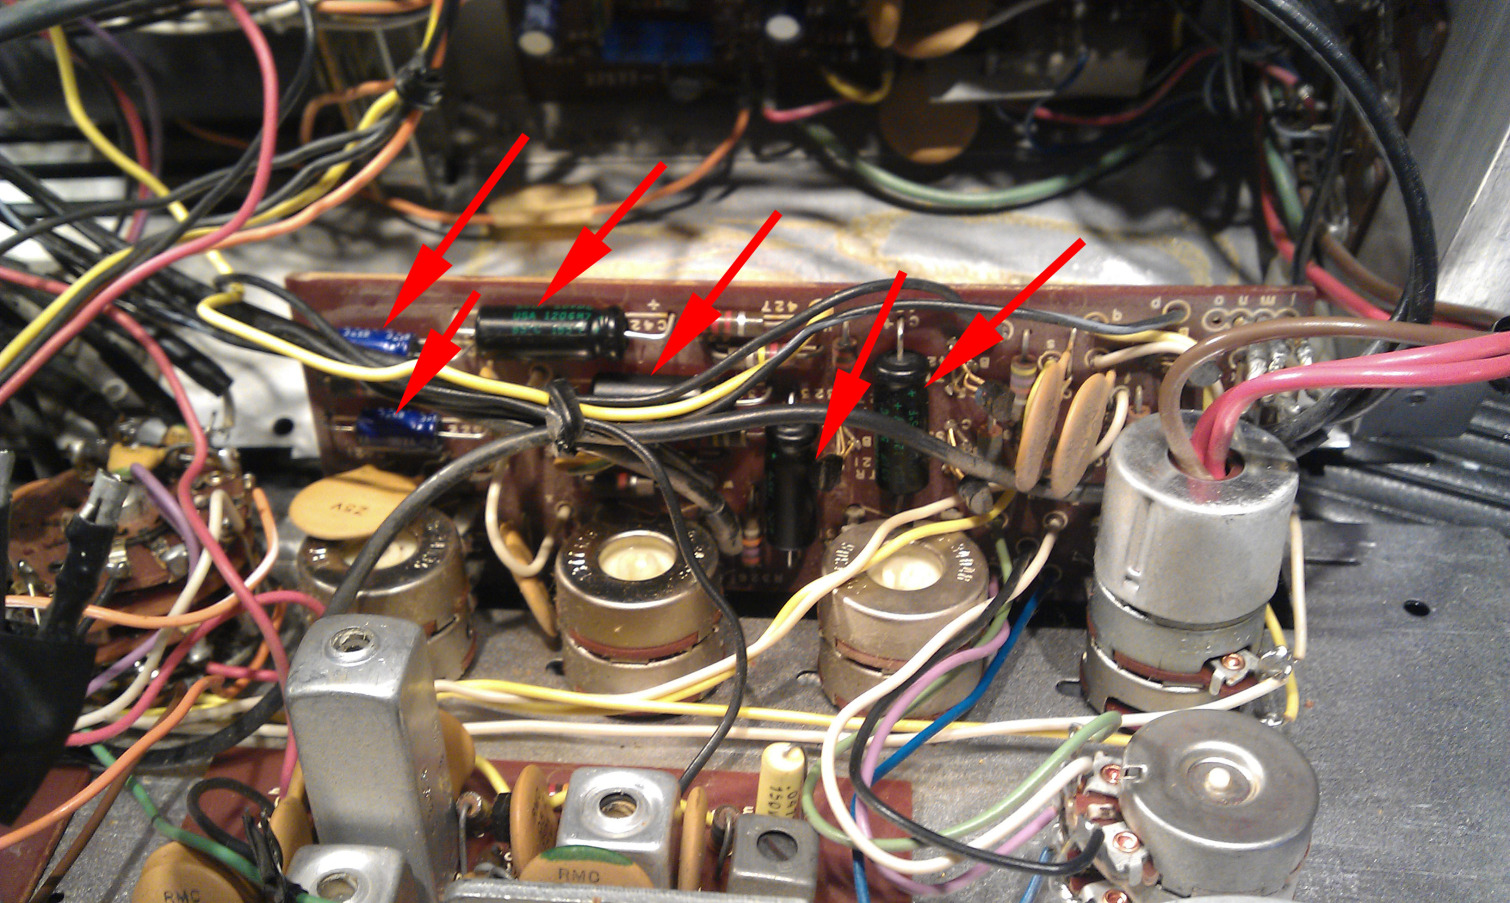
While the correct axial parts (red arrows) cost a little more, it's a small increase in cost compared to the effort to rebuild the 2500.
After all of the boards were inspected and refurbished, the controls were cleaned and the 2500 was reassembled.
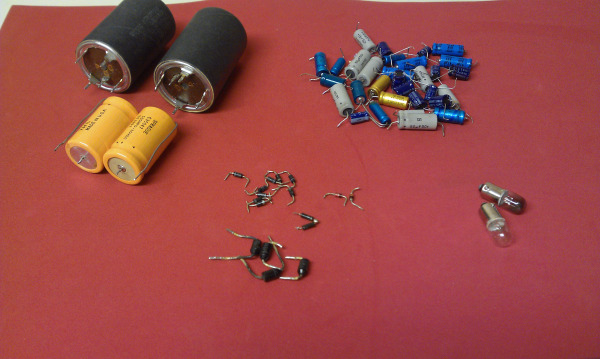
Here are all of the parts that were replaced to bring this 2500 back to good working order. New dial lamps finished off the rebuild and a days worth of testing showed that this 2500 was ready for another decade of enjoyment.
See all of the Model 2500 picures here
Ask a Questions about your NuTone 2500 System
Send a Intercom Repair Request Form
 Cindy & Christopher
Rebuilding a NuTone Model 2500 Stereo Intercom Receiver - A 7 Part Series of Videos
Earlier this year I had several NuTone Model 2500 Stereo Receivers shipped into the shop to be rebuilt.
All of them had the same kind of age related failures, except for 1 receiver which was much worse the the others.
It seems that it had been failing for many, many years without any of the problems being addressed until it finally failed completely. Once I had it on the repair bench it seemed clear that someone, at sometime in the past had worked on this 2500 receiver - with mixed results.
I decided to make a multi-part Video series about rebuilding this rare and special NuTone model.
The Video series ended up being 7 Parts: much long than I excepted, but there's a lot to cover with this type of rebuild. In the end the 2500 Receiver works very well and it was returned to the owner for another 25 years of enjoyment.
Below is Part 1 of the 7 Part Series. I'm not going to embed all 7 parts in this blog, but there is a link to the YouTube Play List at the end of this update.
Here's a Link to the YouTube Play List for all 7 Parts of the NuTone Model 2500 Stereo Rebuild
