Packing Your Intercom for Shipment
Whenever I talk with a customer about sending their Master Station in for repair, the final part of the conversation is about packing up their Master Station for shipment.
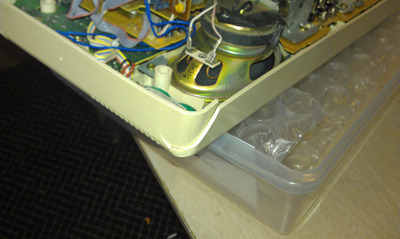
Every Master Station needs to be protected against damage during shipment, otherwise it will end up like this IM5006.
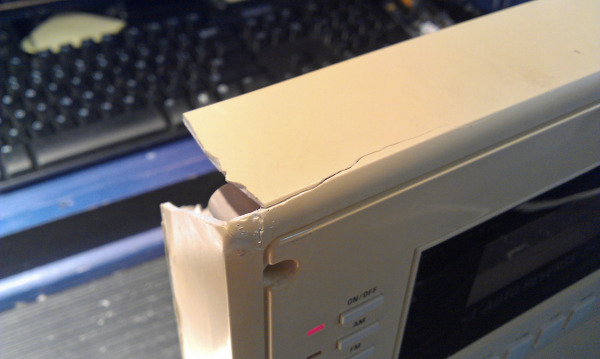
This IM5006 was put into a box that was only slightly larger than the IM5006 itself and during shipment the box was probably dropped or bashed into something and the corner of the faceplate was broken.
When we package a Master Station for shipment, we do the following:

1. The Master Station is placed inside a large plastic bag which is taped shut. This prevents scuffs on the faceplate and prevents the styrofoam peanuts from getting inside the unit.
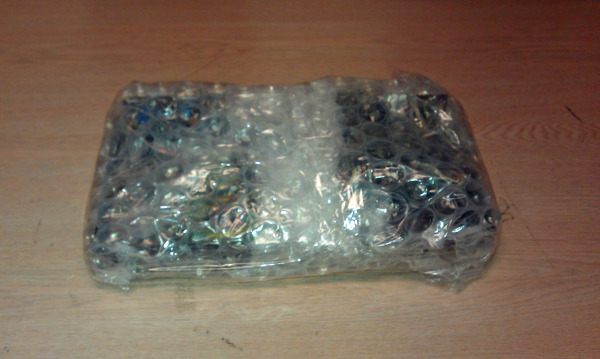
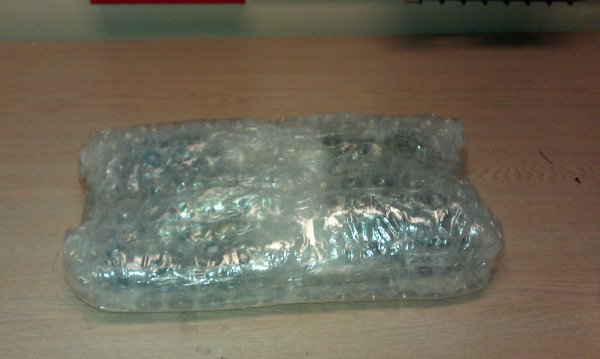
2. We use extra heavy-duty Bubble Wrap (with large 1" bubbles) and wrap the Master in 3 layers of bubble wrap. The first layer goes around the unit length-wise, the 2nd and 3rd layers are wrapped around front to back. All of the seams are taped closed to create a bubble wrap envelope.
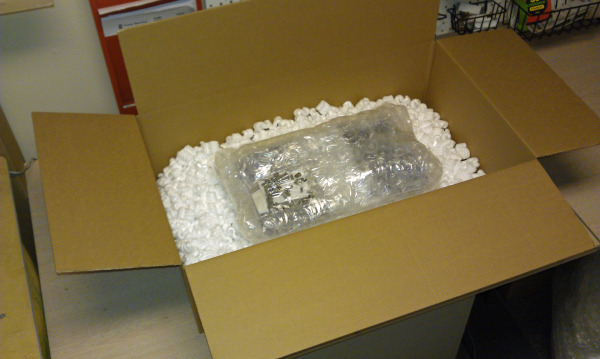
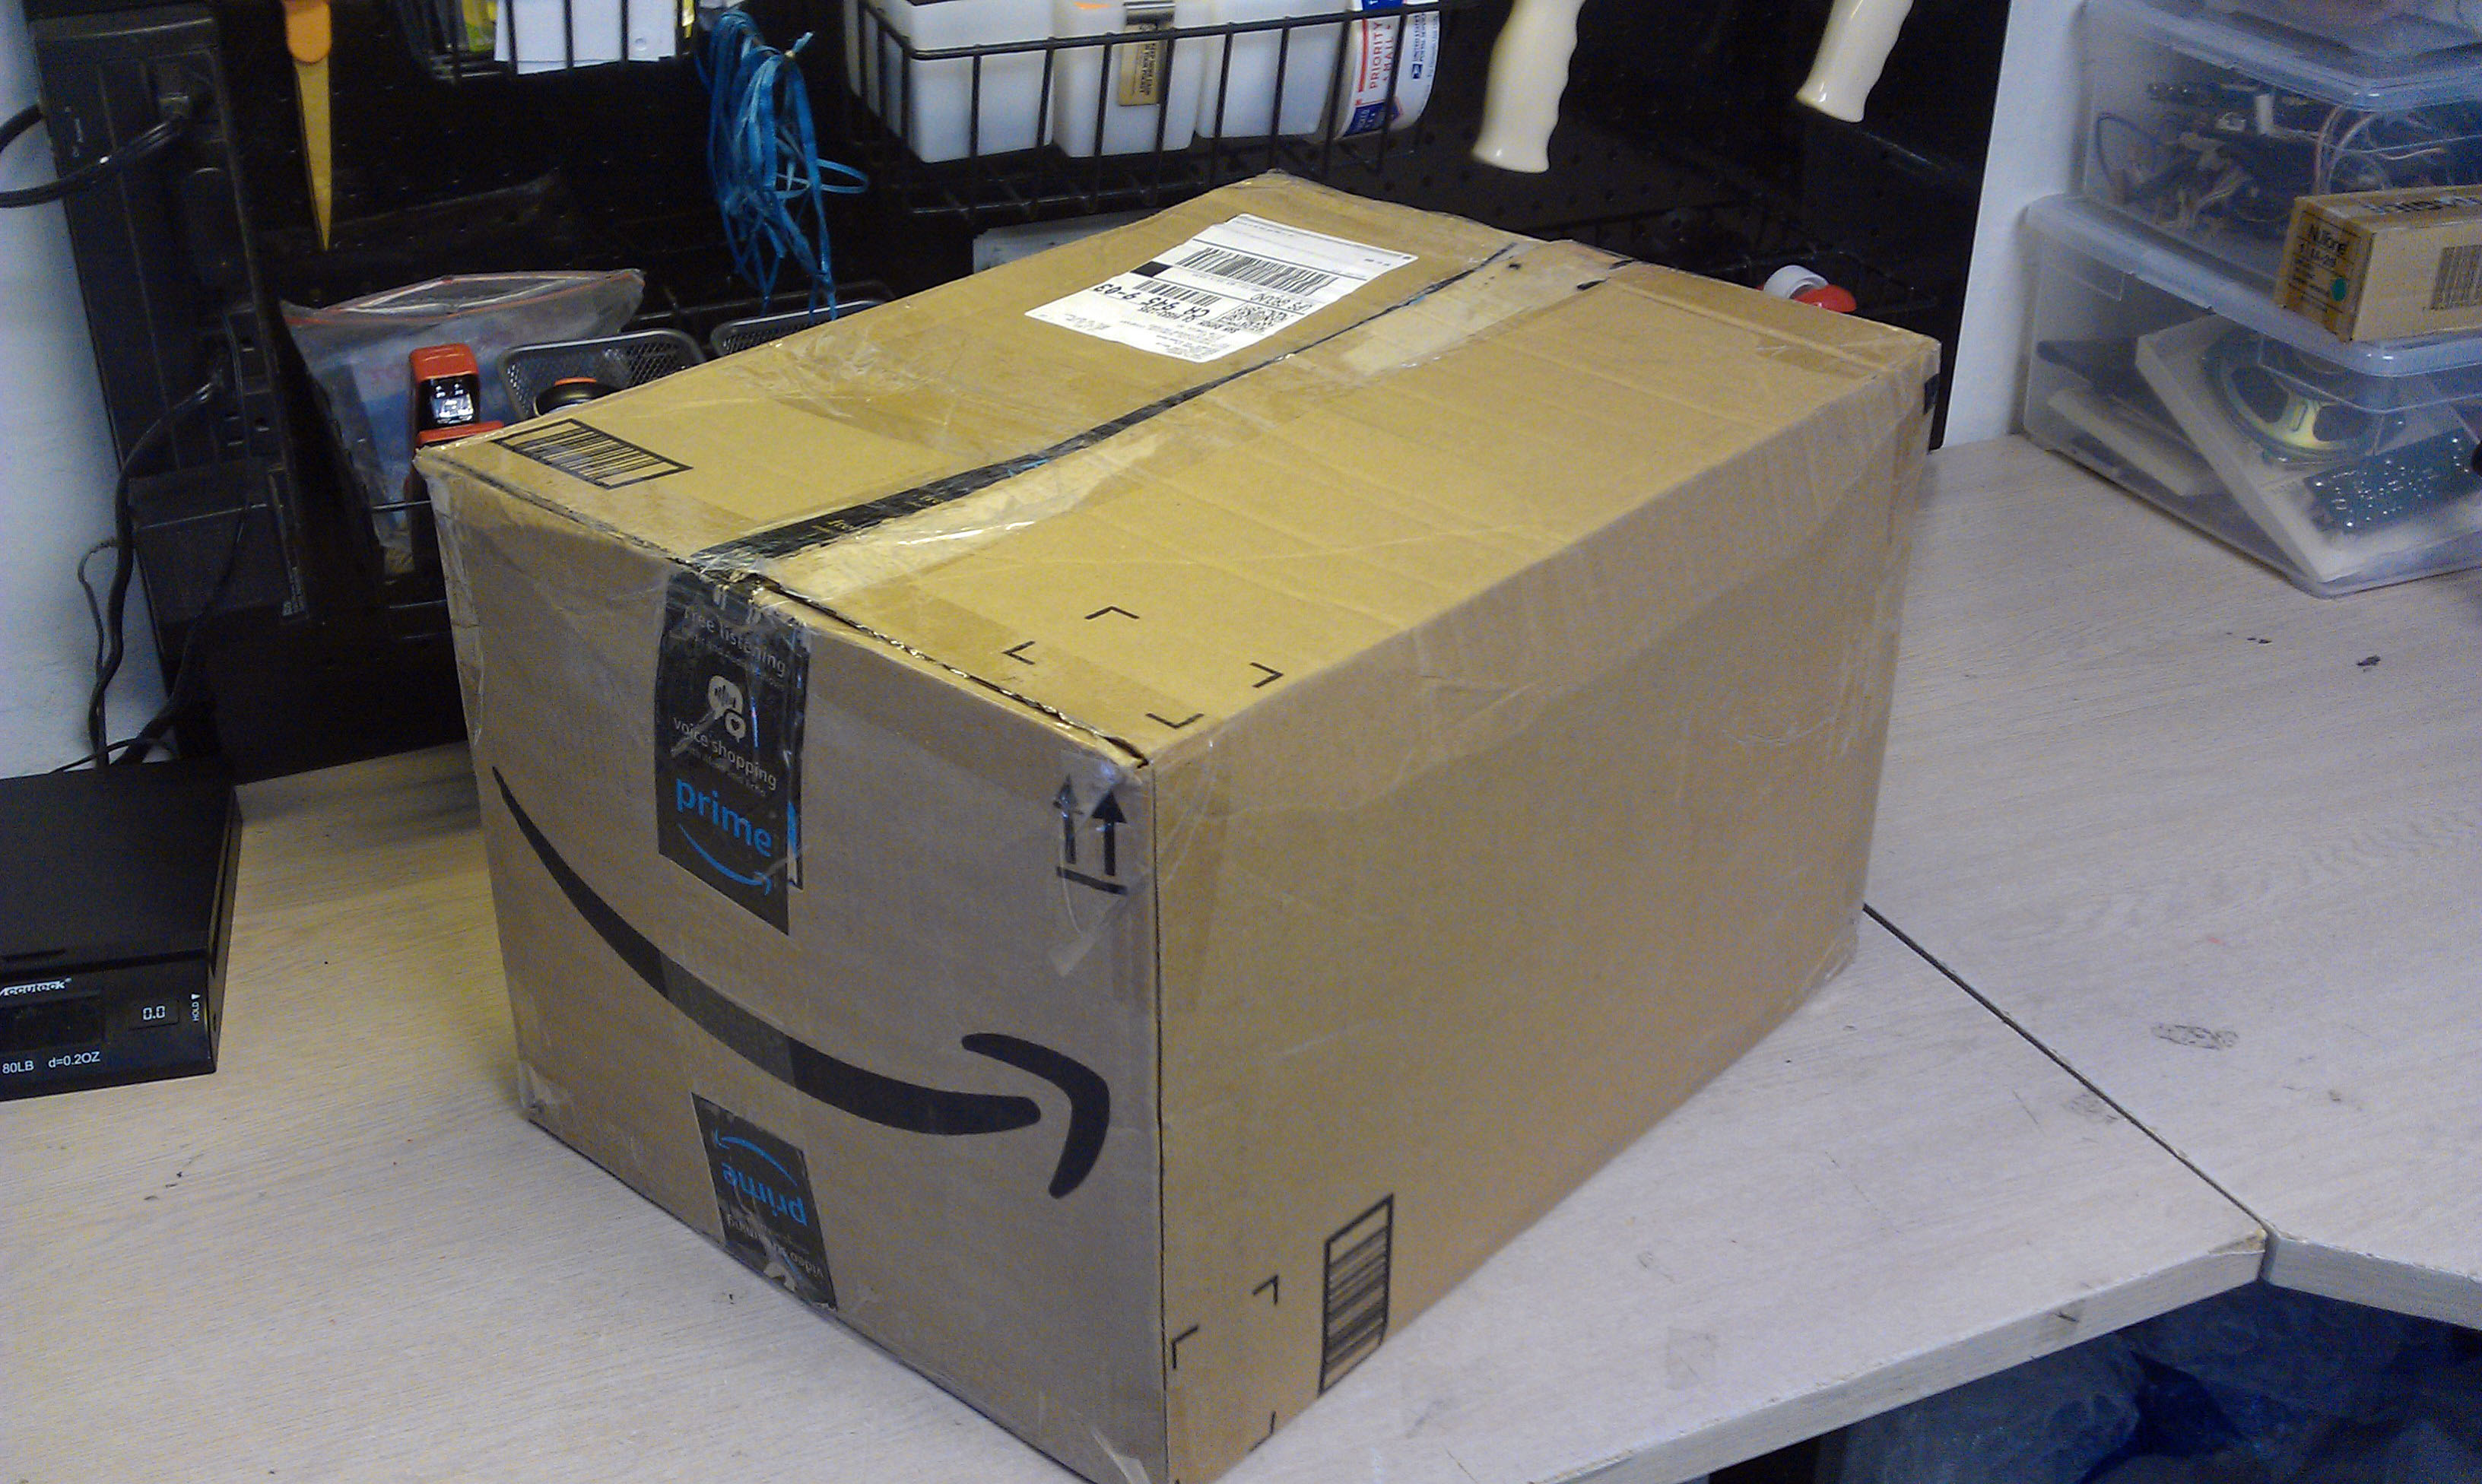
3. We use a new shipping box which measures 29" x 17" x 9". This is the largest box which can be shipped based on its weight only and there is no additional charge for its "dimensional weight".
The other advantage to this size of box is that there is plenty of extra space around the Master Station in case the box is dropped or bashed into something. Most shipping companies recommend a minimum of 4" of extra spaced around the contents of the box to prevent damage.
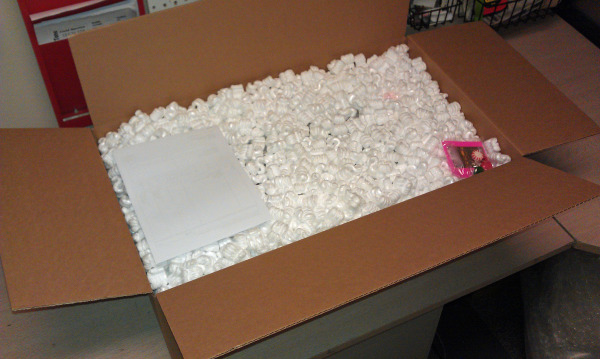
A layer of styrofoampPeanuts is placed in the box, the bubble-wrapped Master in placed on the peanuts and all of the extra space is filled with more peanuts. The peanuts should be compacted somewhat to prevent the master from shifting around in the box.
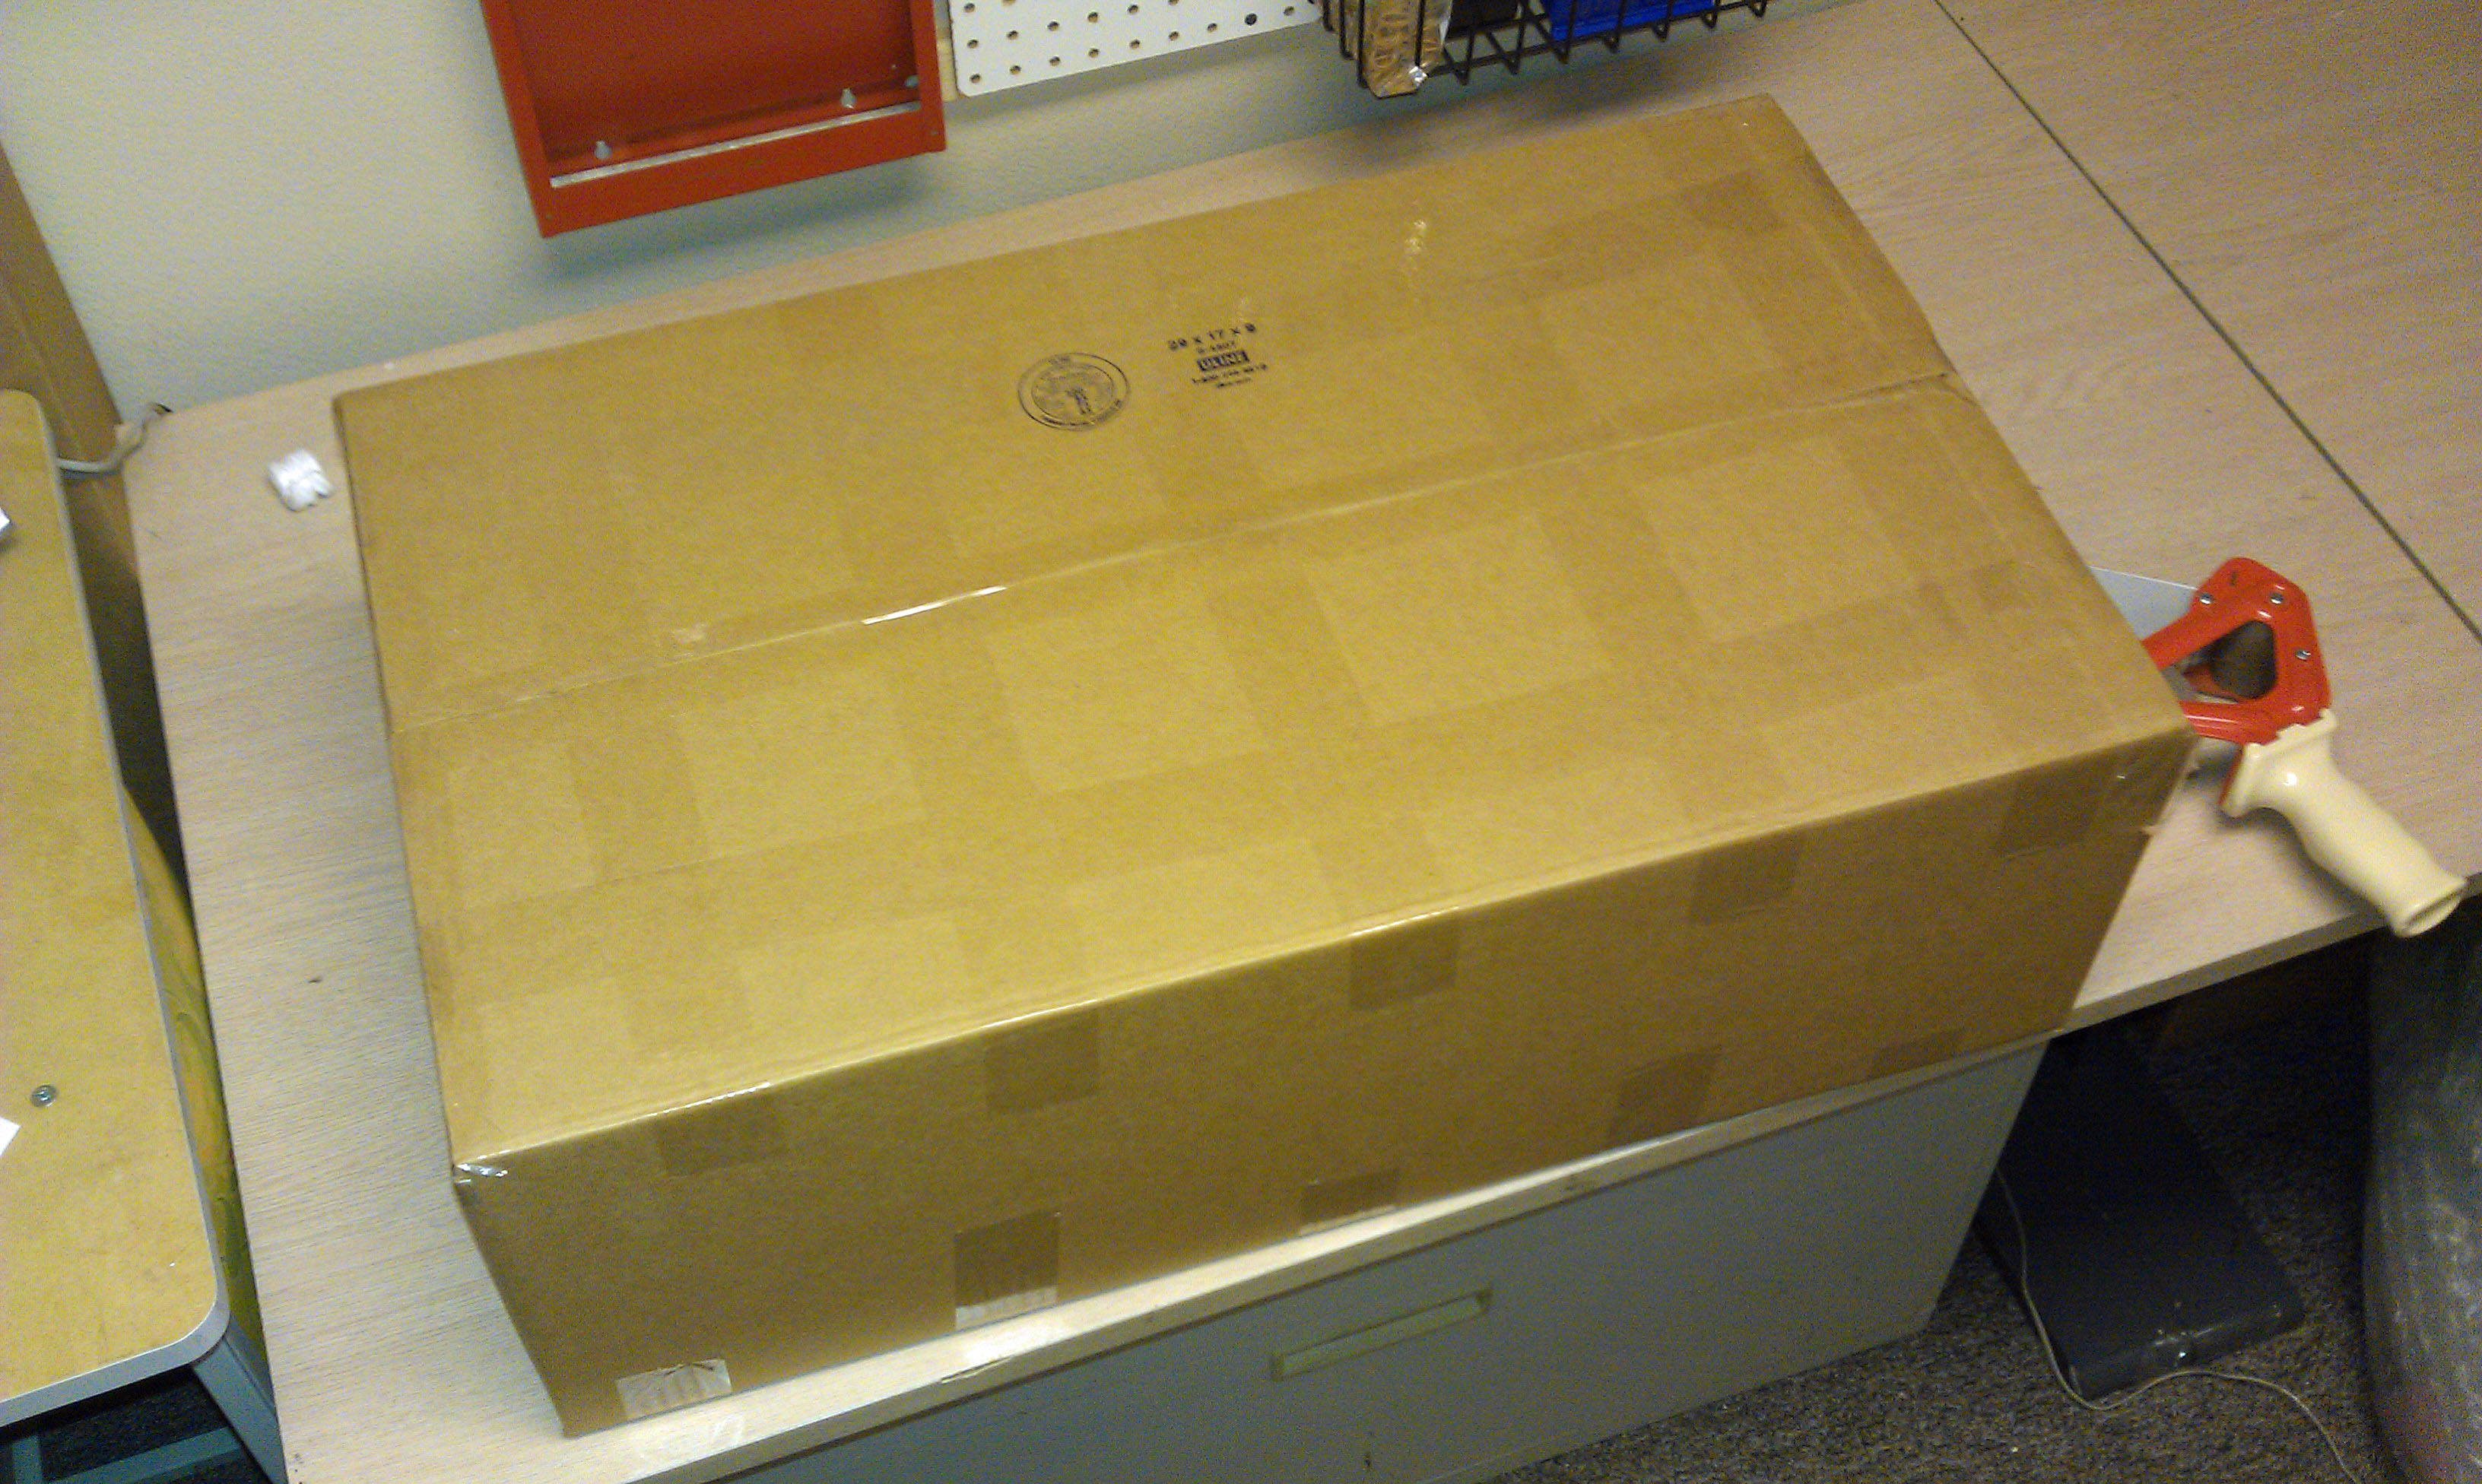
4. The box is sealed with lots of tape. We tape the box with 3 rows of tape length wise, 5 rows of tape across its width and we seal the folded seams also. This is done on both the top and bottom of the box.
Now the Master Station is ready to be shipped. We use Fedex and each package is insured and will require a signature for delivery.
 Cindy & Christopher
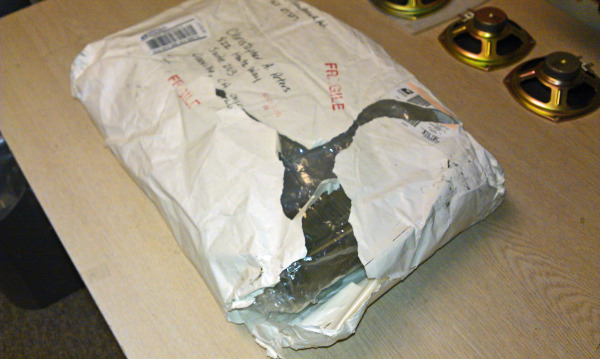
How Not To Pack Your Intercom
By just chance I received an Intercom in today that is a very good example of how not to prepare your Master Station for shipment.
This is a NuTone IM303 and these are the actual pictures as we received the shipment from UPS.
When the UPS driver handed me the box, one corner was torn and the edge of the face plate was pushing through the tear. The box is an old second hand box and it has other tears and gouges from being used before.
The seam had just one piece of tape closing the box, there wasn't any tape across the seam to help hold the box closed.
Inside was just the IMA303 with a few pieces of old bubble wrap and some waded up paper towels. The IMA303 wasn't wrapped up in anything and it was free to slide around in the box during shipping.
It was mostly luck that this Master Station wasn't damaged at all.
Cindy & Christopher
Here's another good example of why it's so important to package your Intercom Master Station carefully for shipment.
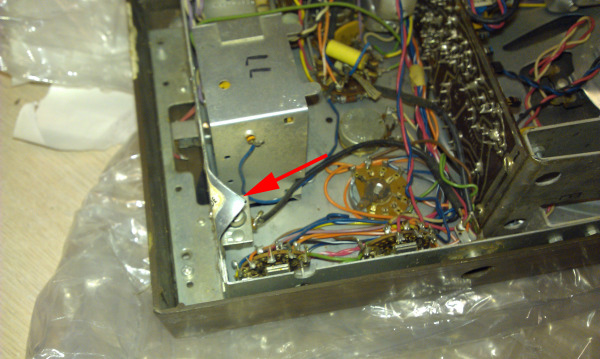
A few weeks ago we received a NuTone Model 2090 Master Station in for repair. This 2090 was manufactured in 1968 and needed to be rebuilt to restore it to working condition.
The box that it was shipped in was very small and there were just a few pieces of crumpled up newspaper in the box to cushion the Master Station.
When this 2090 was put on the bench for its initial testing before its repair, it appeared to be dead. This was not the reported condition of the Master Station by its owner.
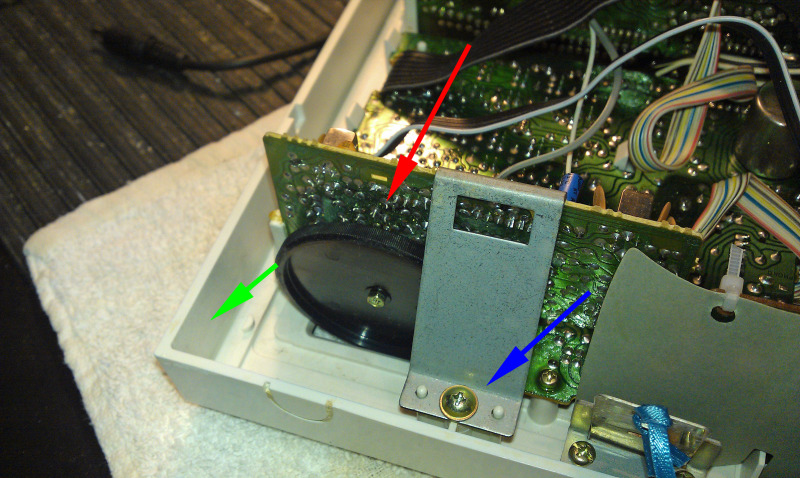
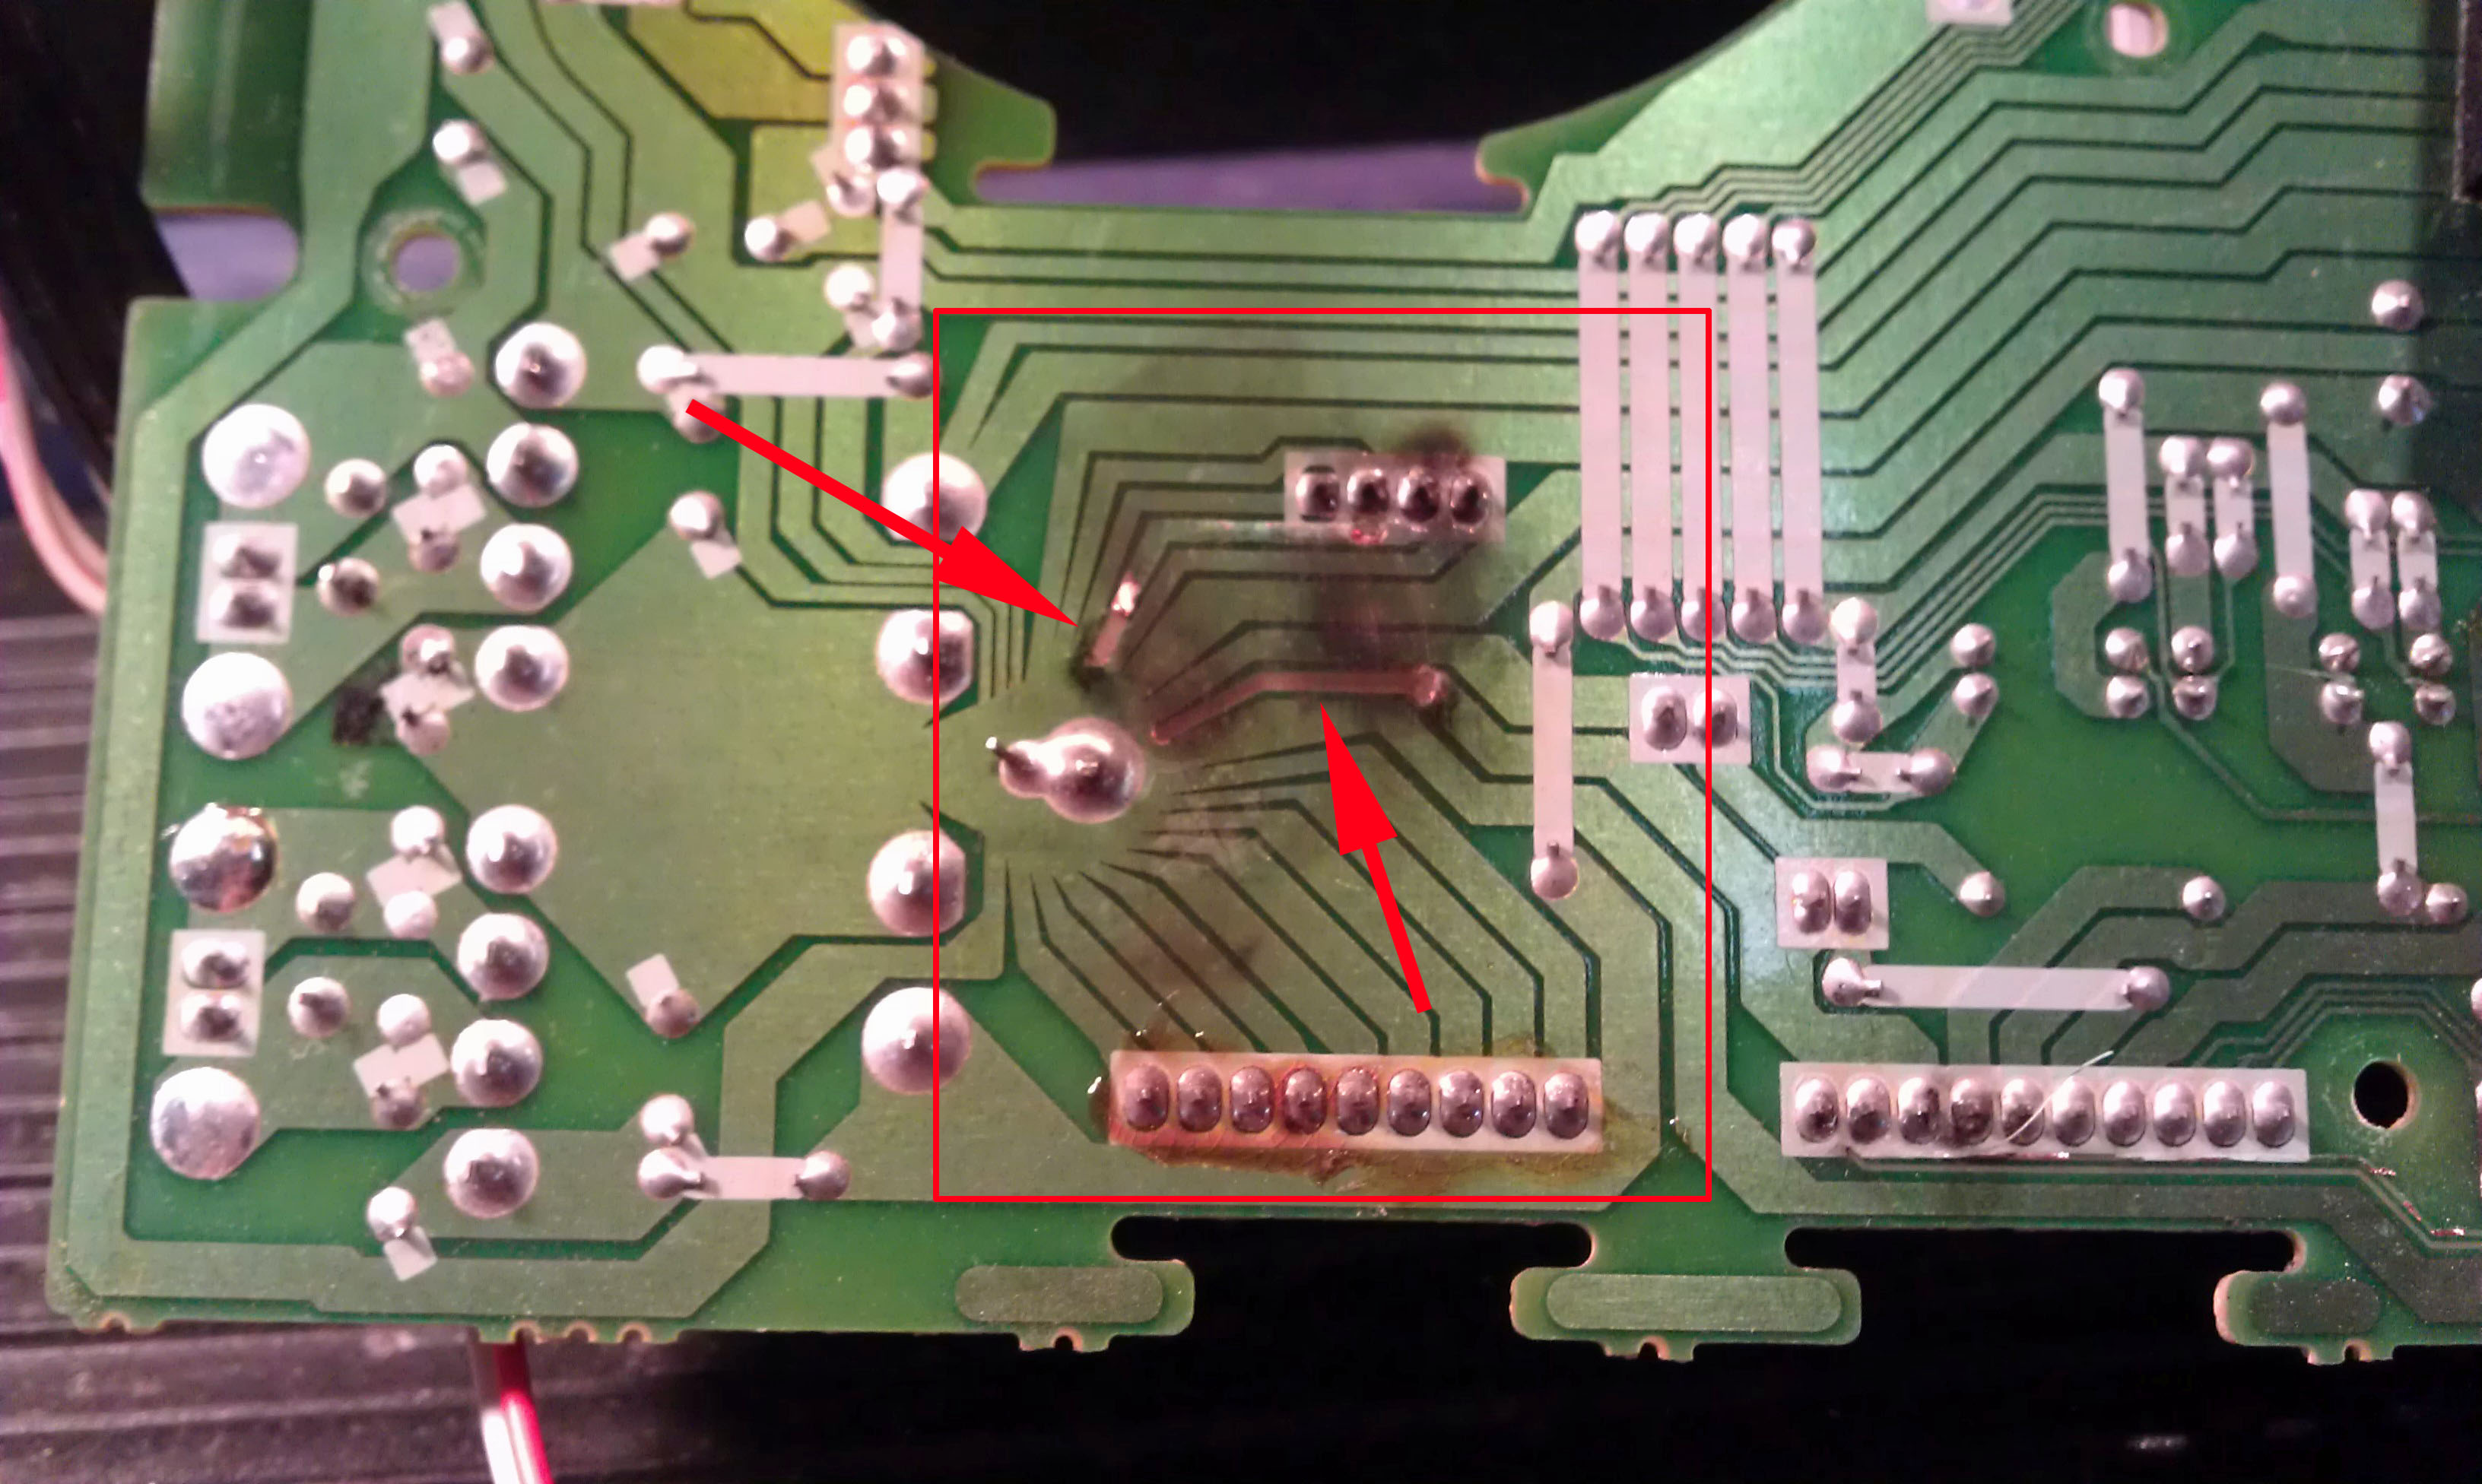
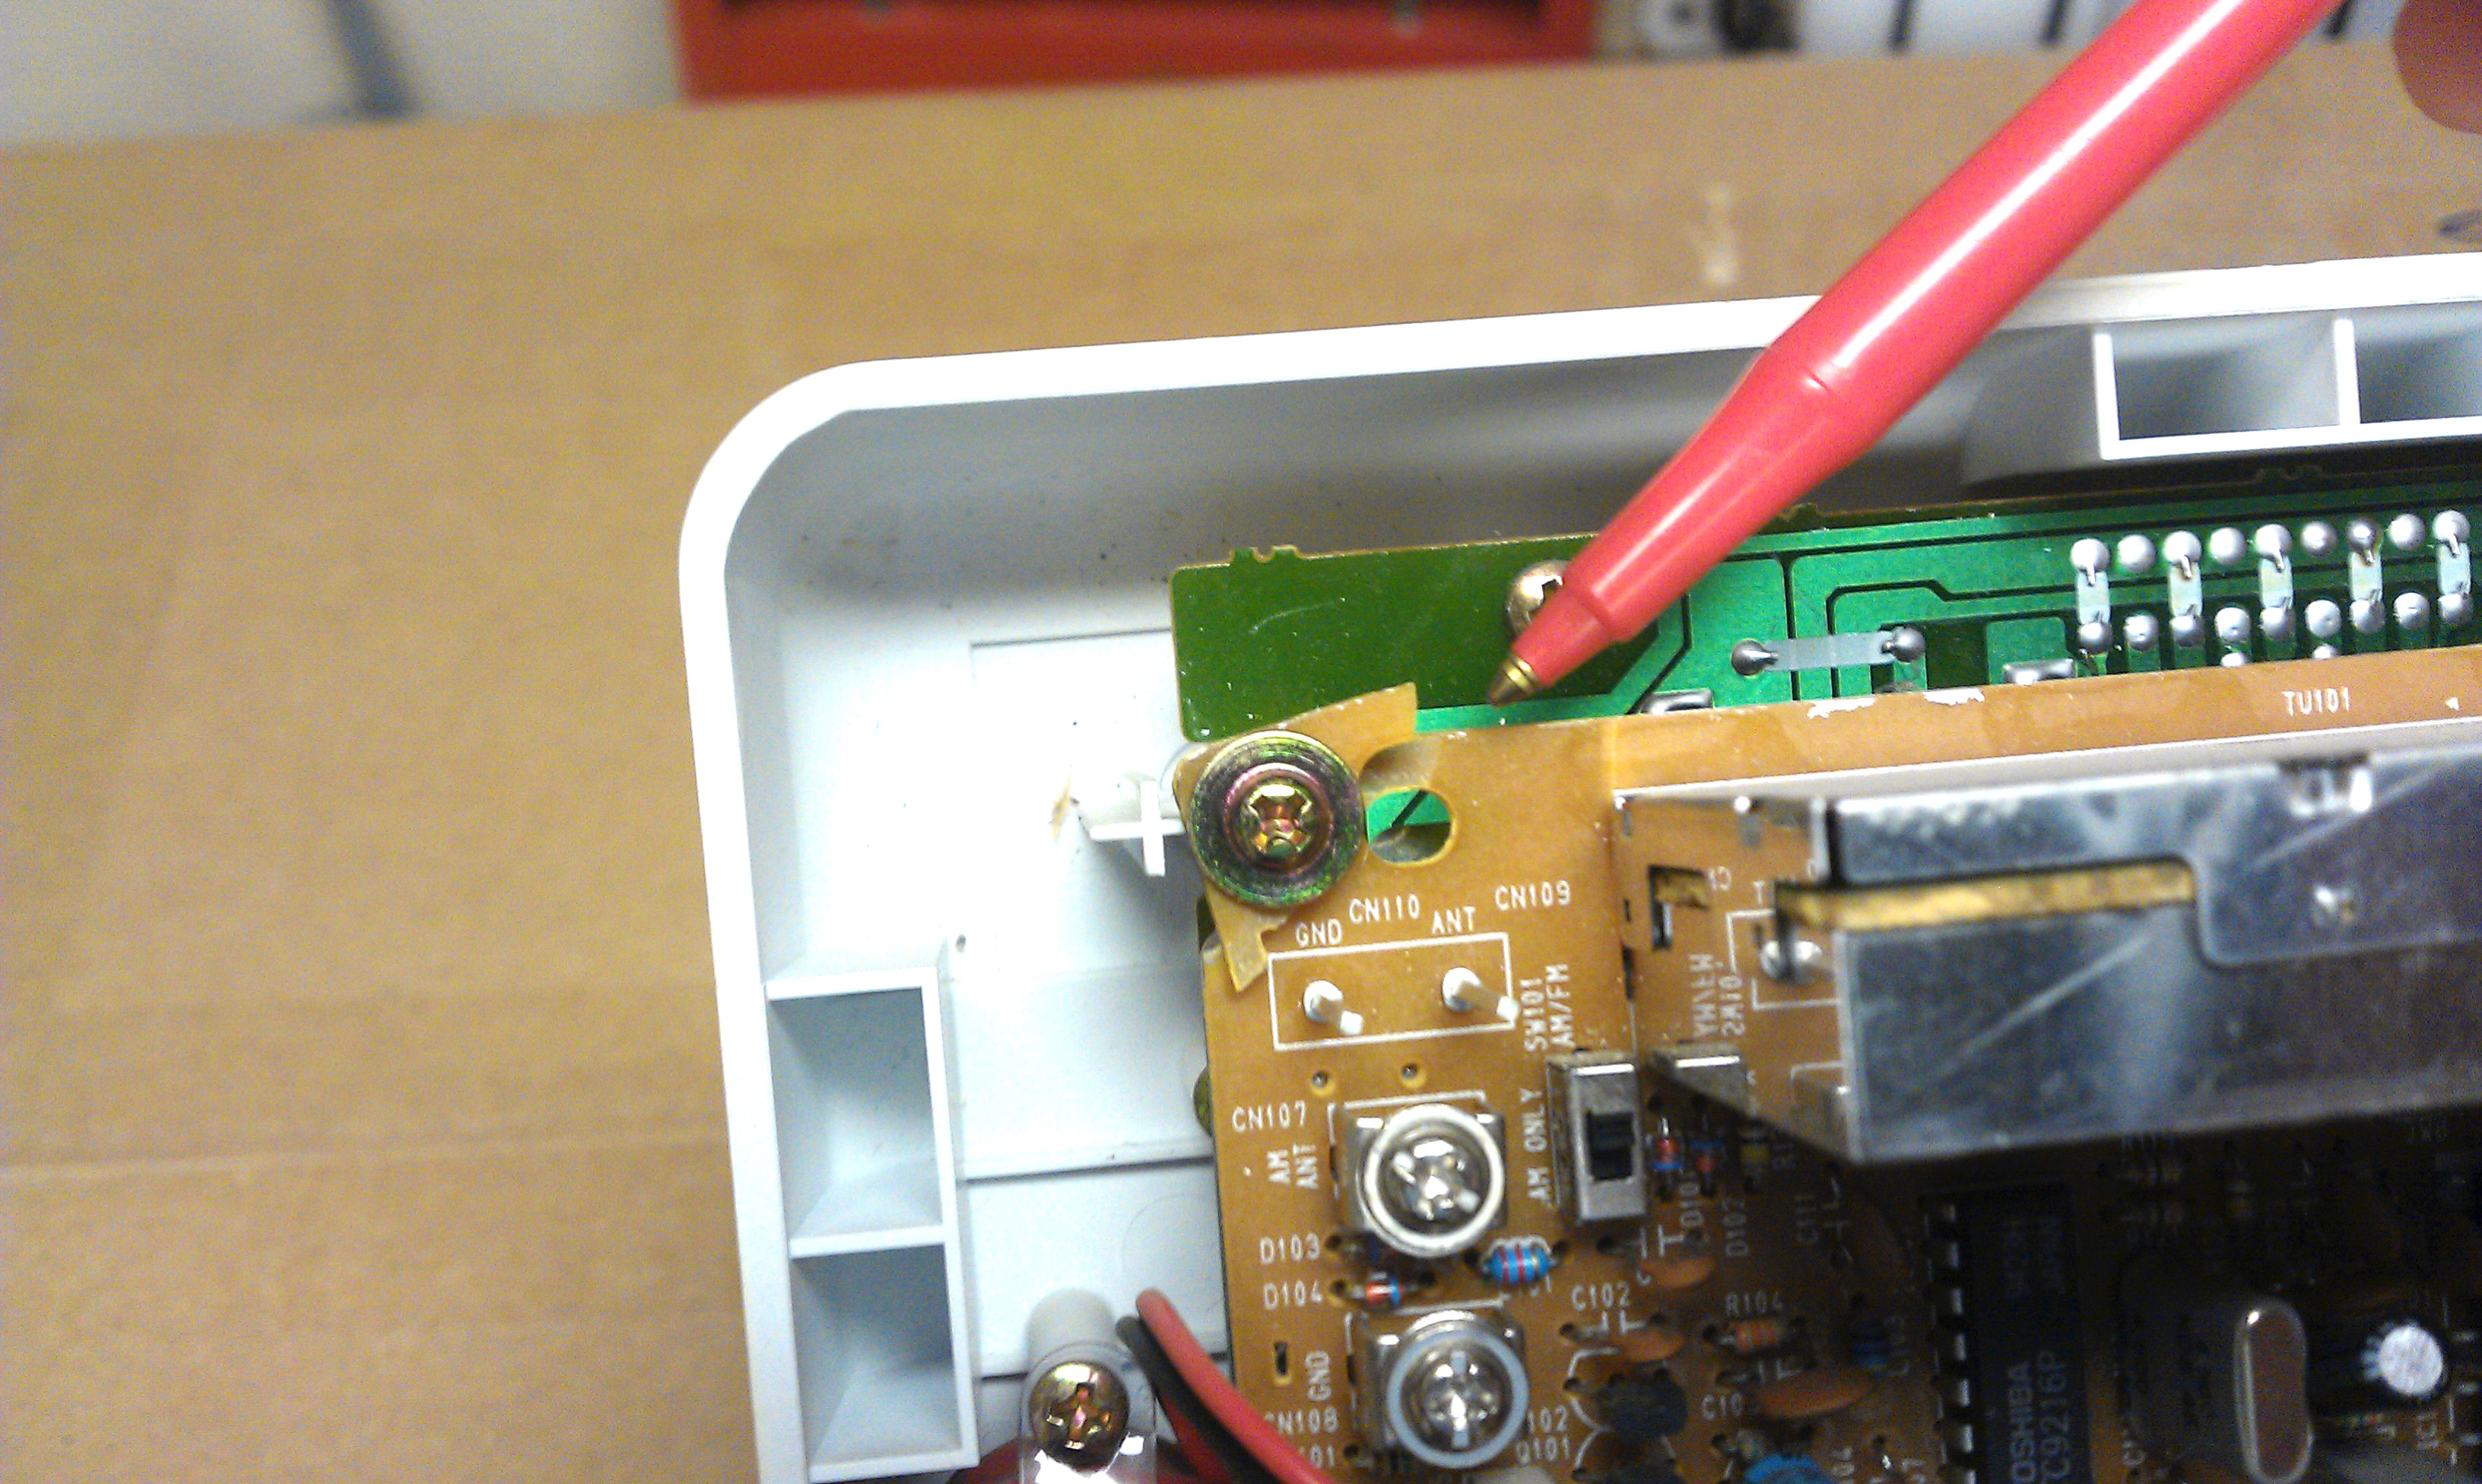
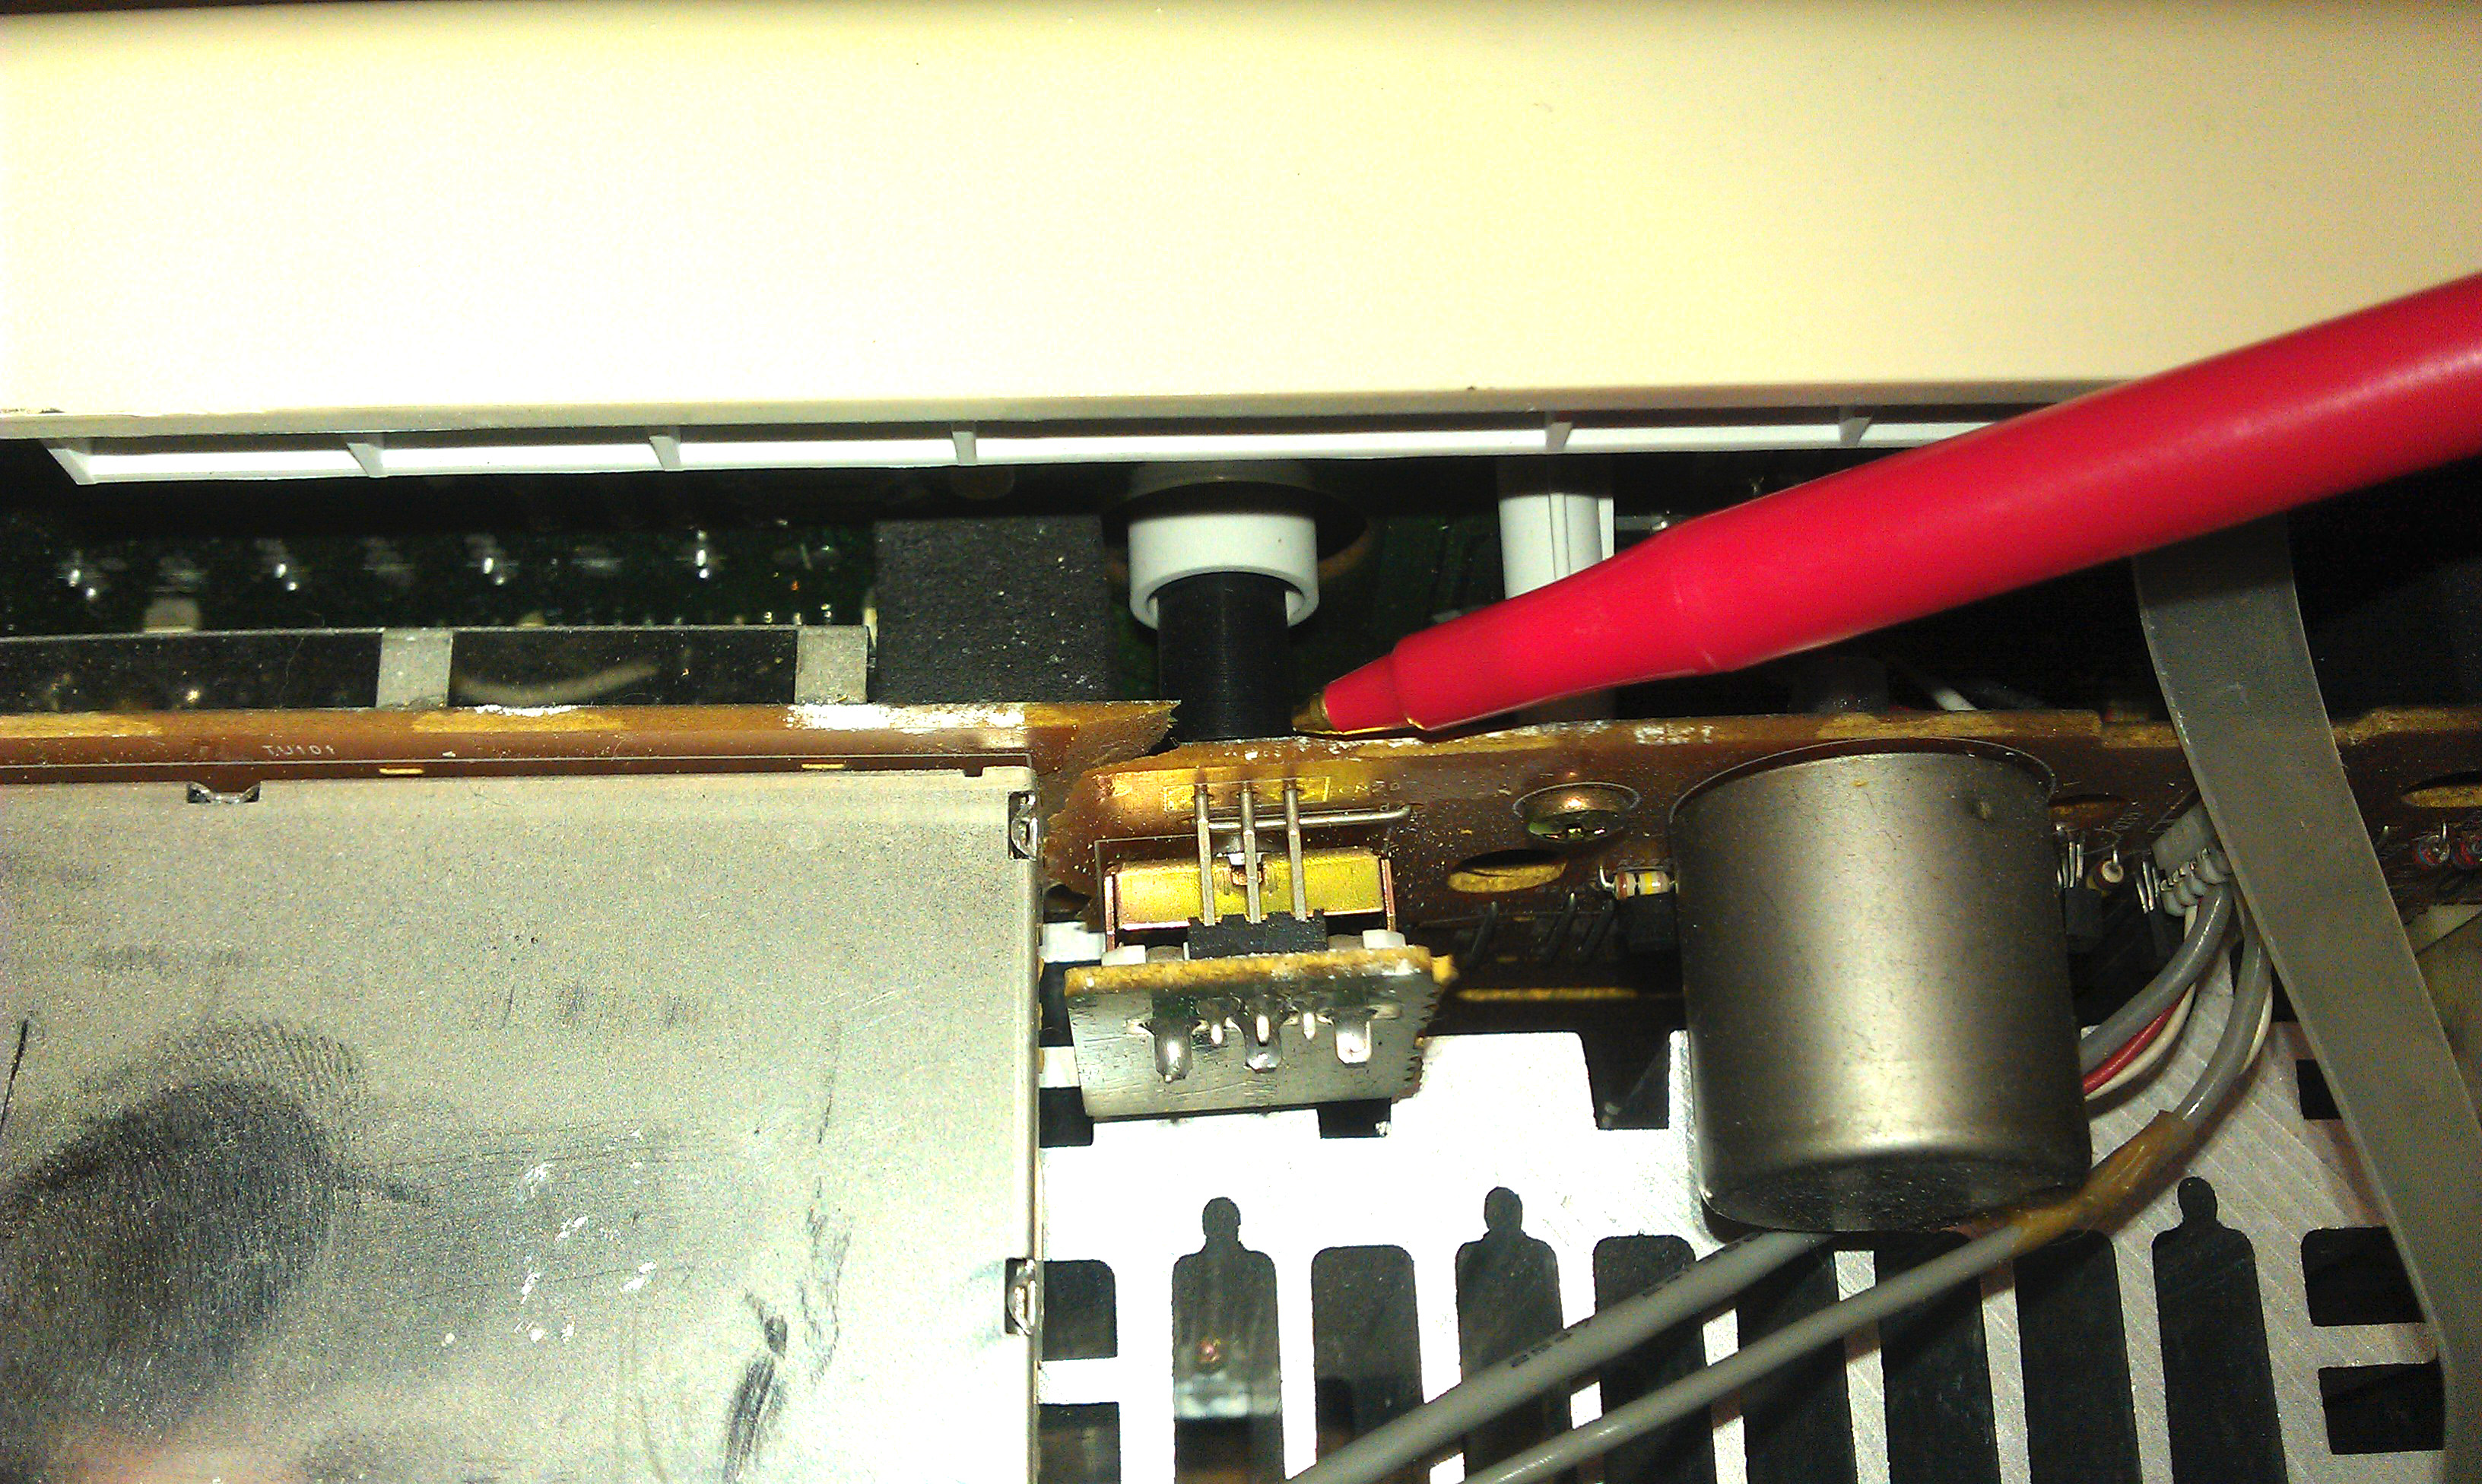
Upon closer inspection I found that the amplifier circuit board had a 4 inch crack across one corner. It seemed that due to the lack of proper packaging this Master Station had been dropped and smashed during shipping.
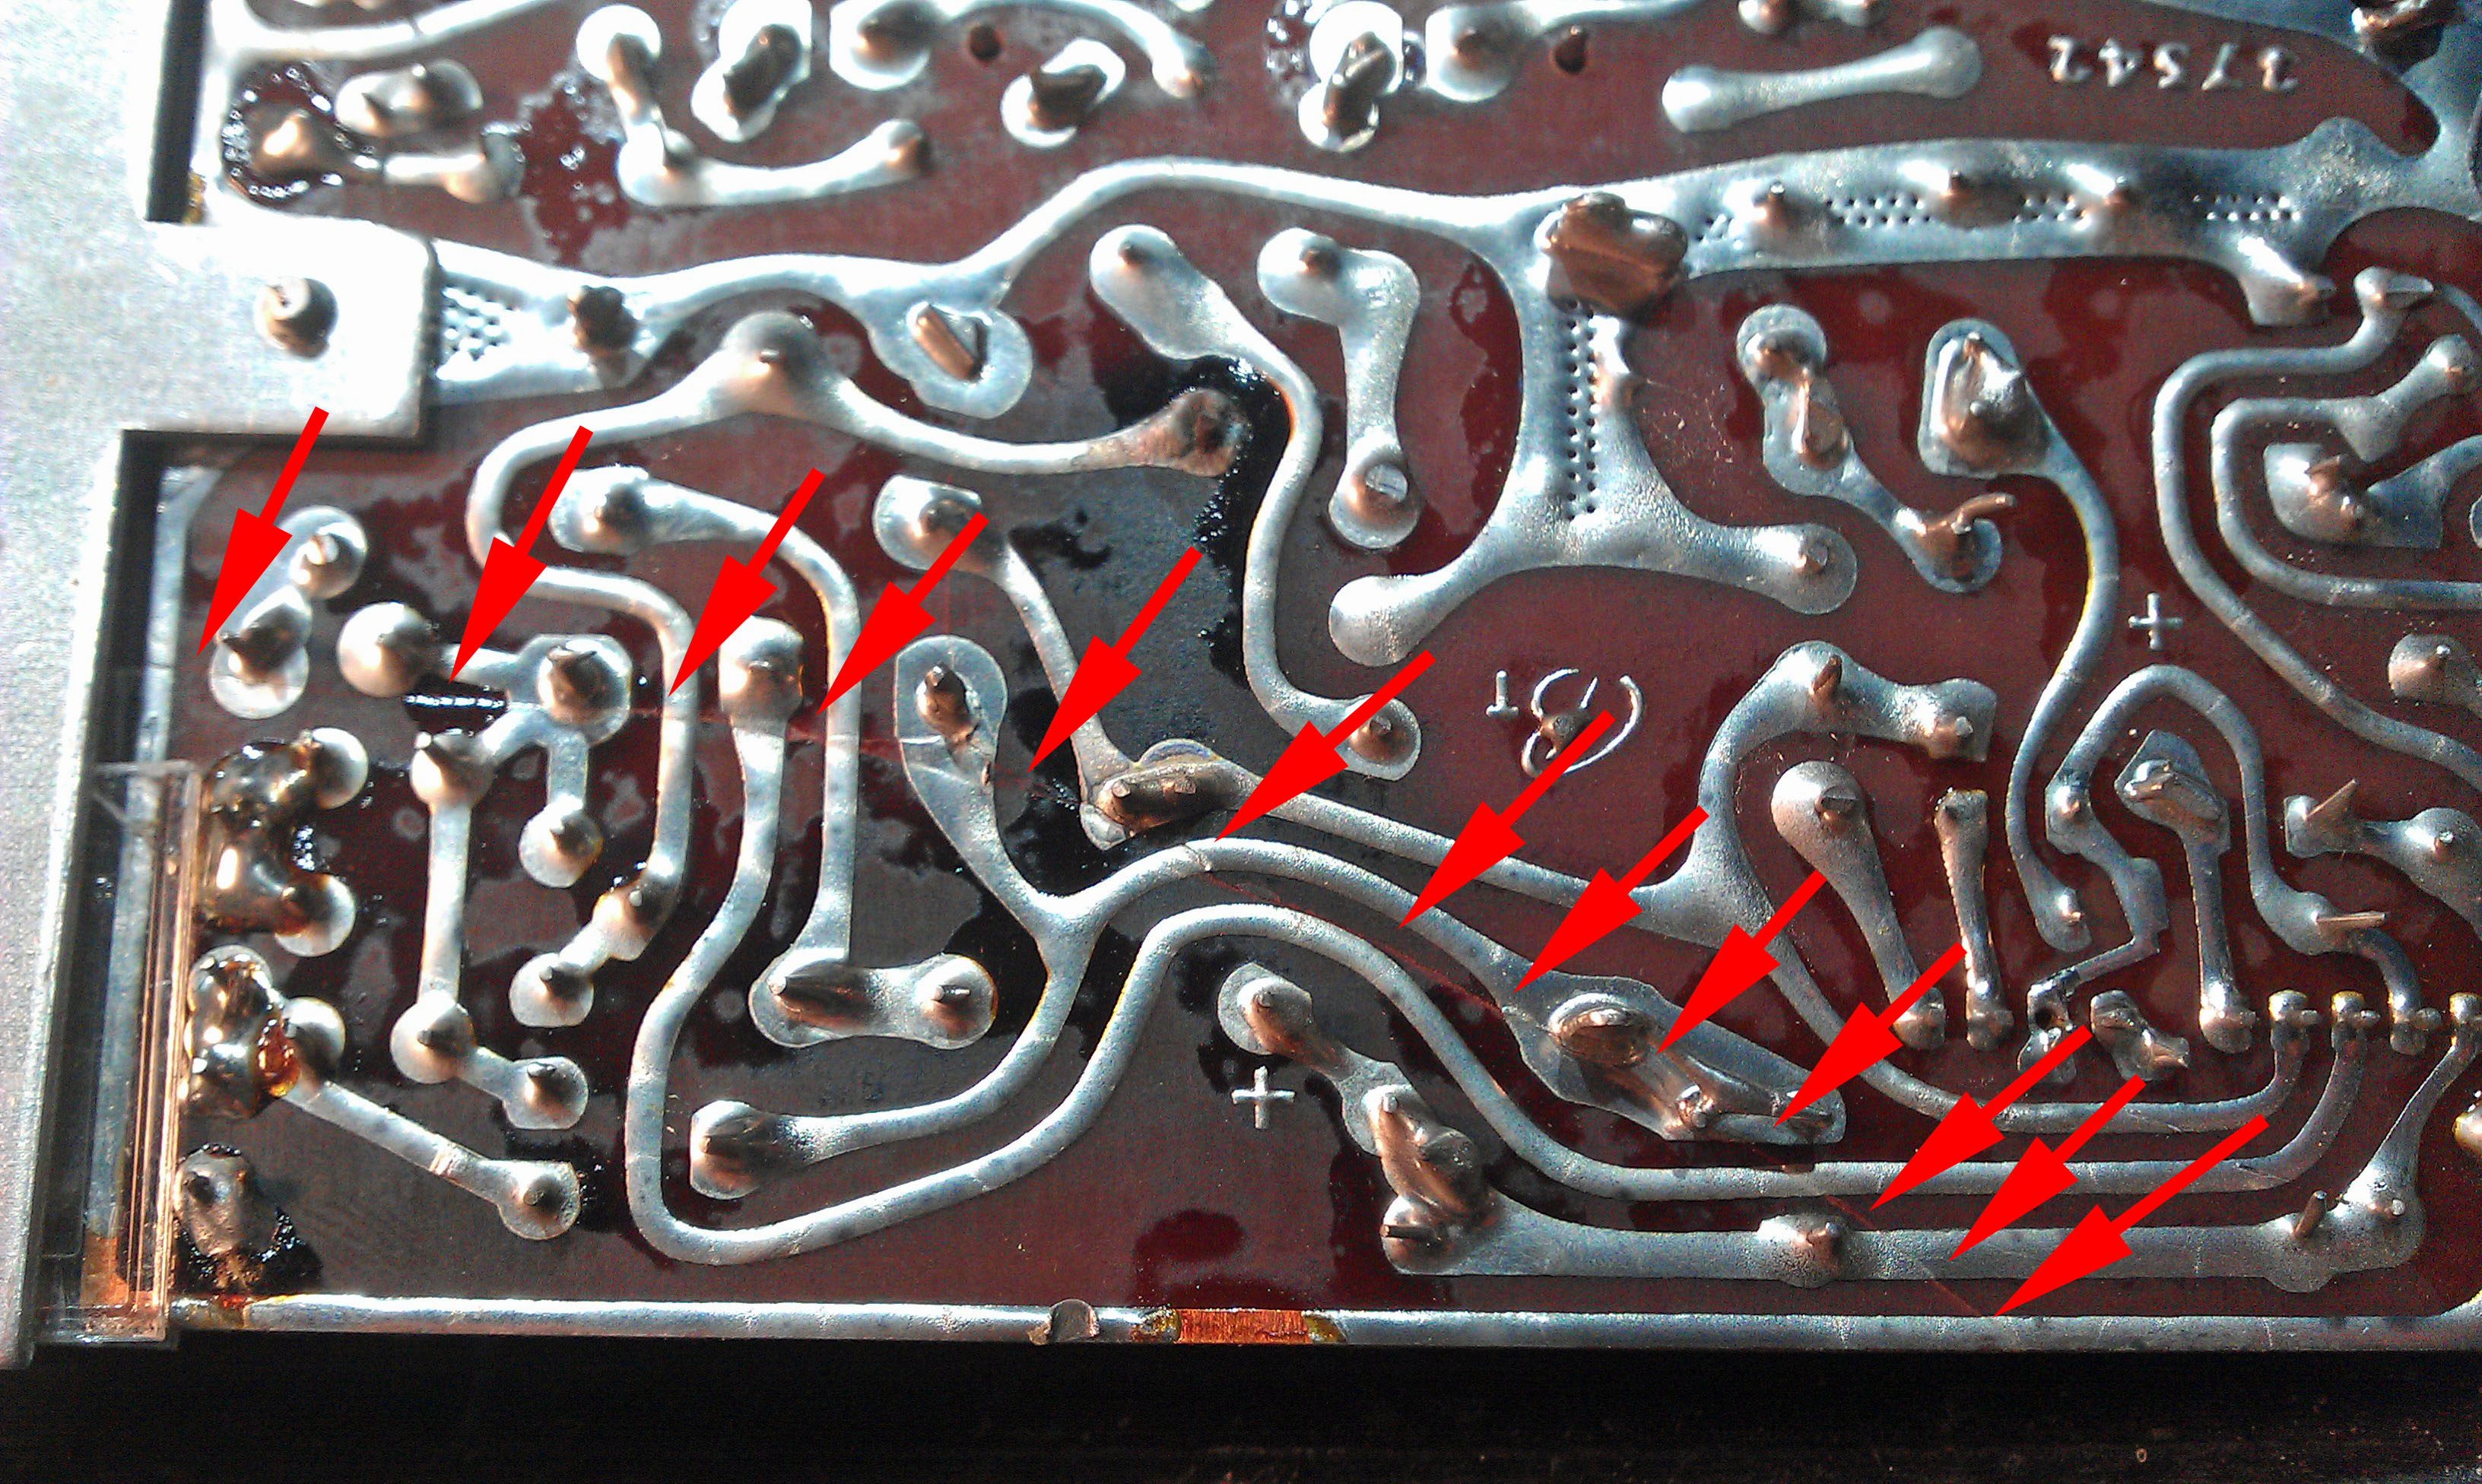
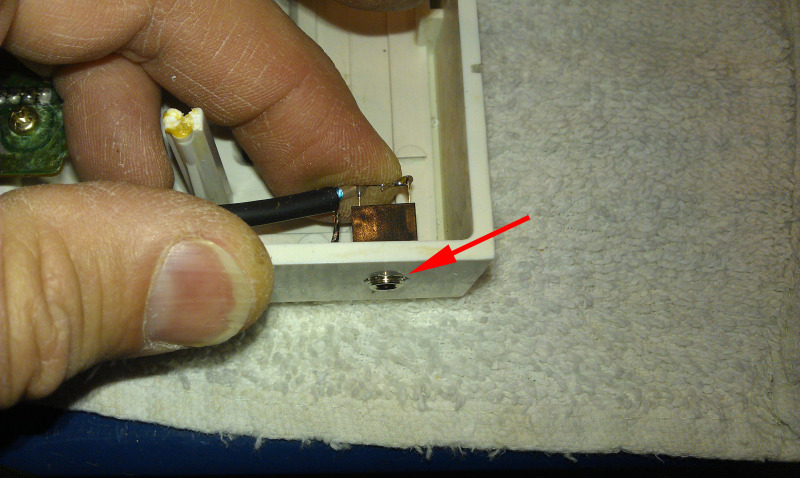
If you look carefully and follow all of the red arrows you can see the crack in the fiberglass circuit board and through the solder traces.
Fortunately these early NuTone circuit boards have really huge circuit board traces and repairing them will be possible. It would seem easy enough to just reflow the solder across the traces to eliminate the cracks, but this will not be a good enough method for this type of damage. Solder by its self is much to soft to add any strength across the crack.
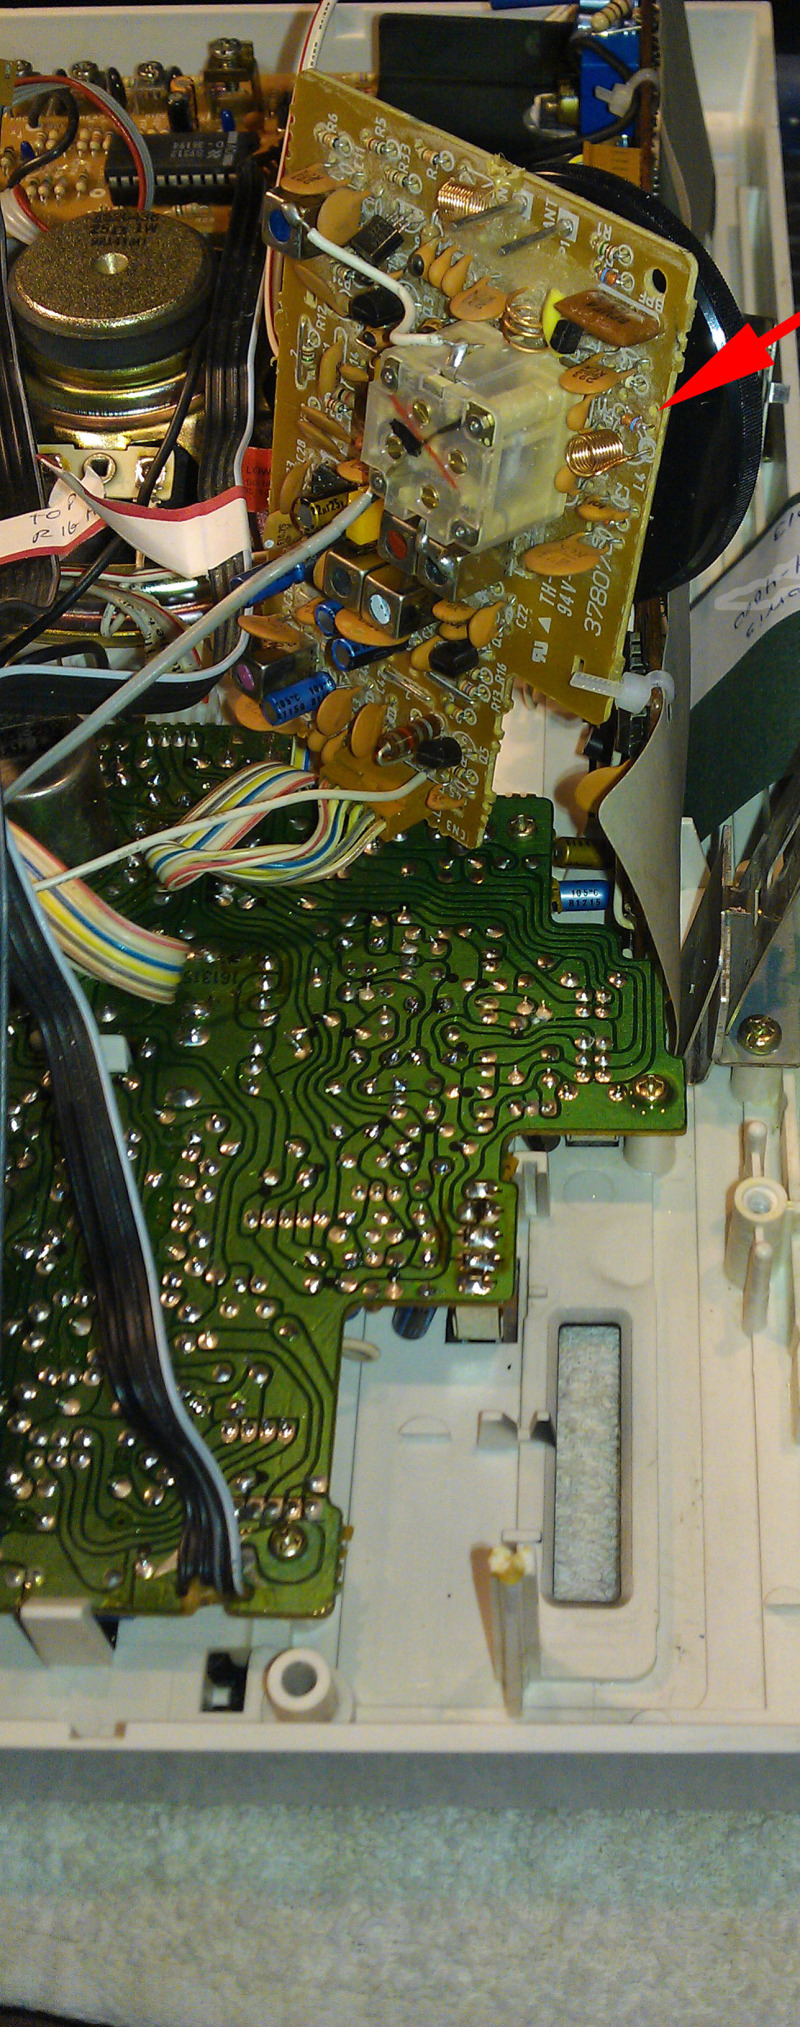
It is necessary to "stitch" the board back together by adding wire reinforcements accross the cracked traces. I used the left over leads from the new componets I had installed during other repairs. These wire leads are very stiff and they will solder to the traces very well.
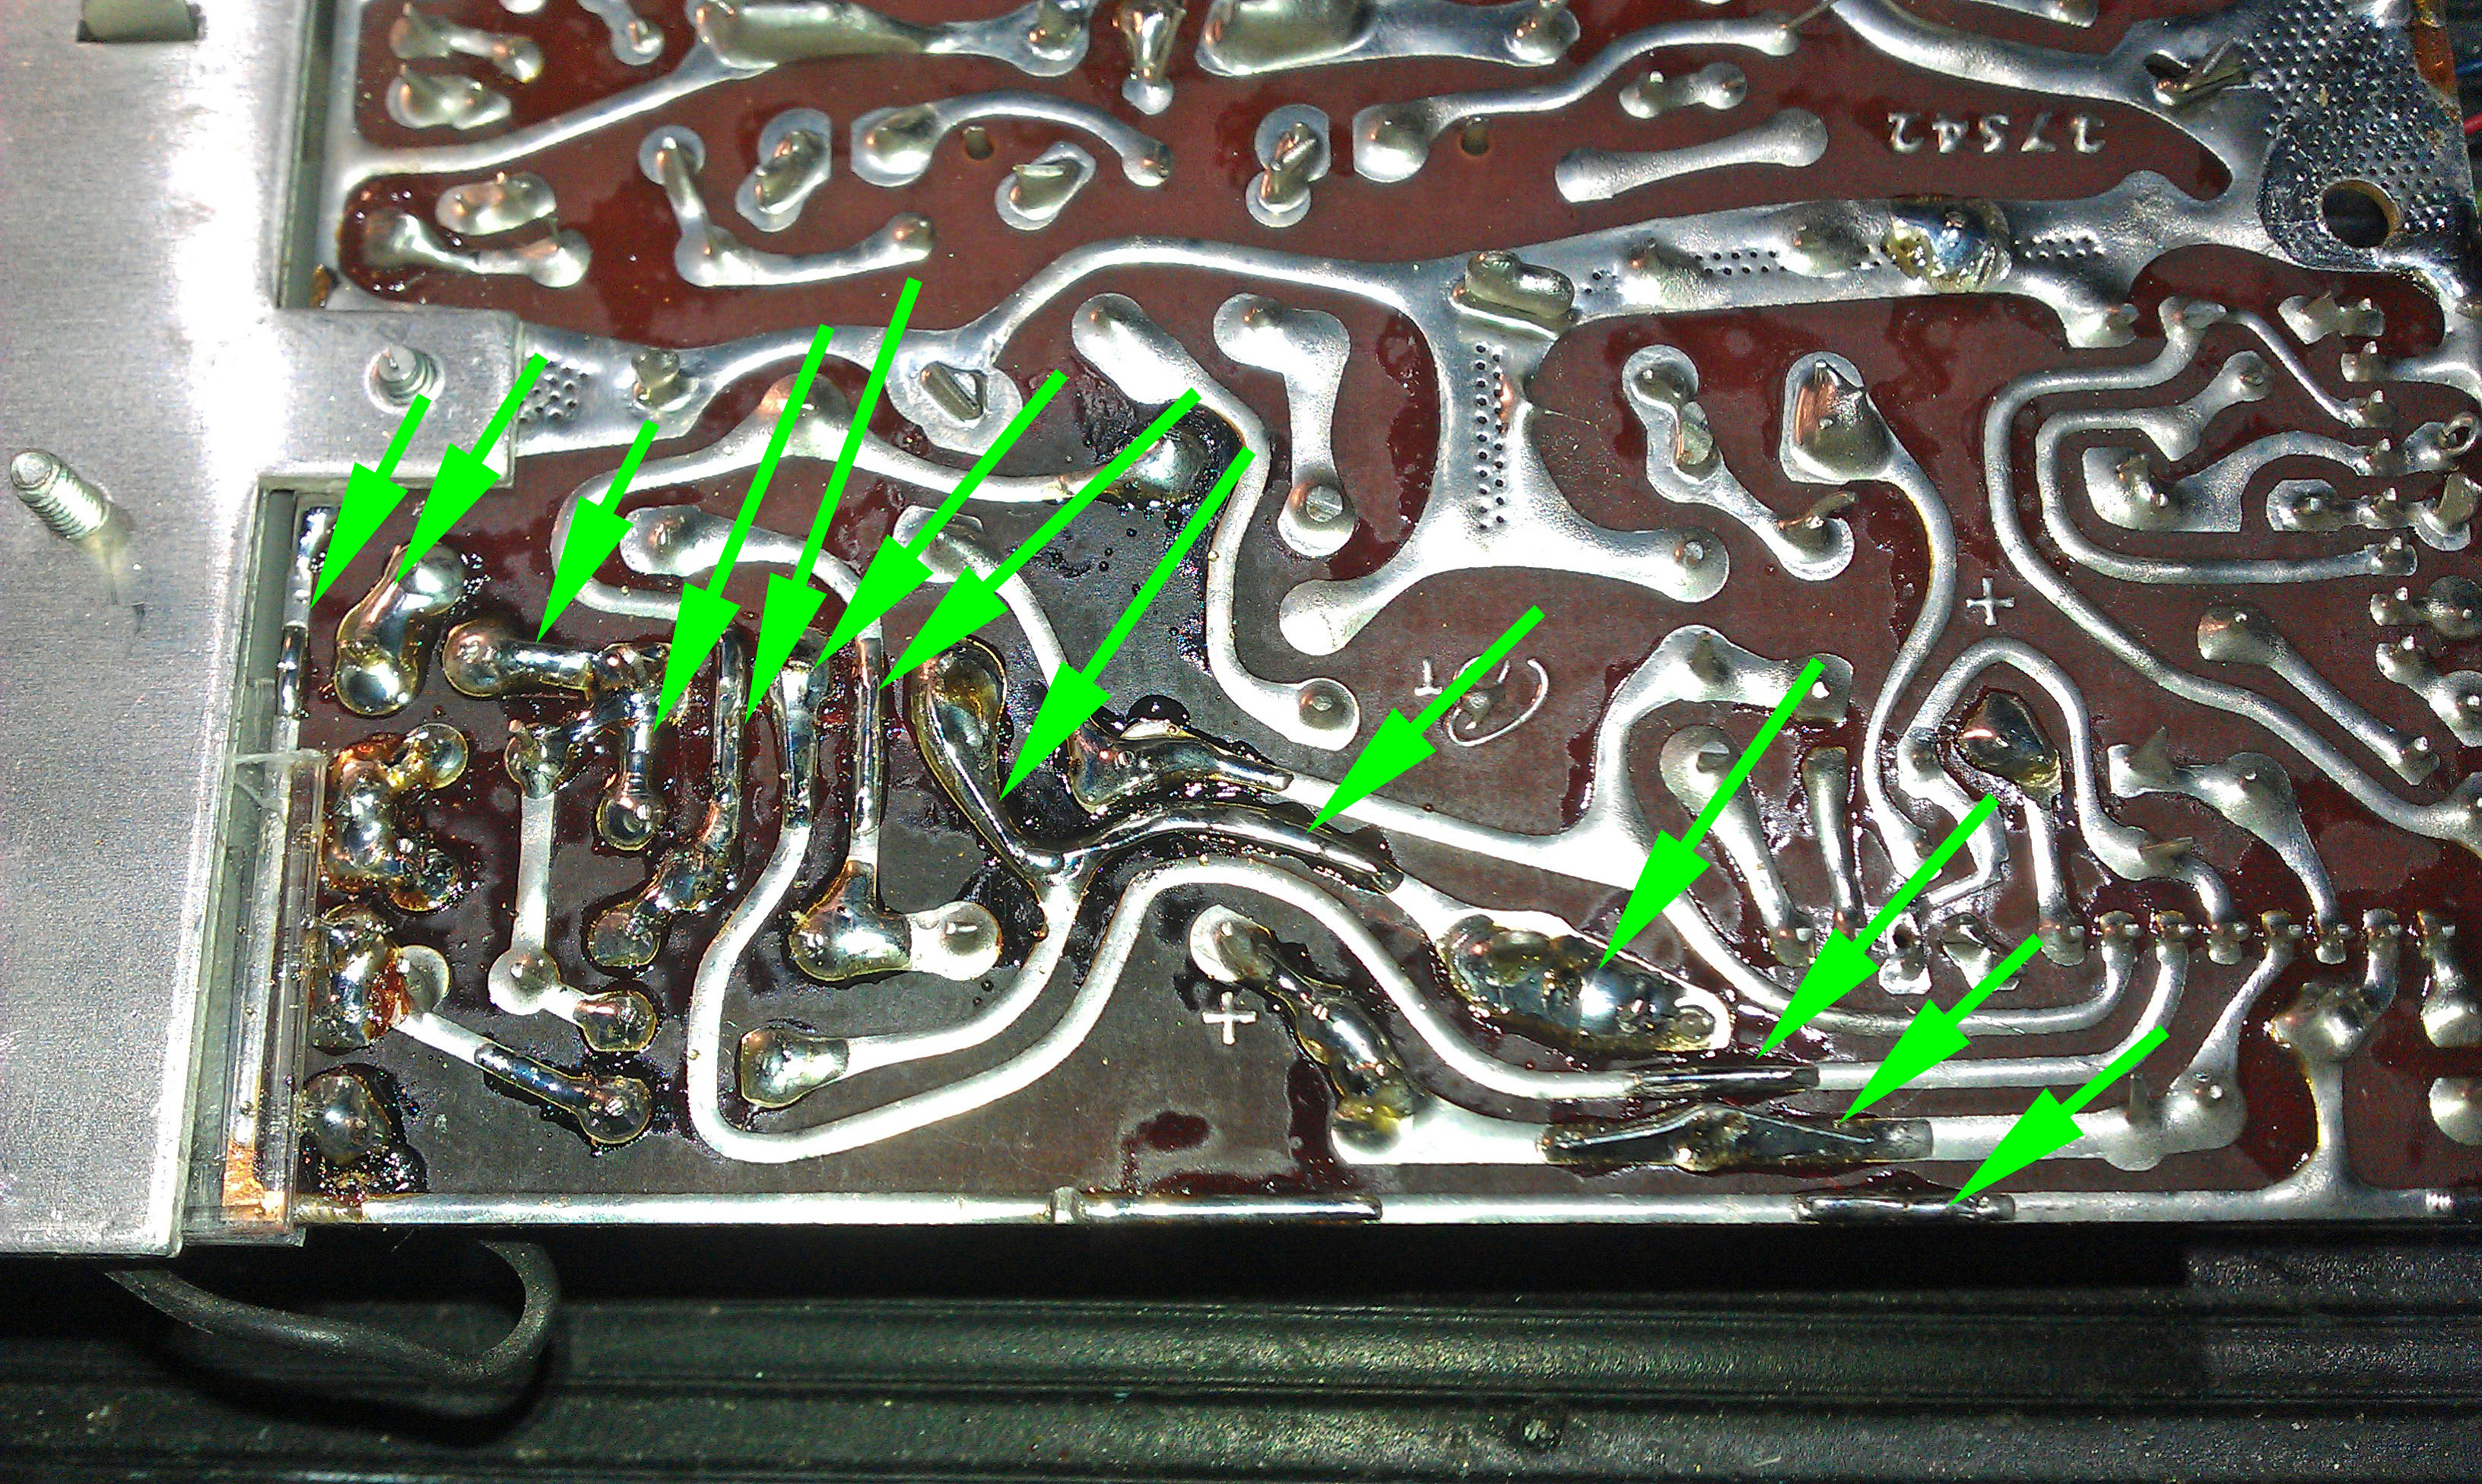
If you look carefully and follow the green arrows, you can see how the wire leads are laid across the cracked areas and how they are embedded into the built up solder.
This method (even though it looks a little messy) adds a lot strenght back to the circuit board and it will prevent the crack from causing any future problems.
In the end, this 2090 worked well and the rebuild was successful.
Cindy & Christopher
Just a quick reminder for everyone who is going to ship their NuTone Intercom Master Station for repair - Carefull and Proper packaging is VERY IMPORTANT.
We had two Master Stations delivered during the past few weeks that didn't have sufifficent packaging or were plced in boxes that were just to small.
One IM3303 Master came in with a broken faceplate.
The other IM3303 had a broken circuit board.
While we were able to replace both of these broken parts, the repir cost for the NuTone Master Stations were much higher than average due to the cost of the replacement parts.
Pack your NuTone Mster Stations well and insure them with your shipping carrier.
Cindy & Christopher
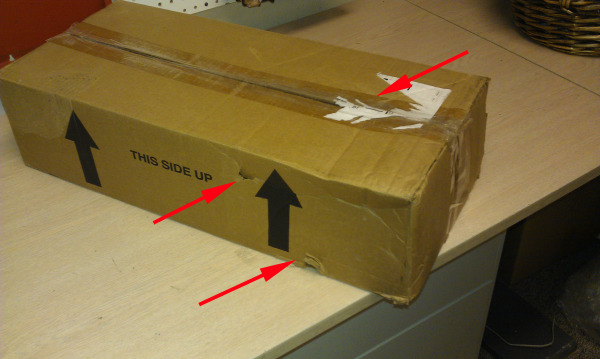
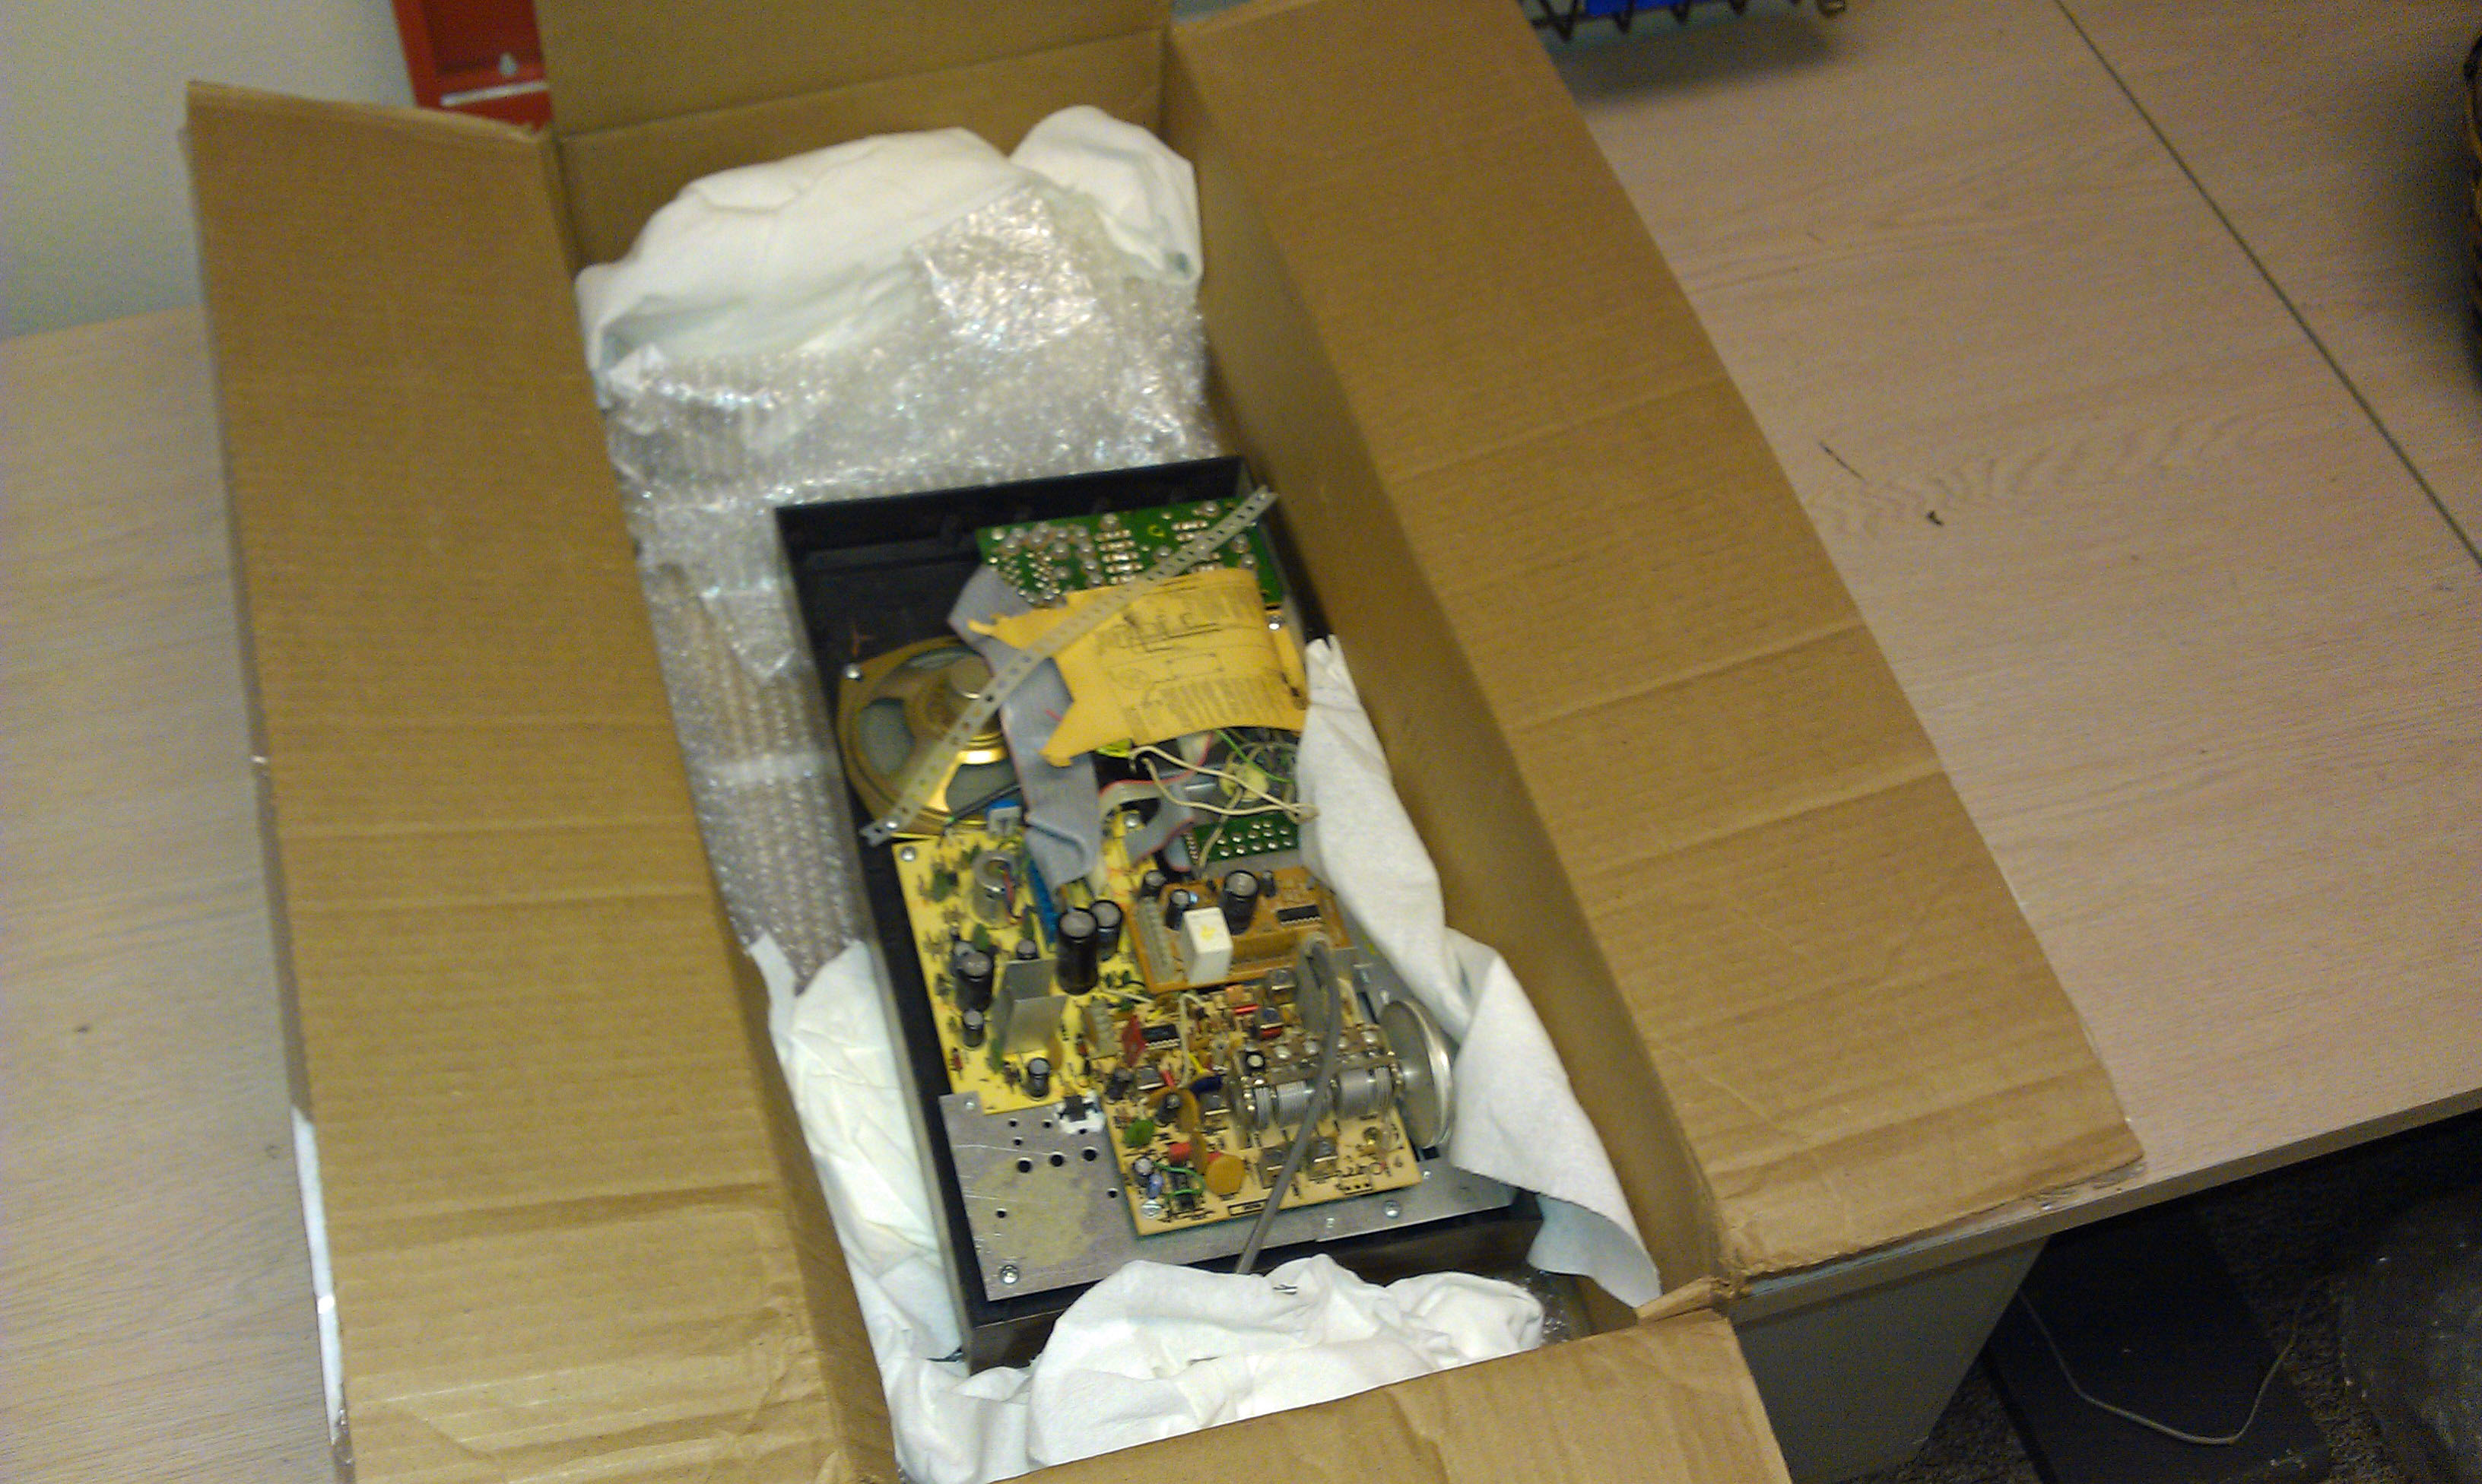
We have a new winner for the worst packaging job ever when shipping a NuTone Master Station.
This NuTone N2561 was wrapped in one layer of bubble wrap and then placed inside a paper shipping envelope. As you can see it didn't really make the trip very well.
A bent chassis corner was the only real damage, more of a statement about NuTone's quality construction than the effort made in packaging. Good Grief!
Cindy & Christopher
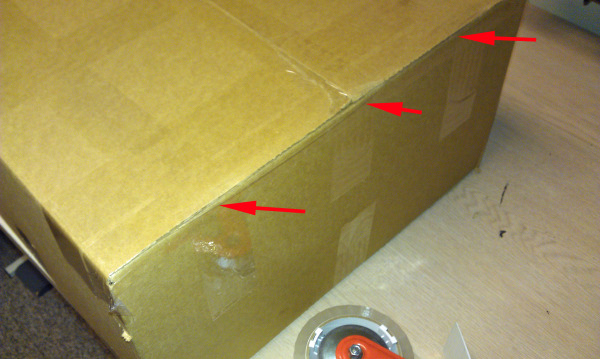
The Box Has To Be Larger Than The Master Station!!
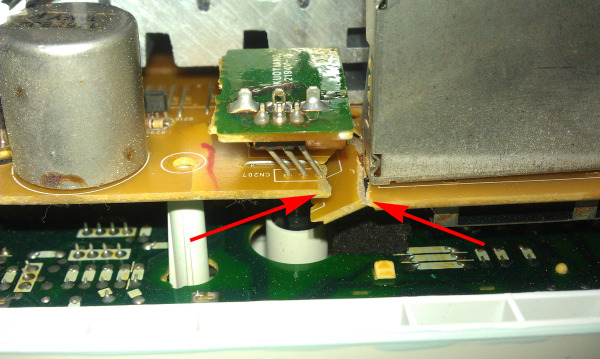
We received another broken IM3303 yesterday. The box was actually smaller in height than the IM3303.
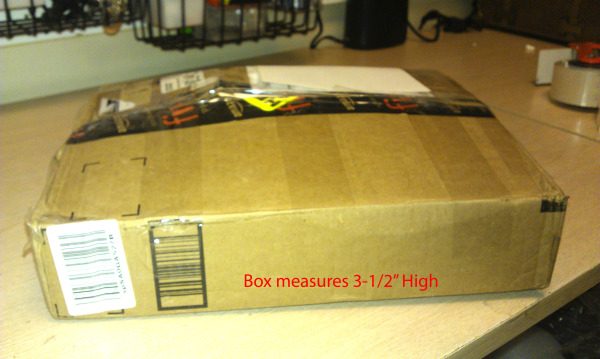
The damage to the main circuit board was caused by the Tuner Module being push down, cracking the board.
I'll look at this damaged Master today to see if it's repairable.
Cindy & Christopher
Another Damaged Master Station Arrived Today
When I speak with customers about sending in their NuTone Master Stations for repair, the final topic of each conversation is about proper packaging to prevent shipping damage.
Fortunately, most Master Stations make it here in fine condition. Unfortunately, that was not the case for this IMA4406.
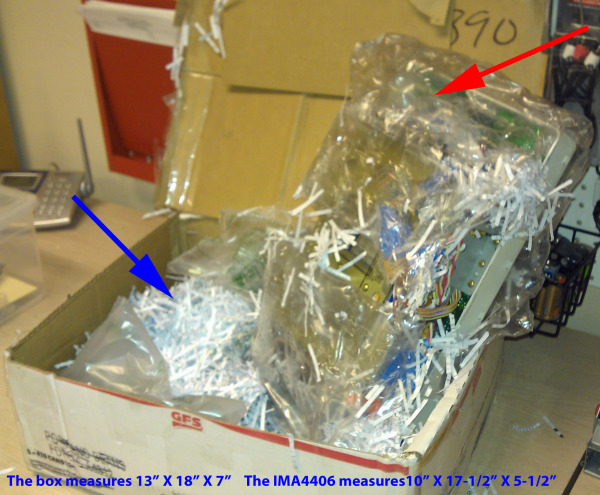
The box was simply to small, without any real free space (crush space, as it's called) to protect the IMA4406 from impact damage. The packing materials were insufficient, just one layer of bubble-wrap and some shredded paper (from an actual shredder - please don't use this - it creates a terrible mess).
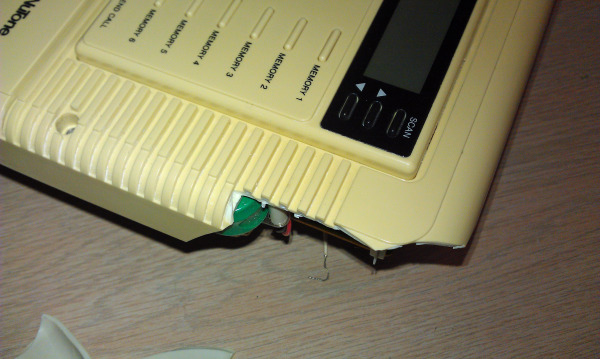
As you can see, the lower right-hand corner is completely broken off along with the right-hand door. This is a serious amount of damage and it affects the lower hinge of the CD Players door.
This face place will likey have to be replaced with a refurbished, used faceplate. I don't think that gling will work on this one.
Cindy & Christopher
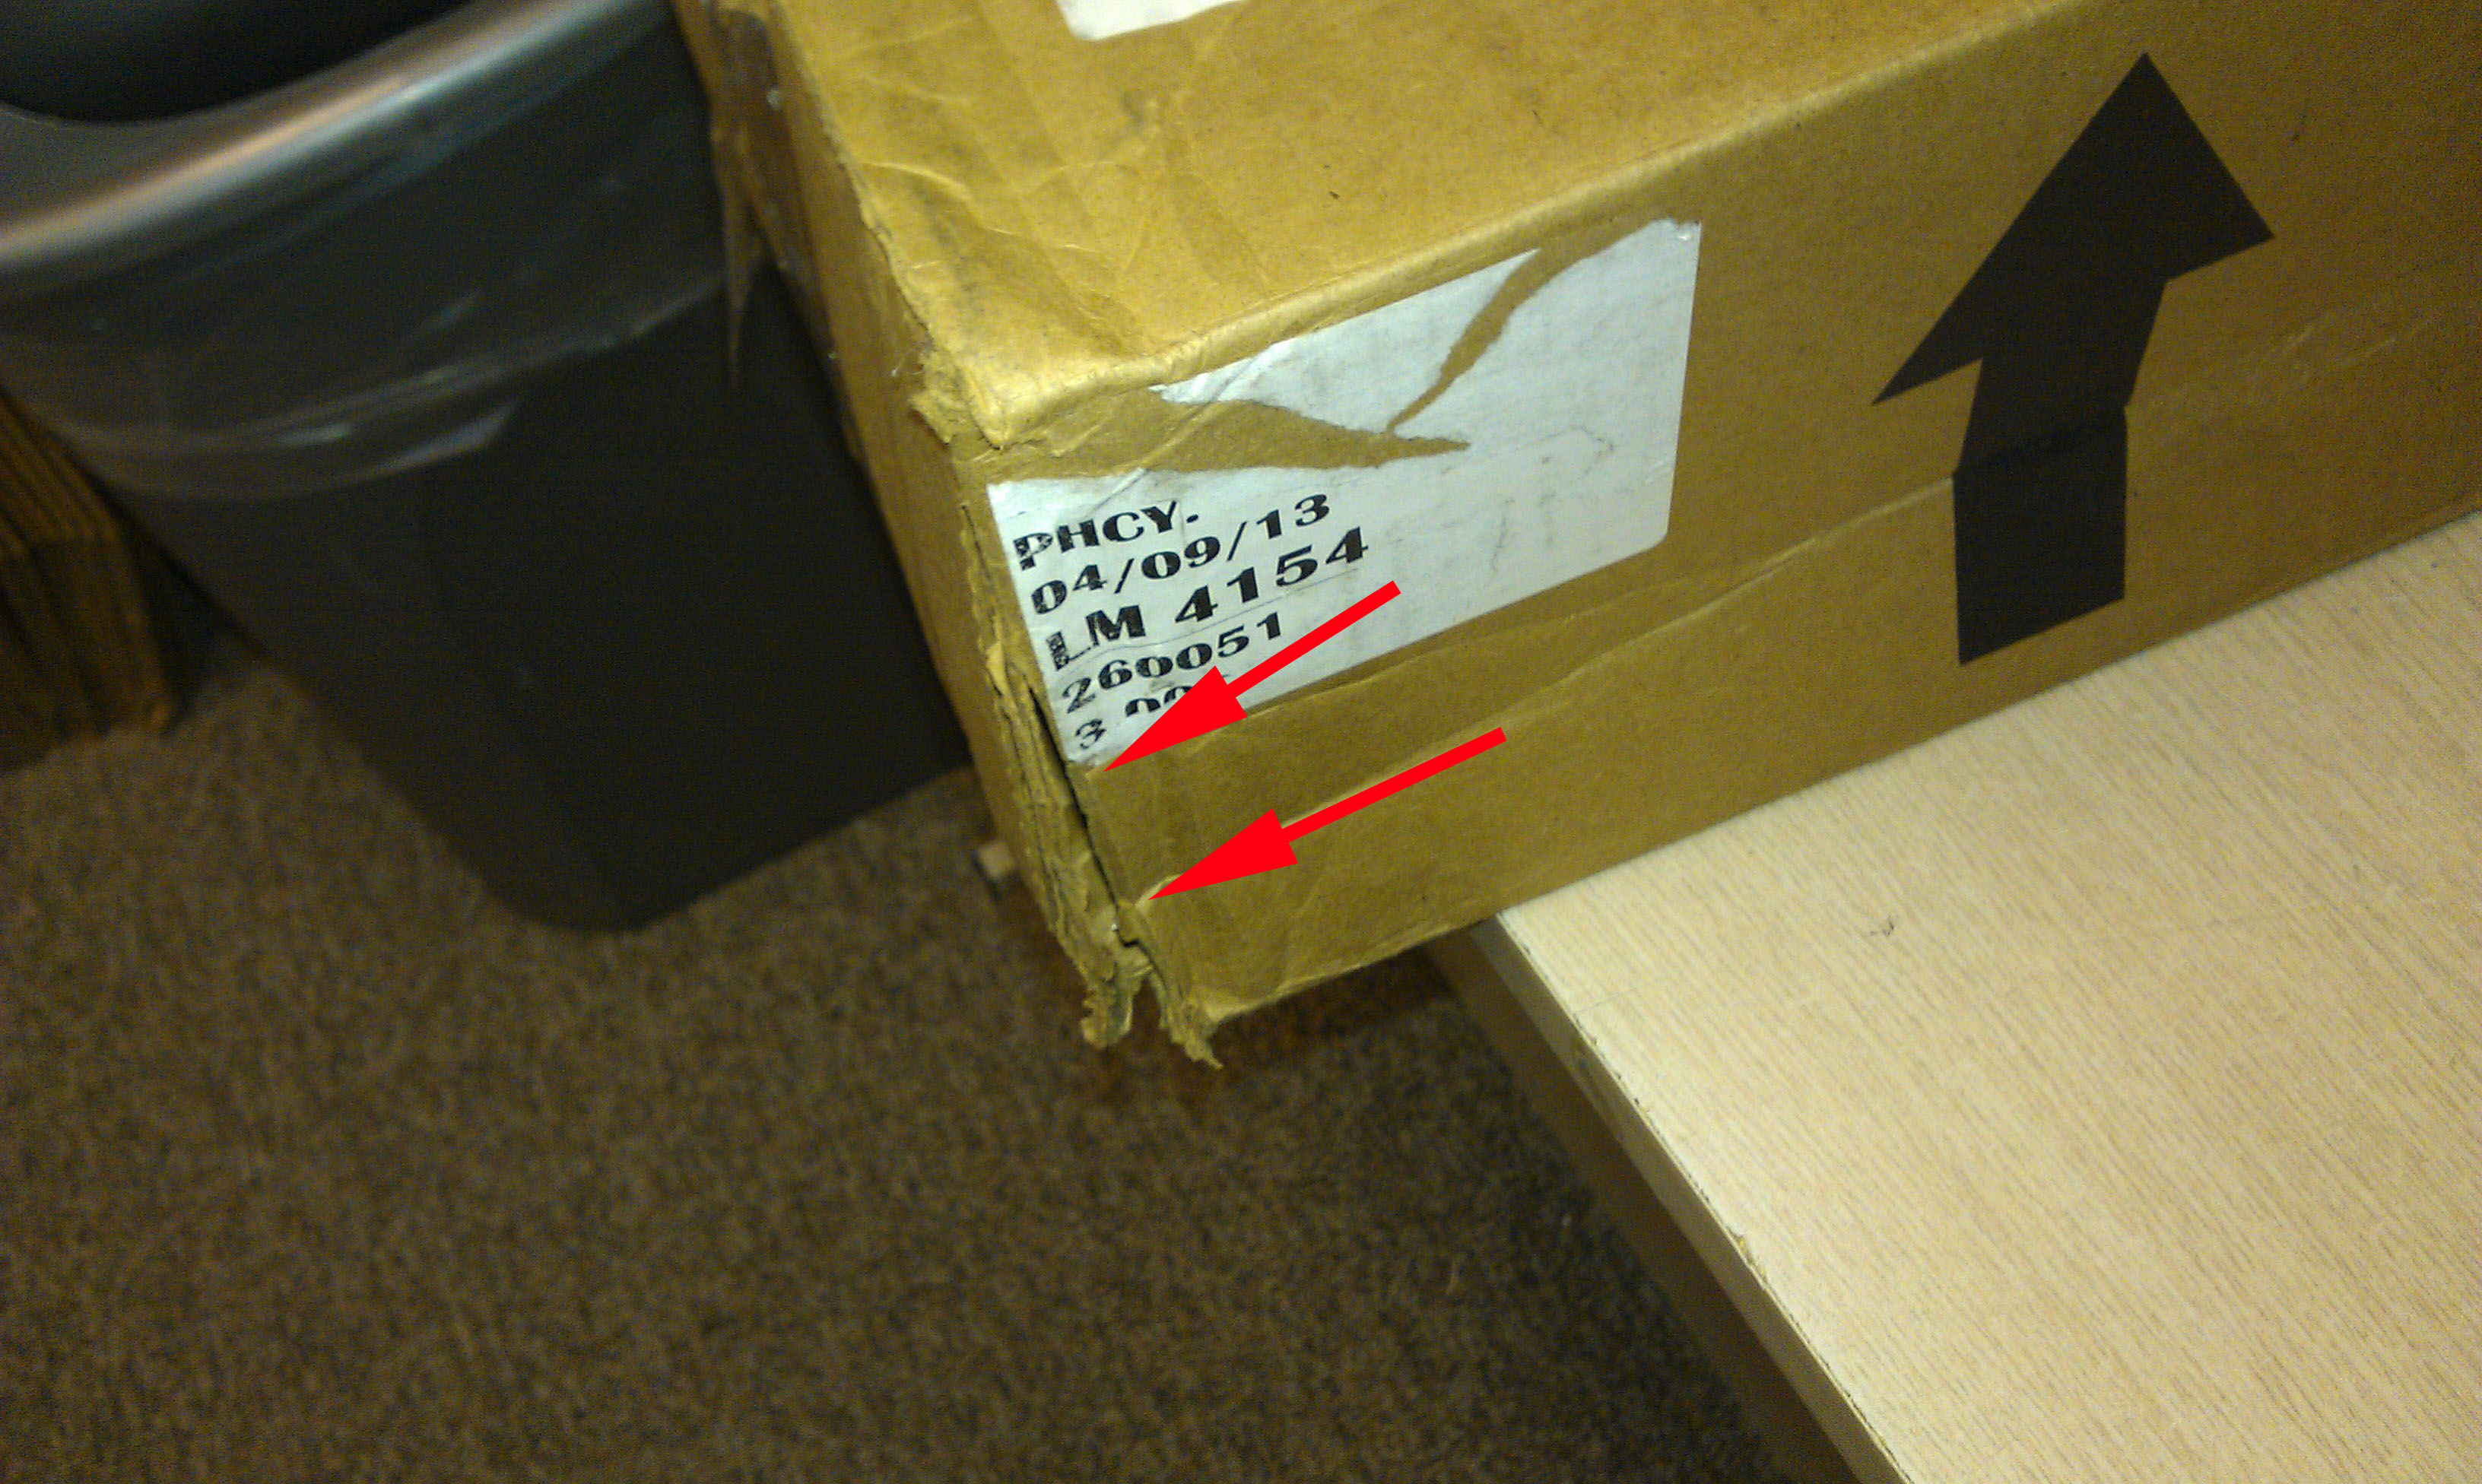
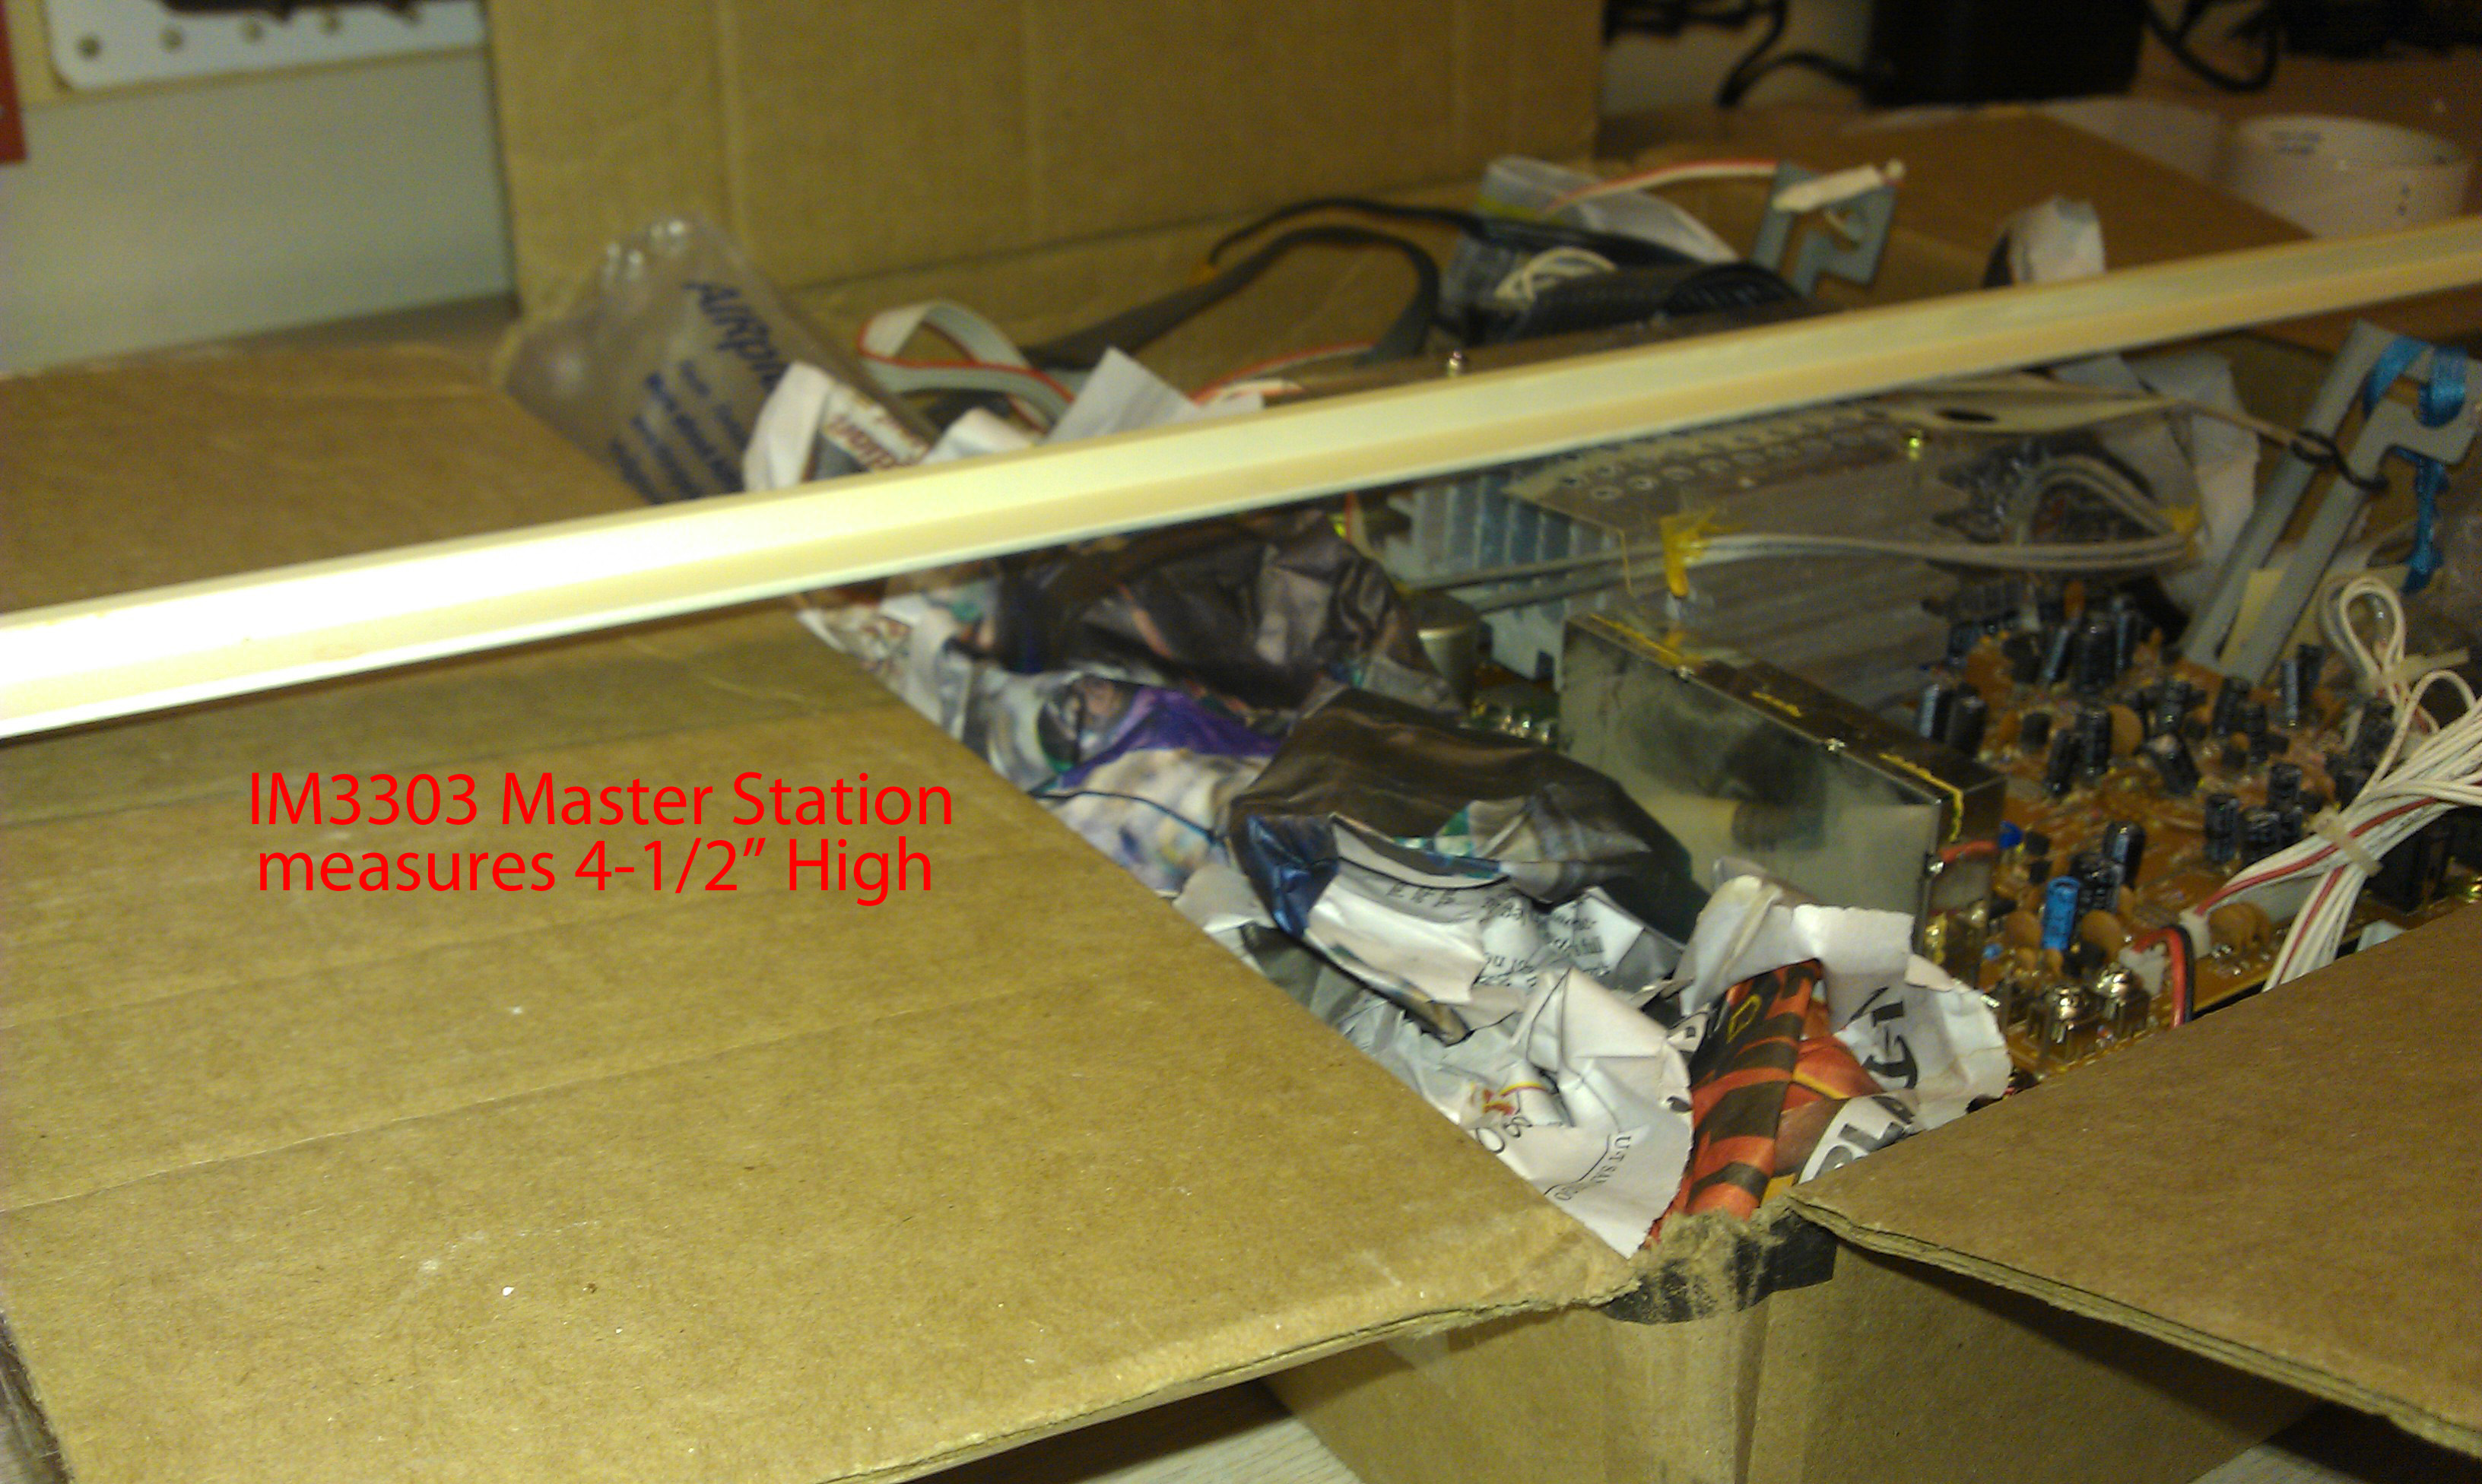
Don't ship an 18" Master Station in an 18-1/2" Box
Part of every conversation I have with every person who is interested in having their NuTone Intercom repaired is about packaging their Master Station for shipment. I stress the importance of packaging their Master Station well to prevent any type of shipping damage.
I also forward a copy of this article showing how we package their Master Station when we return, as an example of how they should prepare their set for shipping.
I always recommend that they look at the pictures of the Master Stations we get in, where people didn't follow my suggestions. . .
Even with all of my encouragement and examples, people still don't listen and chaos ensues.
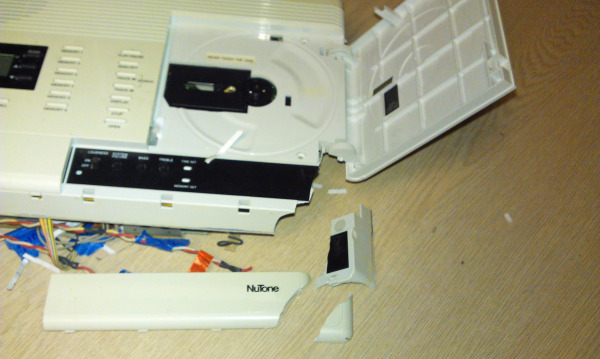
Recently, we had a IM4406 delivered for what would have been an ordinary repair with a damaged corner
This happened because the owner was trying to save a few dollars (maybe $20.00) in the shipping costs to send us the unit) Apparently he had prepared him IM4406 as we described, then he didn't like the shipping costs he was quoted and he repacked it in a much smaller box.
Not only was the box used, but it only measured 18-1/2" wide and the IM4406 is 18" wide.
Our customers attempt to save a few dollars in shipping costs has resulted in adding the cost of a replacement faceplate to his repair.
Chris