OUTDOOR STATIONS: ENTRY DOOR & PATIO STATIONS
Now that you have your system adjusted correctly, and you have cleaned all of the volume controls and intercom push buttons, it's time to take a look at the condition of your outdoor speakers.
Outdoor NuTone speakers are located at an entry door or on a patio or deck. Entry door speakers will either be just a grill with a speaker located behind the grill, or it may also have a door bell pushbutton on the grill.
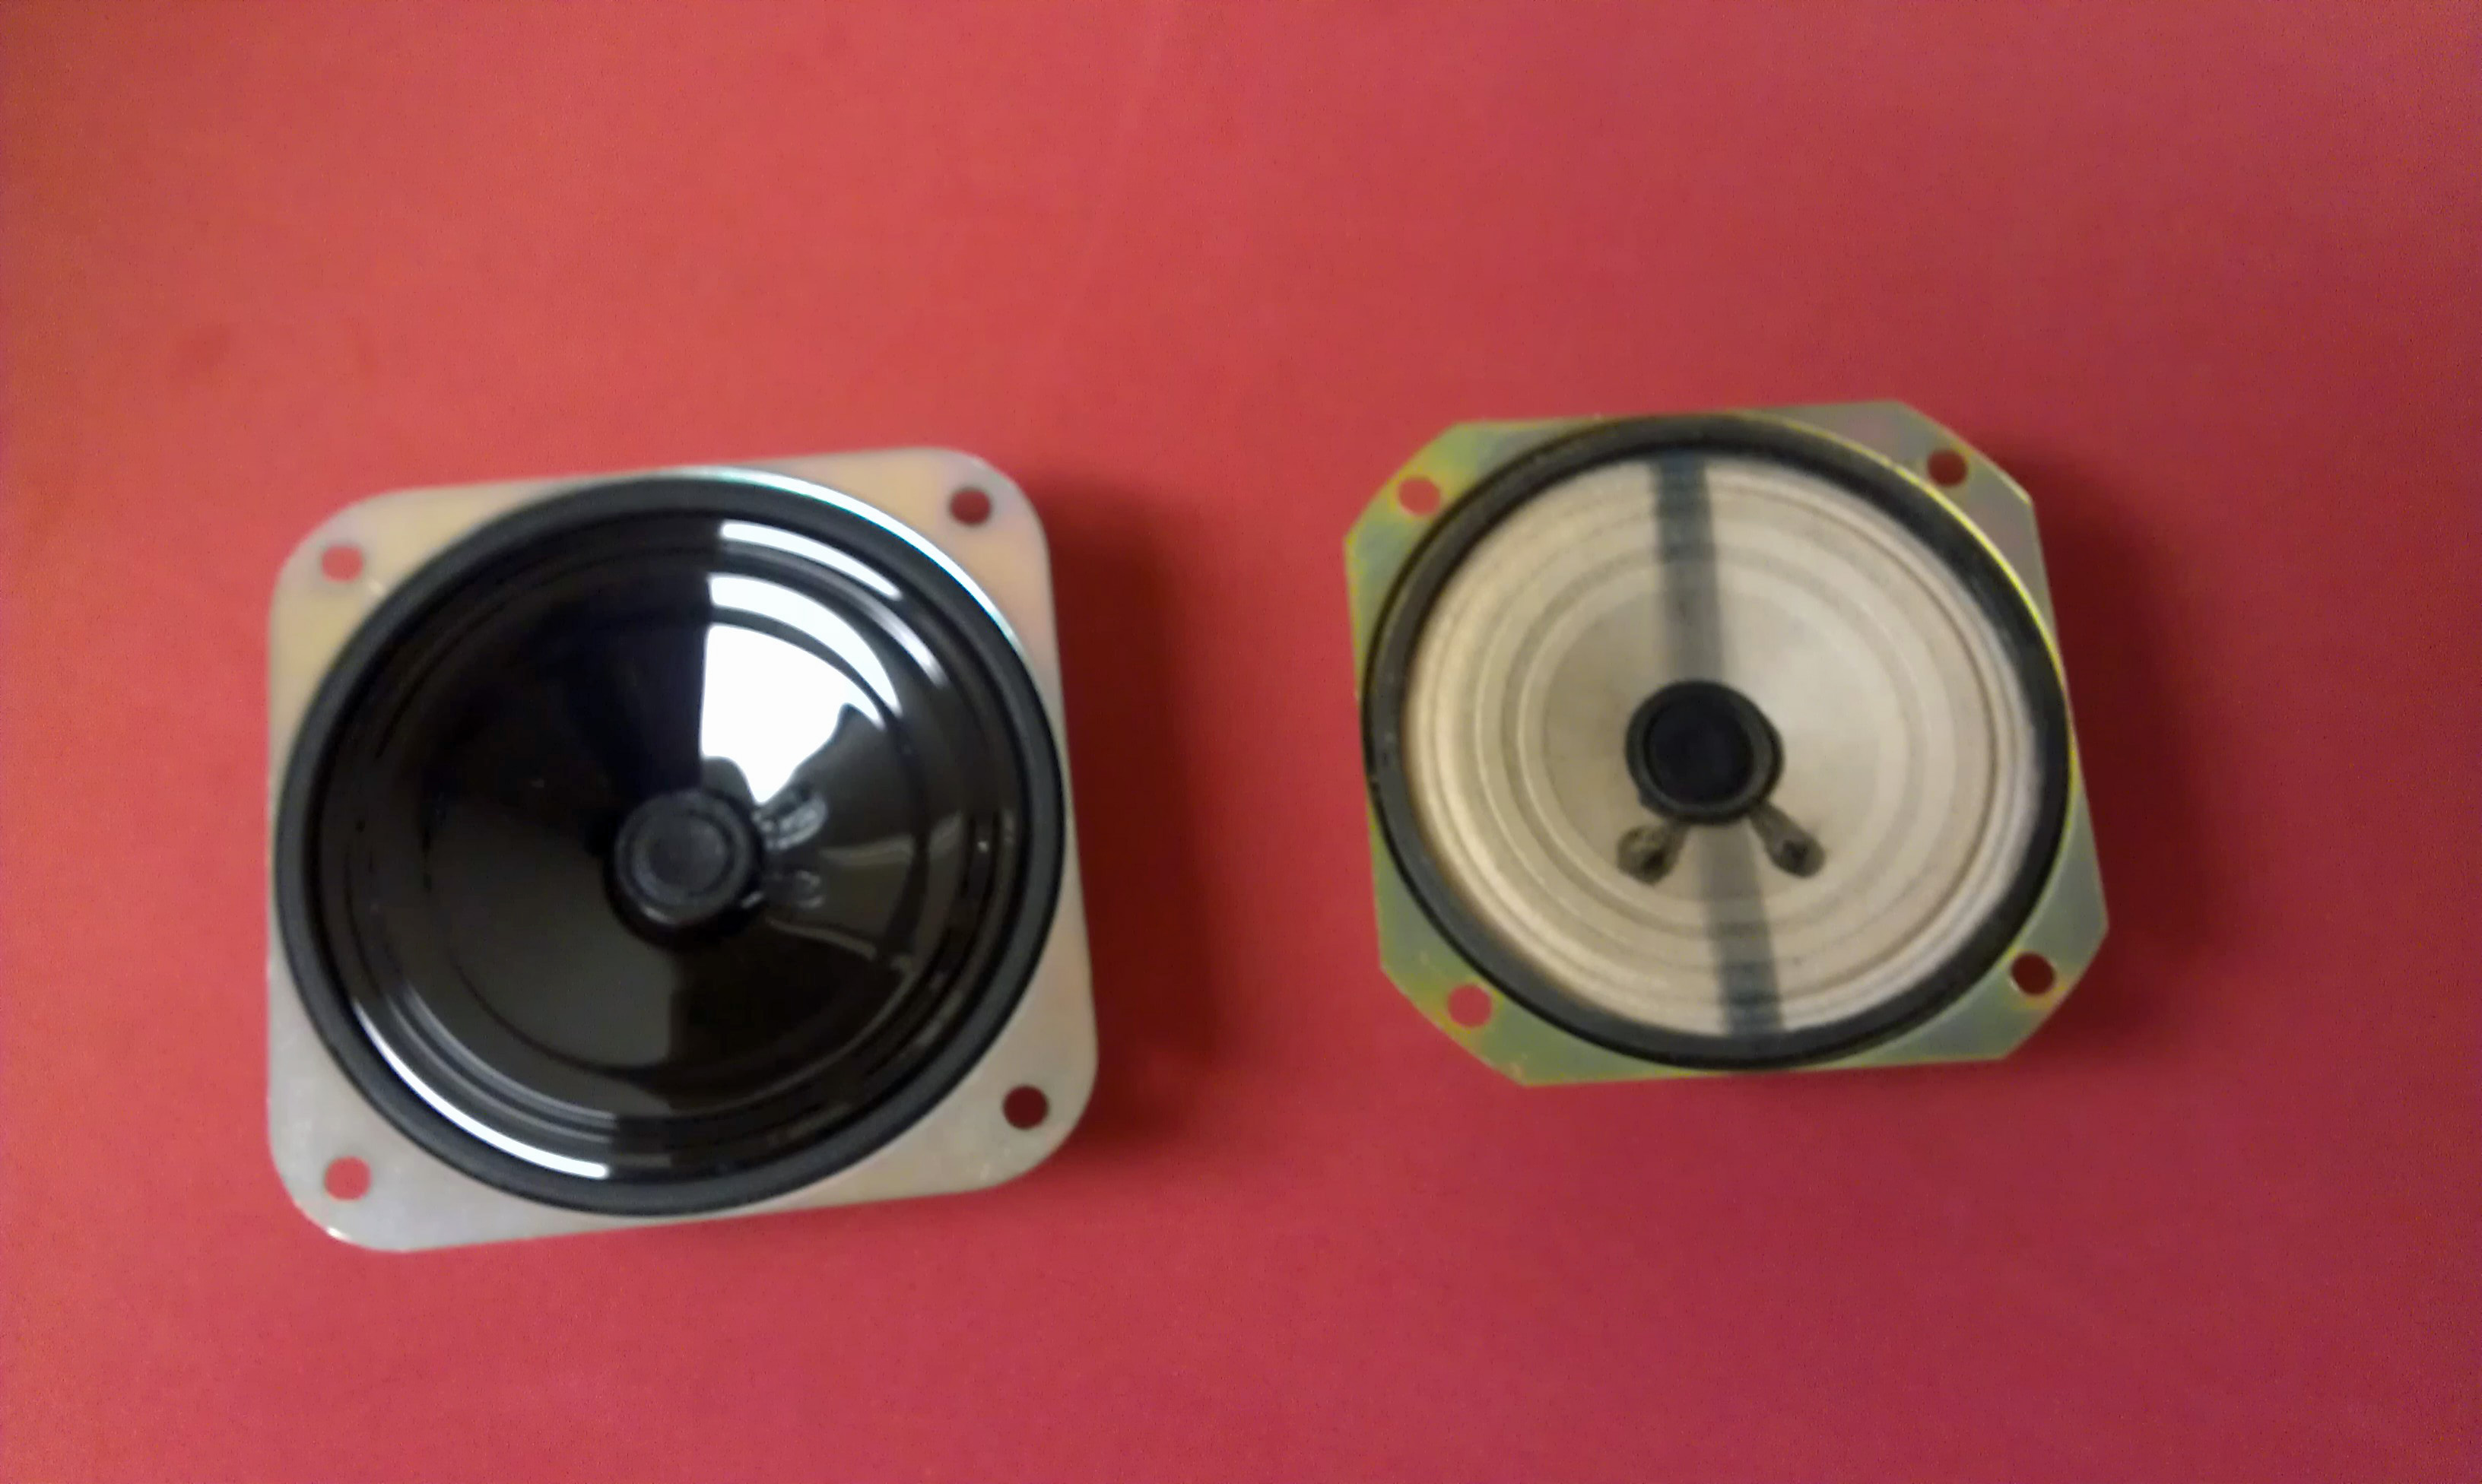
Older NuTone entry door speakers used to have paper speaker cones inside a metal frame. Over the years, the paper would rot away from the sun and rain and sometimes little insects would eat the paper. Starting in the late 1980's, the paper cones were changed to plastic, which improved their longevity.
Even with plastic cones the speaker can still fail. Replacing door speaker cones is easy. They are all 3-1/2” square 16 ohm speakers and are commonly available from any NuTone Service Center. All you have to do is remove the grill from the wall housing, turn it over, remove the 2 wires from the speaker terminals, and remove the 2 or 4 screws that hold the speaker to the back of the grill. Reassemble in reverse order, and you're done.
Patio stations come in several different configurations. The earliest patio stations were all 2 piece designs. On the outside wall there will be a small recessed panel which has both the volume control and intercom pushbuttons on it. Higher up on the same wall will be a large 12” x 12” aluminum grill with a speaker cone behind it.
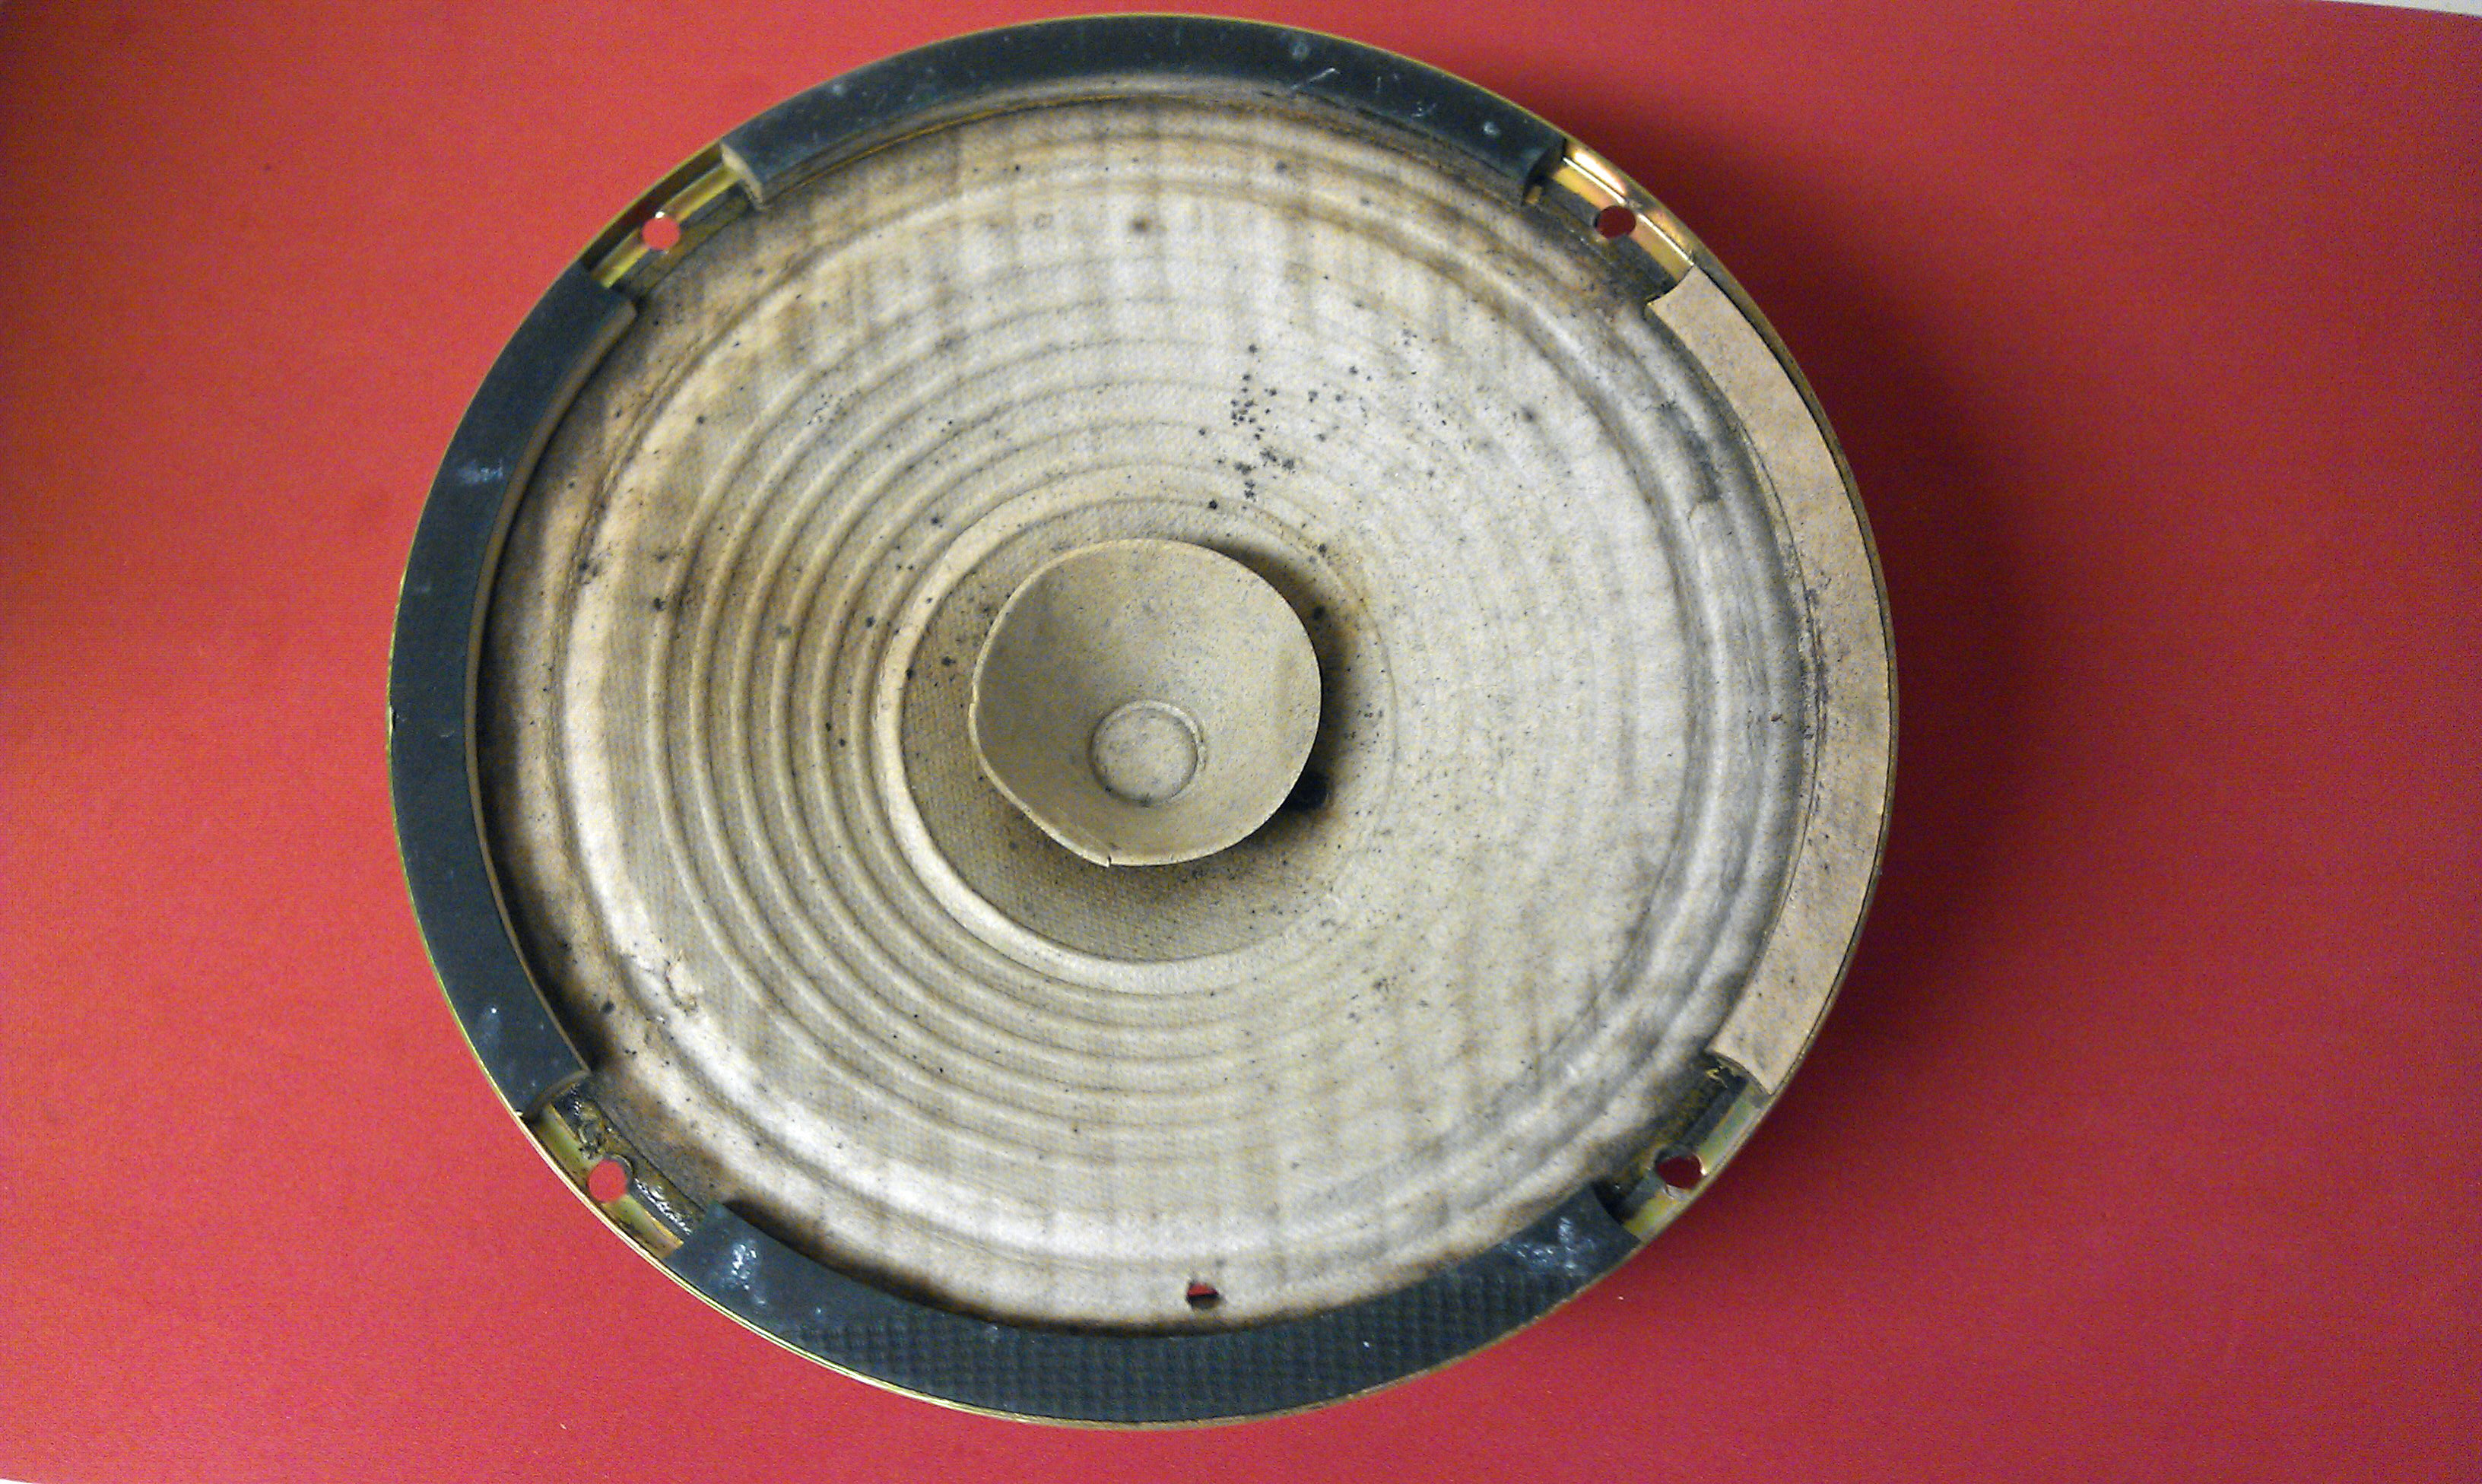
The speaker cone behind the grill will be either a paper-coned speaker or it might be made from a piece of flat Styrofoam. These were call Poly Planar speakers and they last almost forever. All of these cones are 8” diameter.
Starting in the 1970's, a smaller one piece patio station was introduced. It is usually an outdoor version of the same size station from inside the house. These use 5” diameter speaker cones.
Let's look at NuTone speaker cones throughout their history. Speaker cones have a rating in Ohms. This is the impedance of the speaker and it is important. The original NuTone speakers cones were 3.2 ohms, then systems changed and used 45 ohm speakers, then systems changed again and speakers became 25 ohms. You may notice that none of these ratings are 4 or 8 ohms, which are used in home stereo systems.
It is important to have the correct impedance speaker for your system. If you use the wrong speaker it can make you system operate incorrectly, or even cause the master station amplifier to fail.
Replacing speaker cones is easy and will restore your system to full operation. If you have a multi-meter, you can check the impedance of the speaker cone by first removing the wires that are connected to the speaker, and then connect the meter to the terminals. The reading should match the rating stamped on the speaker magnet. If you get a reading of 0 or infinity, the speaker cone has failed.
 Use this Button to find out about Replacement Patio Speaker Cones
Basic Troubleshooting & Wire Types
A common problem with many NuTone intercom systems is that 1 or 2 of the stations on a system will not work correctly. Maybe the volume is low or the intercom functions don't work properly. This may be a problem with the station itself or it can be a problem with the wiring.
A simple way to determine what is causing the problem is to swap the troublesome station with another station in the house that works correctly. If the problem follows the suspect speaker, then the speaker is the problem. If the problem remains in the original location, the it might be a wiring problem.
When swapping speakers around, you must take notice of how the wiring is connected. You may have 3, 4, 5, 6 or 8 wires connected to the back of the speaker. NuTone Intercom systems were designed to be easy to install, even by the do-it-your-selfer. All of the wire connections will be labeled either by the color of the wire, or in the case of 3-wire systems, by the actual metal inside the insulation.
On 3-wire systems, the cable is a flat, gray 3-conductor ribbon wire. Inside the insulation you will find that the wires themselves are different colors. #1 is silver (this is used to index the side of the wire you start from), #3 is copper, and that only leaves the center wire (which is also copper, but it's in the center of the cable).
If you look at the back of any early 3-wire station, you will find molded into the plastic “Silver”, “Center”, “Copper” and arrows that point to the screws where the wires connect.
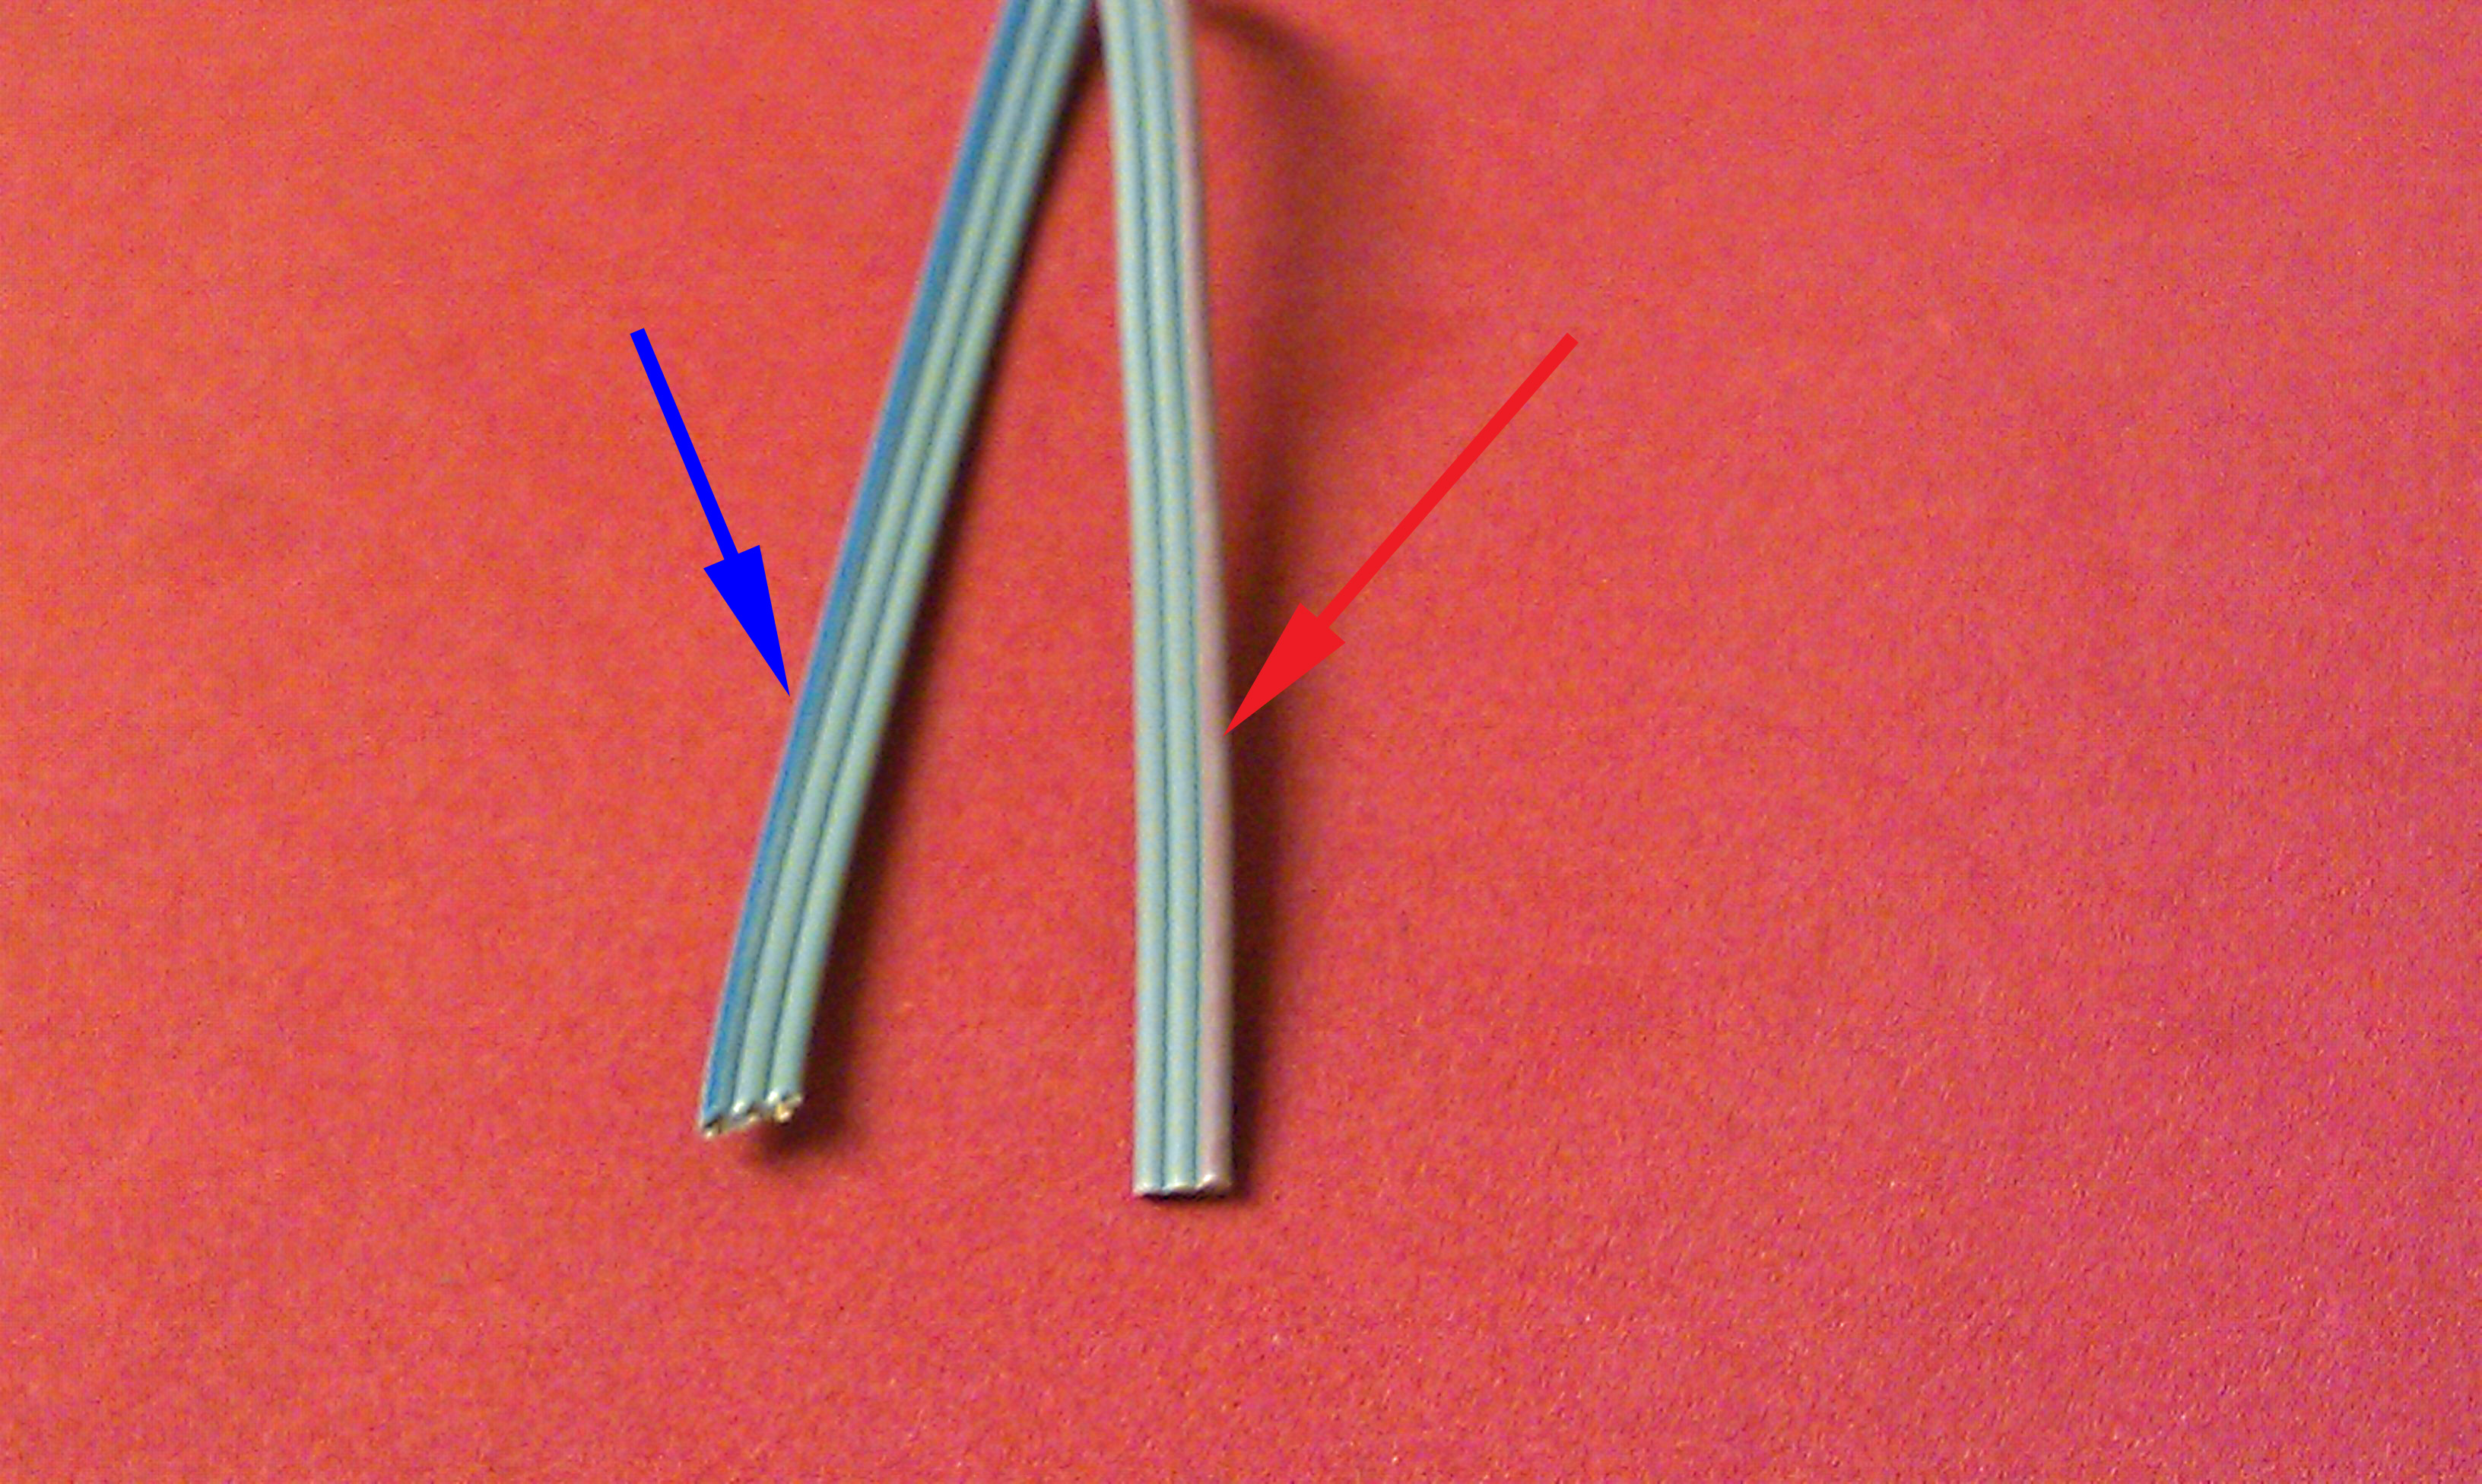
Later, NuTone added a red stripe to wire #1 (silver) and a blue stripe to wire #3 (copper) to make it easier. You will find stations labeled as “red/silver”, “Center” and “Blue/Copper” on stations from then on.
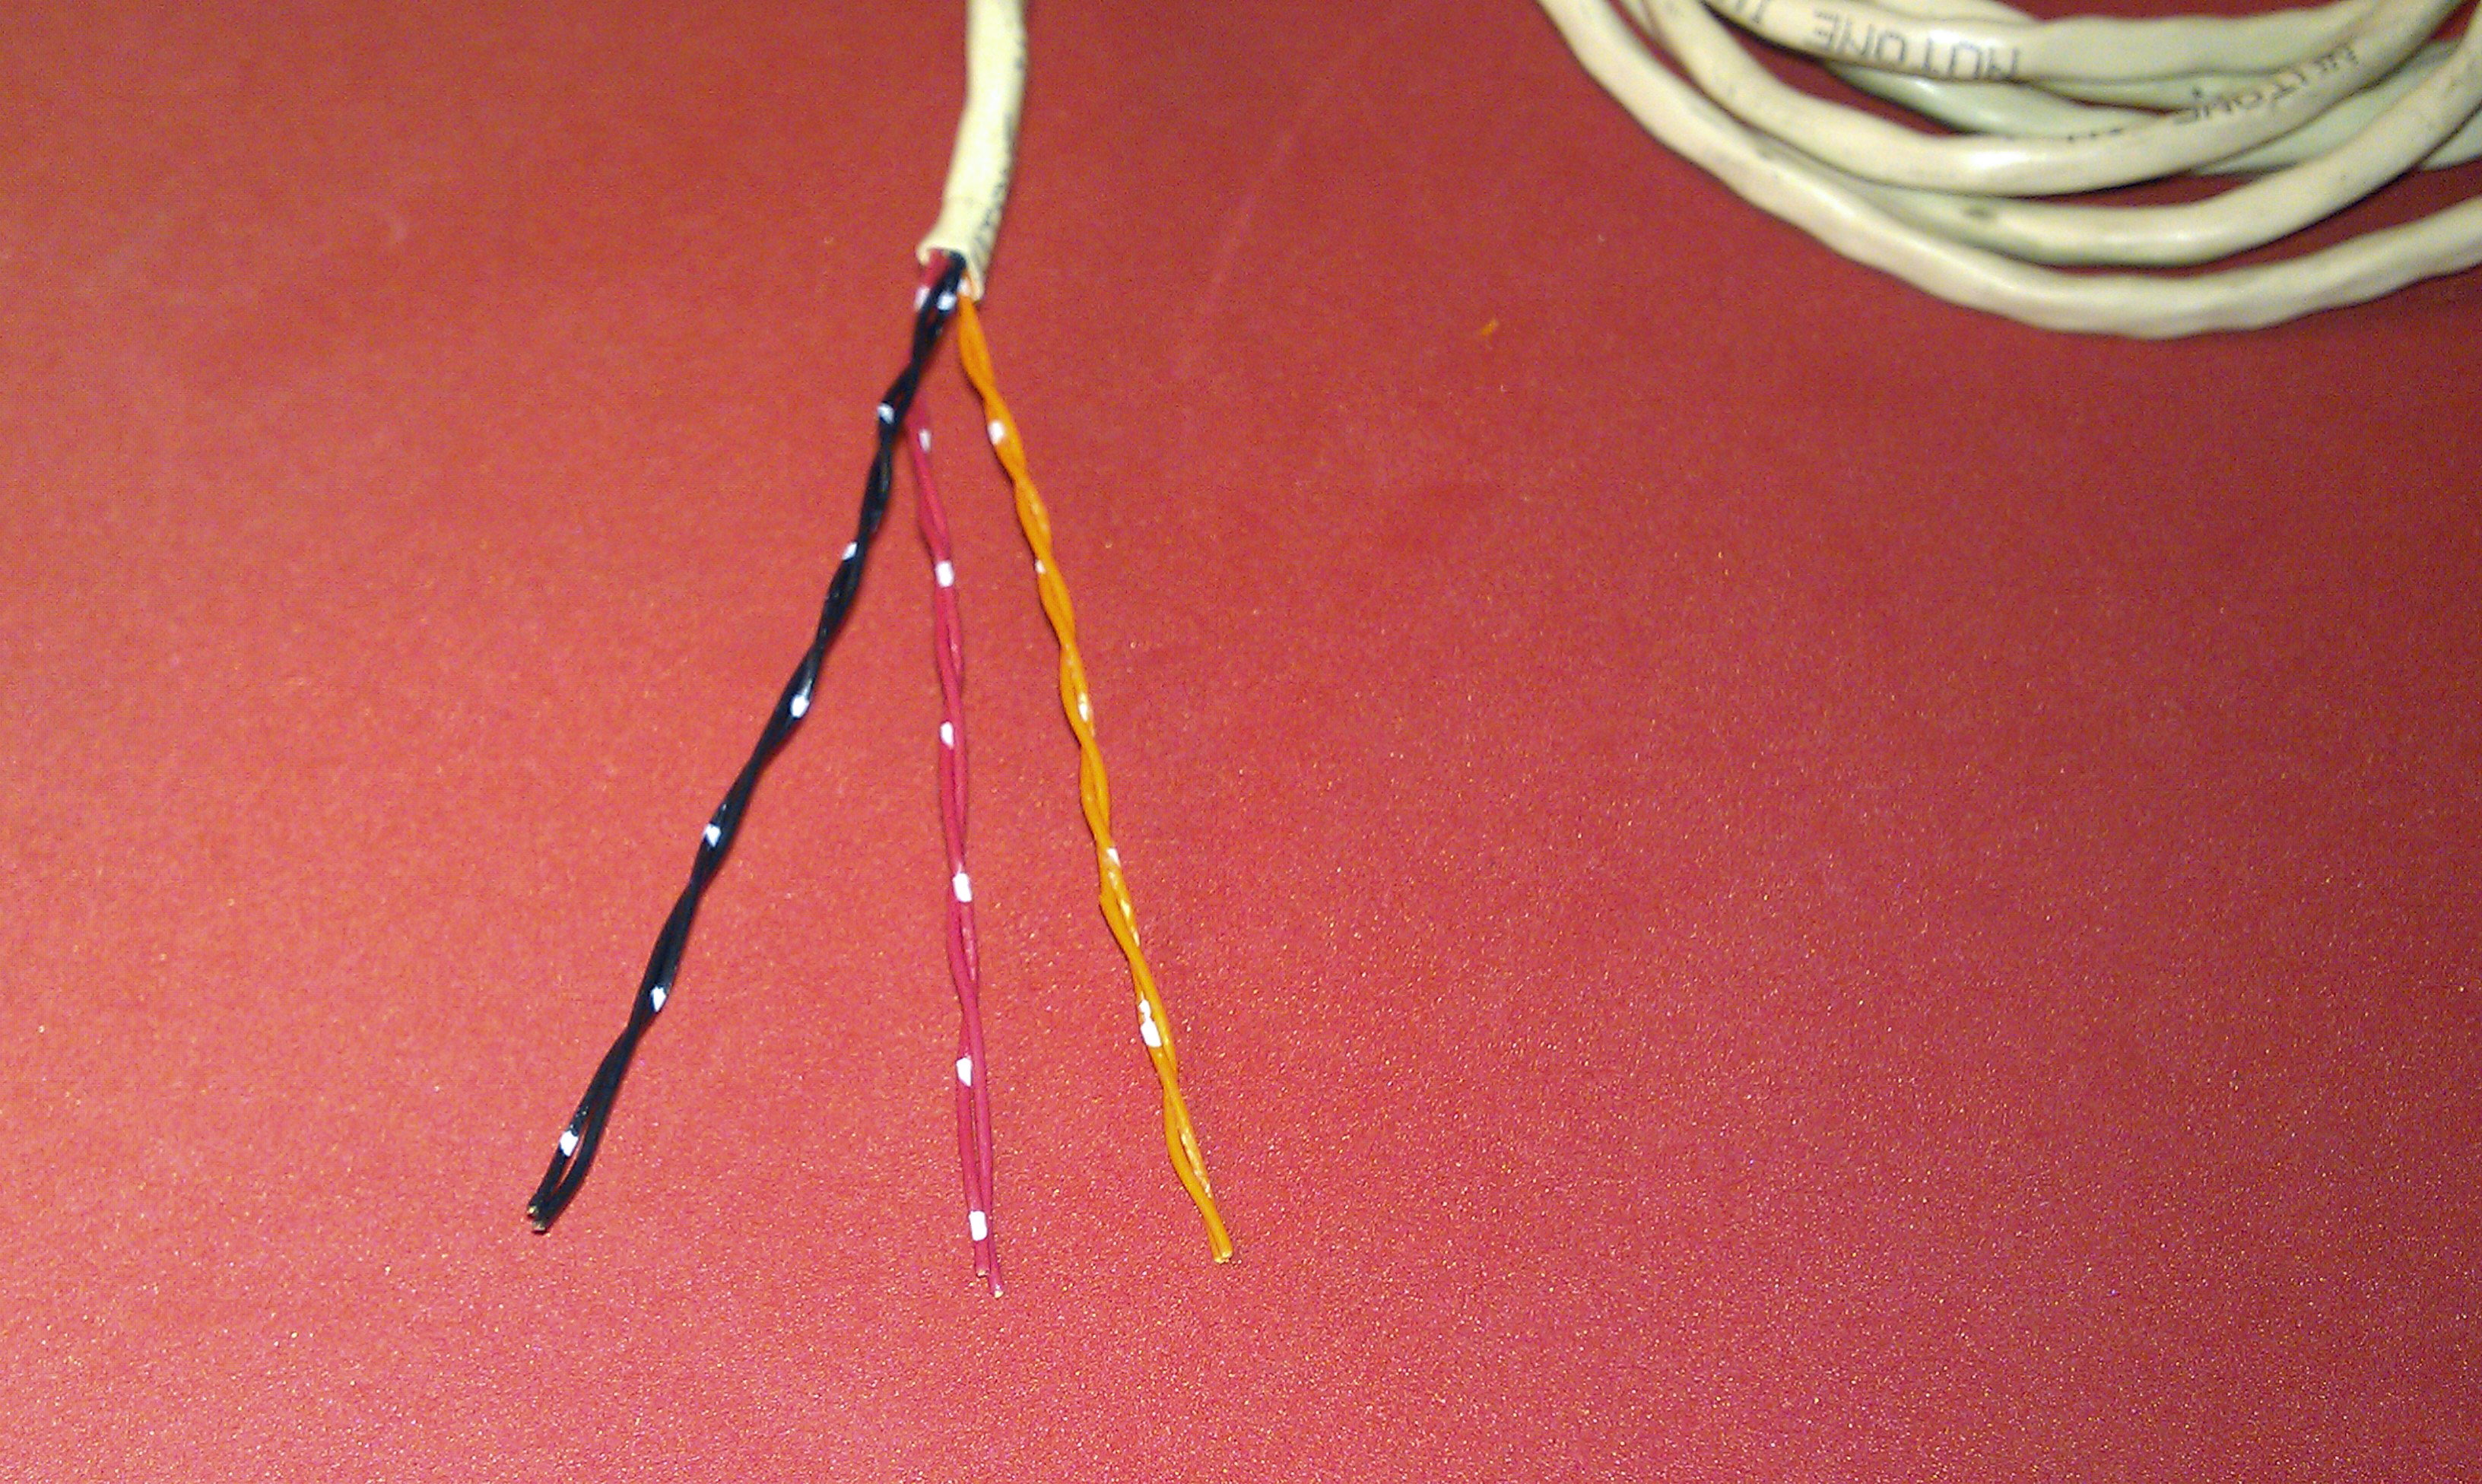
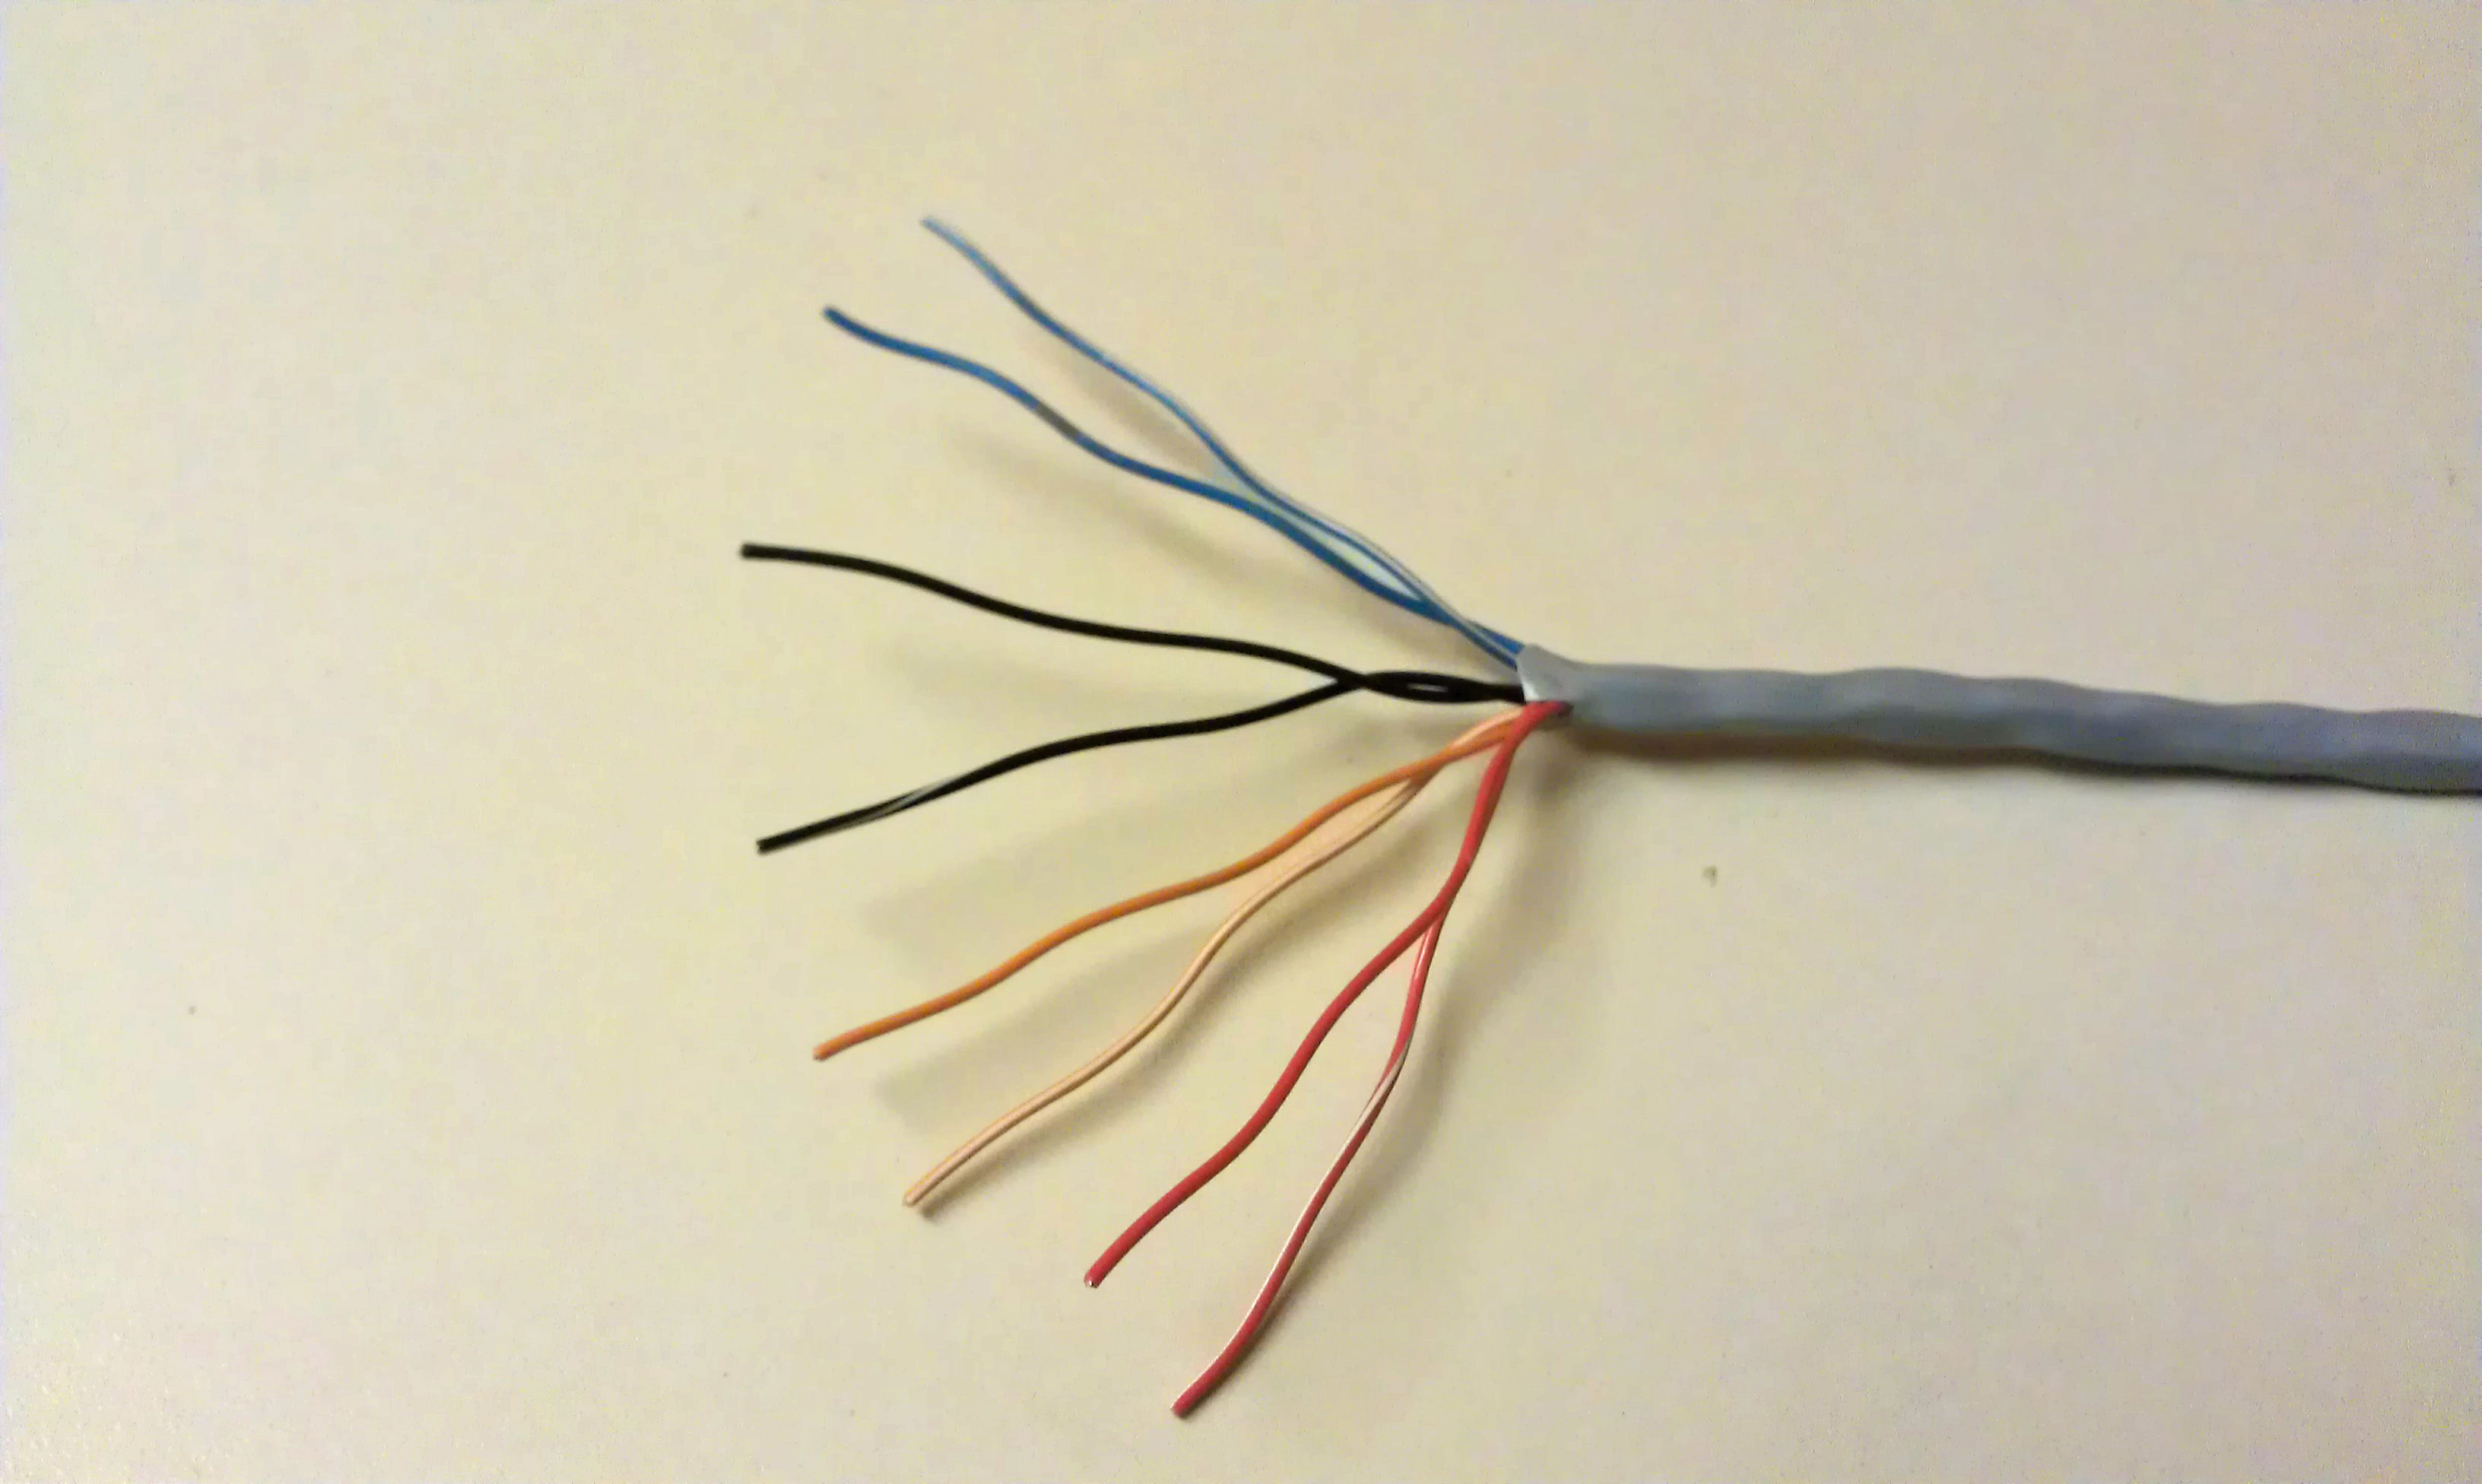
On 6 and 8-wire systems, you will have 3 or 4 twisted-pairs of wires. These twisted-pairs will be colored Red – Black – Orange – Blue (blue is only in 8-wire cable). If you look at the pairs carefully, you will see that in each pair, 1 wire will be a solid color and the other will have a white stripe. This is how the wire is indexed for proper polarity.
When you look at the connections on the back of a 6 or 8 wire speaker station, you will see that the screw terminals are labeled “Red/Red White”, “Black/Black White” and so forth.
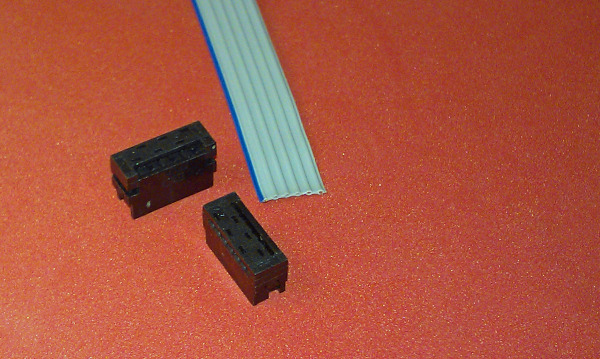
The exception to this is a special type of wire that NuTone used from 1986 through 1992. It is a special type of 6-wire cable designated IW6R. IW6R is a flat 6-conductor ribbon cable used on the original IM4006 system.
The idea behind this ribbon cable was the it used special crimp-on connectors which terminated the cable and plugged on to the matching connector on the speaker board.
This design was a great failure. The original IW6R ribbon wire had solid wire in the cable and it often failed to make a proper connection in the crimp-on connector. Later the wire in the cable was changed to stranded wire, which helped the termination problem to some degree but it did not solve the problem completely. The primary issue, after the wire design was resolved was that installer would not read the instructions on how to terminate the wire, and if it was done incorrectly, the connection would not hold up.
I must have completed hundreds and hundreds of warranty calls which just involved changing out all of the crimp-on connectors.
IW6R cable has a blue stripe on one edge, as an index to identify the wire strands inside the ribbon. Starting on the edge with the blue stripe the color order is: “Red/White”, “Red”, “Orange/White”, “Black/White”, “Black” and “Orange”.
It is important to keep this order consistent throughout any installation when you are reusing IW6R cable and installing new equipment.
 Wednesday, August 8, 2012 at 1:54PM
  Cindy & Christopher
